I’ll guide you through moving a large storage shed without damage in seven steps.
First, I will assess feasibility and costs to decide between DIY or hiring professionals. Then, I will choose the right method based on the shed’s size and weight; forklifts or trailers for heavy units, dollies for lighter ones. I will disconnect utilities, empty everything, and secure the interior. Next, I will wrap the siding, brace the doors, and pad all edges. I will lift carefully with jacks and straps, ensuring my team coordinates safely. During transport, I will move slowly and align properly before lowering onto temporary supports. Finally, I will level the foundation, anchor everything, and conduct a thorough inspection. Below, you will see how to handle each step.
Moving Feasibility and Costs: DIY or Hire Pros?
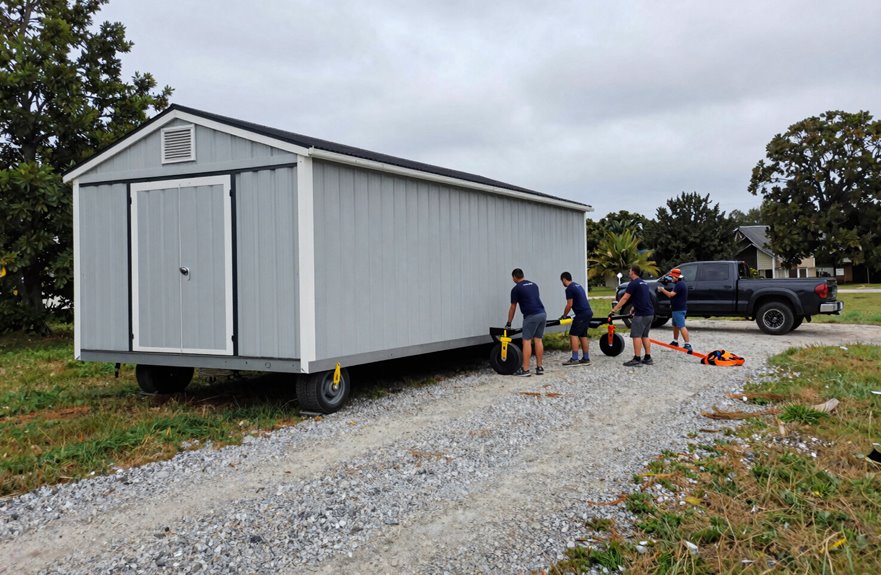
How much effort will your shed move really take? Moving a shed depends on its size, weight, and foundation type. If your shed weighs over 500 lbs, you’ll need at least two people and possibly machine assistance; safety is important.
Your foundation plays a crucial role. Wood skids or gravel bases make moving a shed far easier than concrete slabs, which complicate the process.
Costs vary widely. Short on-property moves typically run $250–$400, while long-distance relocations can reach thousands. DIY can save money, but it carries risks of damage and injury. Professionals bring specialized equipment and handle permits, which simplifies the process. Tight spaces, uneven terrain, and gate access can increase both time and expense, which should be considered when planning your approach.
Pick Your Method: 6 Ways to Move a Shed by Size and Weight
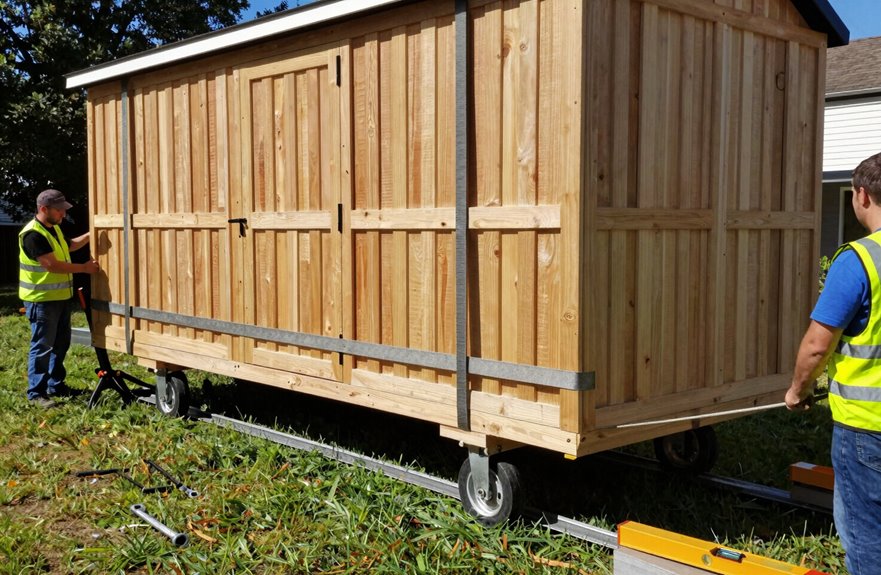
Six proven methods exist for moving your shed safely, and I will help you match the right one to your specific situation.
Six proven methods exist for moving your shed safely, and choosing the right one depends on your specific situation.
For small, lightweight sheds, I can move them by hand or with dollies, bringing coordinated helpers for smooth teamwork. Medium sheds around 12×20 or 16×20 require a shed mule, forklift, or multiple dollies to maintain stability. Short moves with mid-size sheds work well with rollers or skids if the base is supported and the path is clear.
When dealing with a heavy shed, I will choose Method 5 (forklift) or Method 6 (trailer), with trained operators managing the substantial load safely.
Regardless of the method chosen, I will align equipment capacity, ground conditions, and safety steps with your shed’s specific size and weight.
Disconnect Utilities, Empty, and Secure the Interior
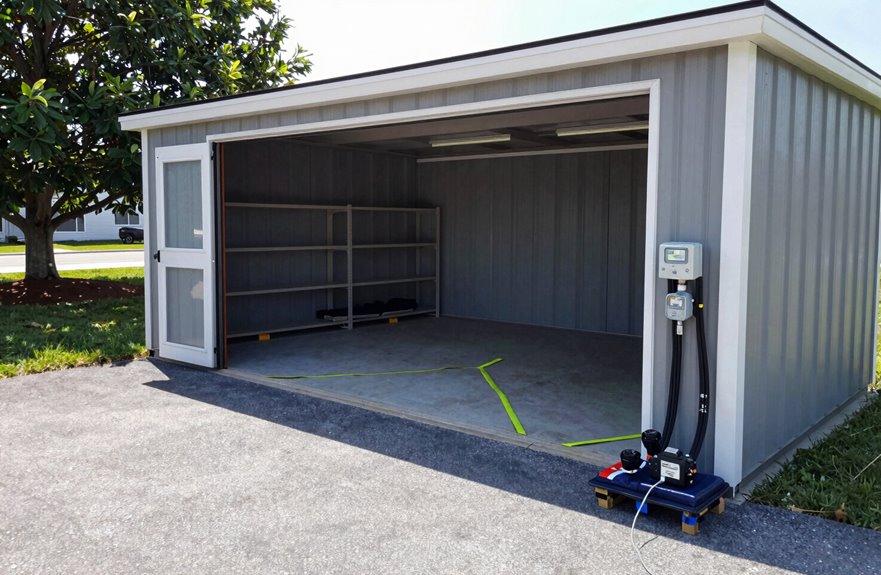
I will guide you through safely disconnecting electrical wiring, properly isolating plumbing lines, and securing the interior so nothing shifts or gets damaged while we move your shed.
Electrical Disconnection Steps
Before I lift anything, I need to strip the shed down to its bones and kill every connection running into it. Electrical disconnection comes first; I flip the breaker, test every line with a meter, and confirm zero juice before I touch a wire. I call a pro for anything beyond my skill; there’s no shame in that.
I clear every shelf, crate loose hardware, and strap doors shut. Nothing shifts on my watch.
| Stage | Action | Purpose |
|---|---|---|
| De-energize | Cut breaker, test lines | Prevent shock, fire |
| Disconnect | Remove wiring, cap ends | Safe transport |
| Empty | Clear all contents | Cut weight, stop damage |
| Secure | Label parts, fasten doors | Smooth reassembly |
I verify that isolation remains intact during the move. Re-energizing waits until the shed sits right on fresh ground.
Plumbing Isolation Process
Power’s dead; now the water’s next. I shut off the main water supply and drain every line completely because standing water can lead to movement damage quickly. If I have any doubts about electrical safety during this stage, I call a professional.
I empty every tank, shelf, and corner, stripping the interior bare to cut weight and eliminate shifting hazards. Loose fittings get labeled and boxed; I mark everything for easy reassembly. I cap exposed pipes and seal access points tightly, as leaks during transport can ruin the entire move. Utilities remain isolated until I am certain everything is secure. The shed is ready when water cannot escape and nothing inside can rattle loose.
Interior Securing Methods
Every wire and pipe receives my full attention before any movement occurs. I will hire qualified professionals to disconnect electrical wiring and plumbing, then store each component in labeled containers to prevent losing any fittings. I verify that all lines are de-energized and keep those utility disconnections isolated until we reach the new location.
I remove every loose item from inside, as reducing weight helps prevent shifting and protects what we have stored. Securing the shed’s interior involves latching doors, securing windows, and bracing siding to ensure nothing flaps or fails during transport. I reinforce the frame and wrap protective coverings around corners and finishes. Together, we ensure this shed arrives intact, ready for reconnection and rebuilding.
Protect Siding, Doors, and Shed Surfaces for Transport
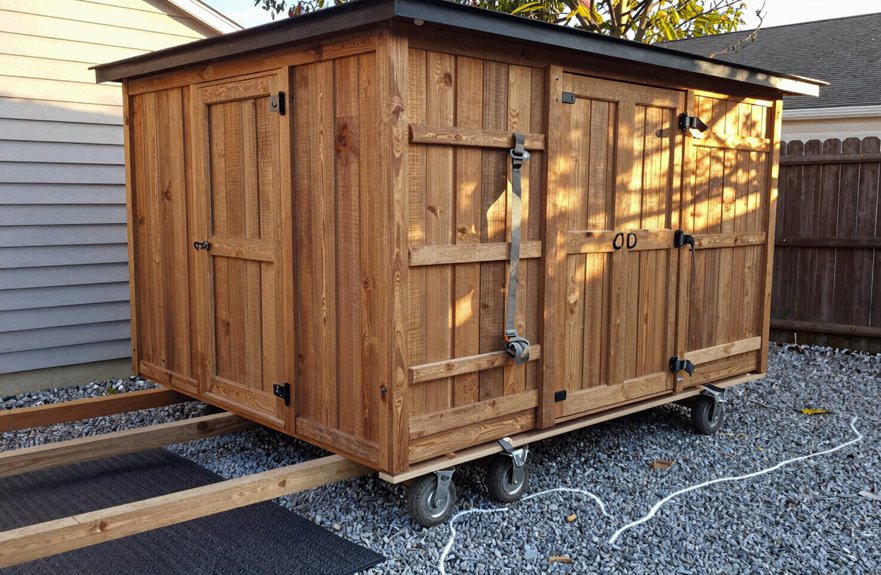
I’m going to shield the siding with wraps, brace the doors shut, and pad every corner edge before we roll this shed an inch. These three moves prevent scratches, dents, and swing damage when the trip gets bumpy. Let’s go over how I will secure each protection in place.
Shield Siding Wraps
Before lifting even one corner of the shed, I am wrapping every exterior surface with shield siding wraps to prevent scratches, dents, and chafing during transport. This shielding layer is essential in protecting what we’ve built, ensuring every edge and corner stays pristine throughout the journey ahead.
I am choosing weather-resistant, UV-protected material that will not degrade when exposed to sun and wind during the move. These wraps are secured with non-marking tape and straps, avoiding metal fasteners that could pierce or dent the siding. I double-check every seam, pressing firmly to eliminate gaps where chafing may occur.
Before loading, I inspect each section for tears and replace any damaged pieces immediately. There is no room for shortcuts when safeguarding our shared investment. Full coverage ensures confidence in the protection of our materials.
Brace Doors Shut
Why risk a swinging door gouging the siding I’ve just wrapped? I brace doors shut immediately after wrapping, securing them with tape or removable braces to eliminate movement. I remove loose hardware near doors and reinforce with protective blocks; anything that prevents shifting protects our shared investment. I place cushions along door edges to absorb impact, then verify alignment before lifting.
| Bracing Method | Purpose |
|---|---|
| Removable braces | Hold doors without hinge pressure |
| Heavy-duty tape | Quick, damage-free securing |
| Protective blocks | Reinforce weak points |
| Edge cushions | Absorb shifting impact |
| Final alignment check | Prevent scratching during roll |
I don’t skip this step. We are protecting surfaces together, ensuring nothing swings free to ruin what we’ve carefully prepared.
Pad Corner Edges
Once doors are braced, I focus on the corners where impact damage occurs most. I place protective corner pads or thick plywood at each corner to shield siding and doors during loading and transport. I choose soft, non-abrasive corner guards that won’t trap moisture or dirt against paint when secured. Safety is important, so I never attach metal hooks or straps directly to siding; instead, I use wooden blocks or cushioned daggers between straps and surfaces. Before moving, I measure and mark a flat, level path and clear obstacles to minimize corner scraping on turns or uneven ground. After transport, I inspect corner areas for nails, screws, or loose trim and repair or reseal damaged edges to prevent further harm.
Lift the Shed: Jacks, Straps, and Team Safety
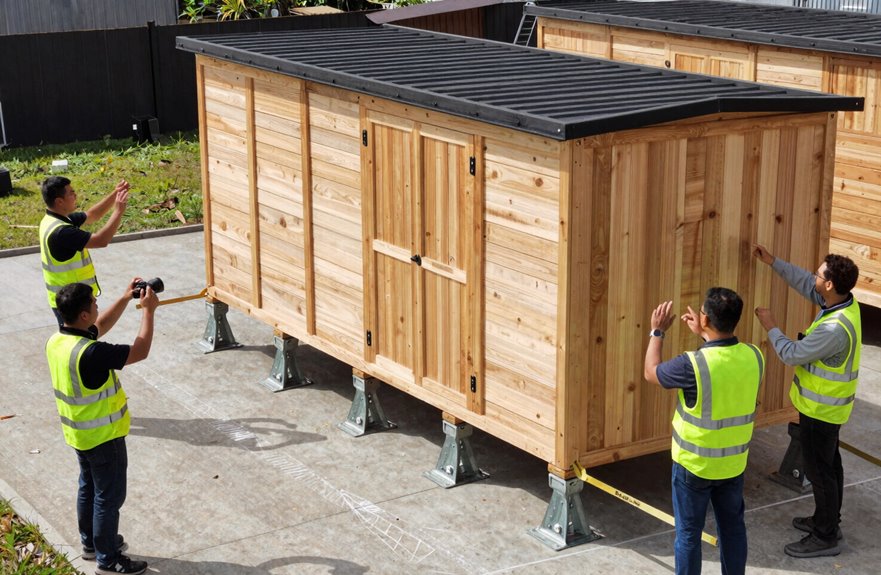
Although lifting a heavy shed might seem intimidating at first glance, I will break it down into manageable steps that protect both you and your structure. First, I plan and label the shed’s parts so nothing surprises us mid-move. Then I use a jack to slightly raise it, sliding stable supports underneath for a solid raised foundation. Our team stays aligned as follows:
| Task | Who Handles It | Why It Matters |
|---|---|---|
| Jack operations | One experienced person | Prevents unbalanced lifting |
| Strap securing | Two people, opposite sides | Even tension, no damage |
| Spotting and signaling | Designated watcher | Safety for everyone’s feet |
I wrap strong straps around the structural framing, never sheathing, and ratchet them tight. With two to four of us coordinating stance and direction, we move slowly, recheck alignment, and keep feet clear of pinch points.
Move and Set It: Transport, Alignment, and Foundation Placement
Lifting prepares us, but now I need to move this shed to its designated spot and set it down correctly. For a storage shed over 500 lbs, I use a flatbed trailer or forklift, securing straps around the base to prevent shifting during transport. Upon arrival, I first place temporary supports or a portable foundation, then lower the storage shed slowly to ensure even weight distribution, avoiding any twisting.
Here’s my alignment checklist:
- Center the shed on the foundation.
- Verify it sits level before anything permanent.
- Reassemble on-site using tape labels if needed, rechecking alignment before tightening fasteners.
I will bolt or anchor based on the foundation type, inspect doors, windows, and siding for damage, and confirm utilities reconnect properly. The storage shed’s new home starts strong when we execute this step correctly.
Level, Anchor, and Inspect Your Shed After Moving
Why rush the finish when the entire move depends on getting this part right? I level the foundation first, ensuring every corner sits flat and true. Without a level base, we invite issues such as sticking doors, stressed walls, and compromised structure. I recheck alignment before securing anything permanent.
Next, I inspect every inch for weather impacts, looking for cracks, misalignment, or damage to doors, windows, and siding. The base must feel rock-solid; I relevel if even one spot feels off. Then I reinstall every fastener and anchor with care, double-checking connections that hold the shed’s structure together.
Finally, I walk the perimeter to confirm clearance on all sides. We have moved your shed effectively; now let’s ensure it remains sturdy for years to come.