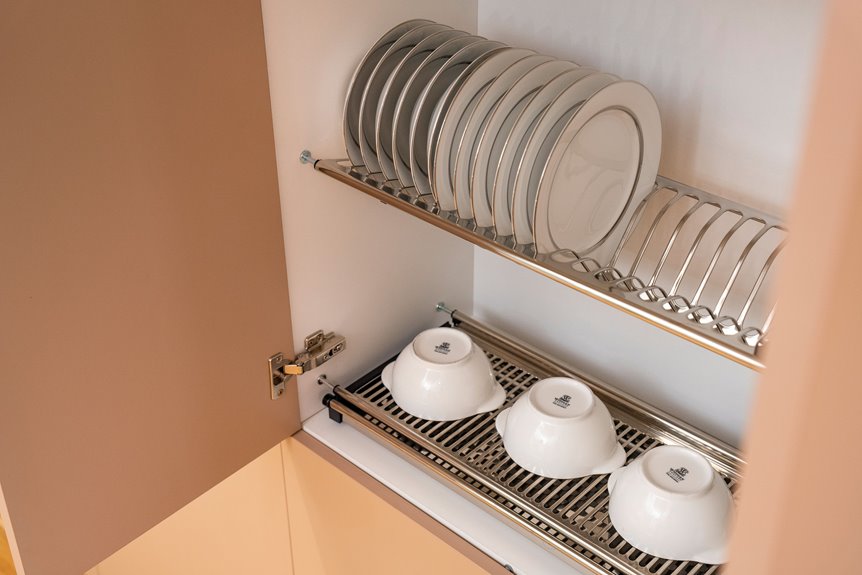
I begin by completely emptying each drawer and sorting everything into labeled piles before purchasing any organizers. This process reveals what I actually use versus what I’ve held onto out of guilt.
I measure my items with a tape measure and select adjustable dividers that accommodate real volumes, rather than idealized Pinterest standards.
I designate specific zones for flatware, utensils, baking tools, and paper supplies, ensuring everything has a dedicated home.
I place everyday essentials in front compartments and store special-occasion items in the back.
I reset my drawers quarterly to address any clutter before it becomes overwhelming.
Follow these steps to create an effective and lasting organization system.
Empty, Sort, and Label Kitchen Drawer Piles Before Buying Organizers
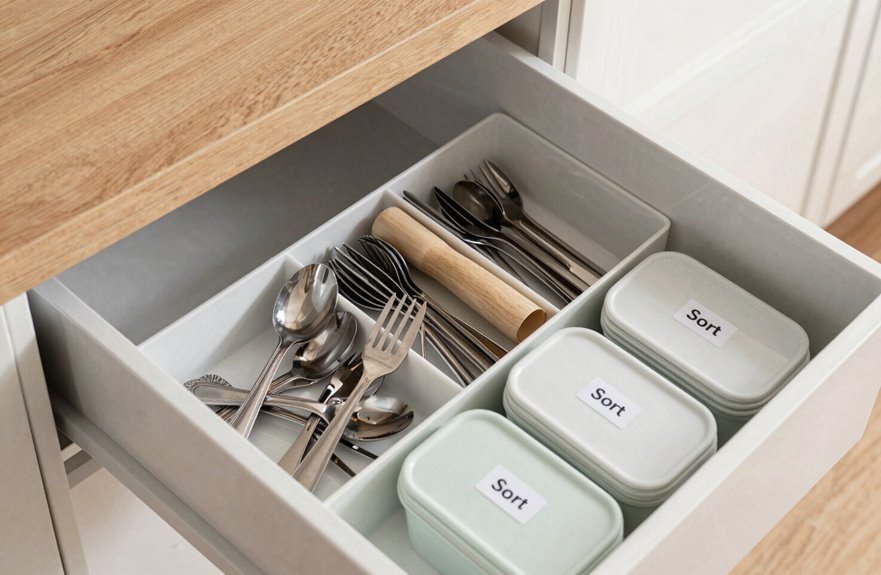
Before I buy a single organizer, I pull every item out of the drawer and spread it across the counter. I am often surprised by what I’ve accumulated: duplicate spatulas, broken gadgets, and that whisk I haven’t touched in years.
We start by emptying every kitchen drawer completely. I sort everything into categories: daily essentials, occasional tools, duplicates, and damaged items. This sorting clarifies what I actually need versus what I’ve been storing out of guilt.
Next, I grab rough paper to plan. I measure my items, count them, and note which categories deserve prime storage space. Then, I measure drawer dimensions and sketch zones before making any purchases.
Finally, I label each pile and planned section. This labeling helps maintain my organization system long after setup day. We aim for functional drawers that remain organized over time.

Perfect Drawer Organizer: This is a simple and easy way to organize kitchen utensils or clothes; Keep everything neat, organized and access convenience

Expandable & Adjustable: Measures 4 inches (10 cm) high and 0.8 inches wide, with an adjustable length that fits most drawers with an inner width or depth of 11 to 17 inches (28 to 43 cm), providing the ideal solution for keeping your items organized and drawers tidy. Note: Please carefully Measure your drawer’s inner dimensions before purchasing

Drawer dividers are the perfect solution to organize open drawers to keep things from shifting.
Size Your Organizers to Actual Items, Not Idealized Compartments
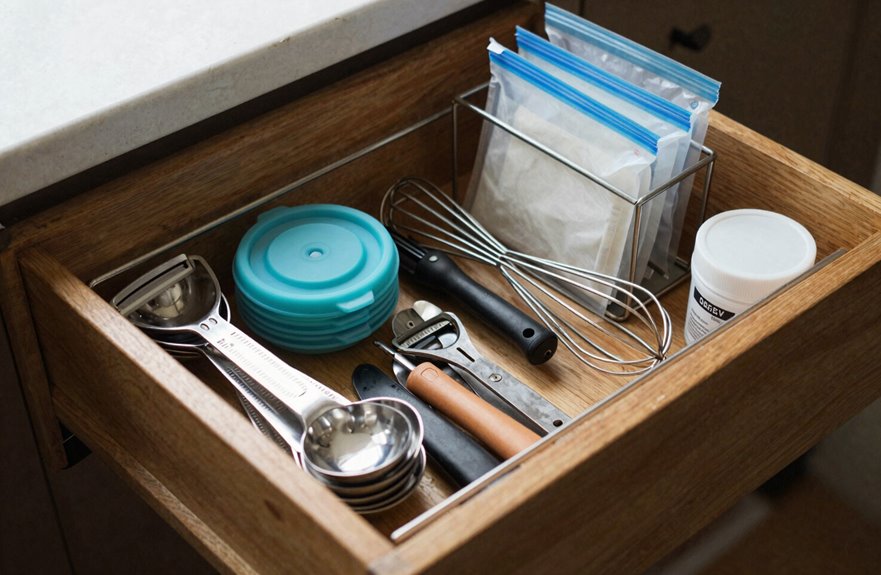
Once I’ve sorted my piles and sketched my zones, I grab my tape measure to get specific about sizing. I measure my contents before buying drawer organizers because nothing frustrates me more than compartments that either swallow my tools or squeeze them tightly. I choose adjustable dividers and expandable inserts that flex with my actual item volumes, not some idealized kitchen I’ll never have. This space optimization allows my utensil grouping to be organized, with everyday forks beside occasional salad servers without wasted gaps. I prioritize in-drawer storage to keep counters clear and maintain a calm environment. Kitchen decluttering succeeds when my systems align with reality. I schedule quarterly reassessments to purge what I’ve outgrown and resize as needed.

Multipurpose Use: This utensil drawer organizer is perfect for storing a wide range of items beyond just silverware. It can neatly store cutlery, stationery, jewelry, tools, and even office supplies. Perfect for use in the kitchen, living room, bedroom, office, and utility room, this silverware drawer organizer offers versatile storage for multiple items across various settings.

Adjustable Length and Width: Exclusive Patented Bi-Directional Adjustable System – Unlike conventional utensil drawer organizers, our top-expandable silverware organizer features both ways adjustment from 13.2" to 22" in width (W) and 14.5" to 19" in depth (D), height is 2", expands to fit – perfect for precision drawer organization. Please note that your drawers interior measure at least 13.2"W x 14.5"D x 2"H” (Pls measure drawer size before ordering)

PERFECT SIZE OF 17” BY 13”: We highly recommend to measure your drawer before order. 2.5” deep, gains up to 20% more storage capacity than other 2” deep organizers. 5 horizontal slots for forks, knives, spoons, and 2 bigger horizontal slots for bigger kitchen utensils such as spatulas, tongs, ladles and more.
Assign Specific Functions: Flatware, Utensils, Baking, Paper, and Tools
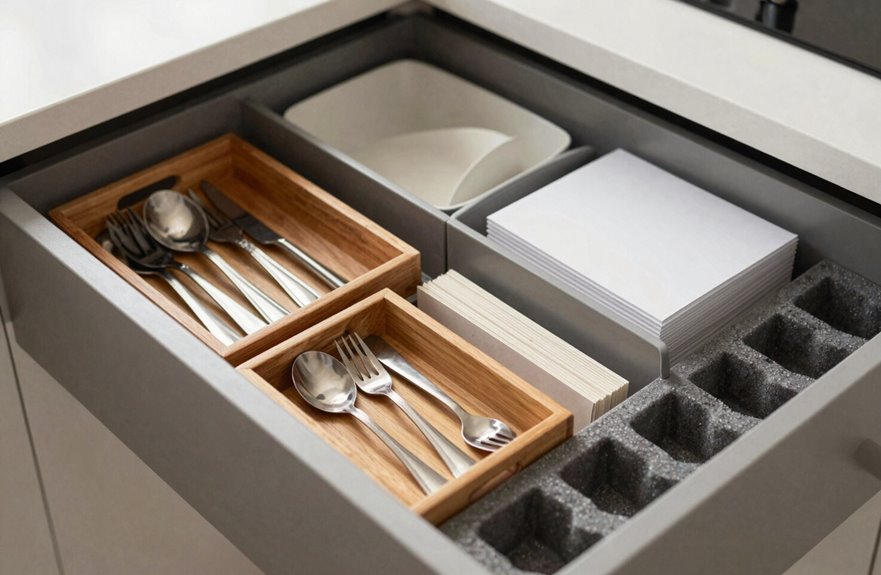
Why does my flatware drawer stay neat while my other drawers descend into chaos? I learned that flatware has its own dedicated space with a stable in-drawer organizer, while everything else fought for attention in mixed-up drawers. I transformed my kitchen storage into clear functional zones.
The secret to a neat flatware drawer? A dedicated space with a stable organizer—while everything else fights for attention in chaos.
Here’s what changed when I stopped dumping and started designating:
- My flatware settled into a bamboo in-drawer organizer, with shears and knives relocated for a cleaner layout.
- Lesser-used utensils and bulky tools moved to a secondary drawer with adjustable dividers customizing each compartment.
- Decluttering revealed space for paper supplies with an acrylic napkin holder, baking tools streamlined to essentials, and shape cutters placed accessibly for Eliza.
Before buying anything, I decluttered. Then adjustable dividers and in-drawer blocks shaped each drawer to its true purpose. We are not just organizing; we are building systems that enhance our daily routines.

Adjustable Design: With its retractable design, The Lifewit silverware organizer fits drawers of various sizes and shapes. It measures 10.9'' wide when folded while reaching 17.5'' when fully expanded. This universal utensil drawer organizer helps you maximize storage space efficiently while keeping your utensils neatly organized and easily accessible

🌿 𝐄𝐗𝐏𝐀𝐍𝐃𝐀𝐁𝐋𝐄 𝐓𝐎 𝐅𝐈𝐓 𝐌𝐎𝐒𝐓 𝐒𝐓𝐀𝐍𝐃𝐀𝐑𝐃 𝐊𝐈𝐓𝐂𝐇𝐄𝐍 𝐃𝐑𝐀𝐖𝐄𝐑𝐒: Our deep bamboo drawer organizer is ideal for saving kitchen storage space, thanks to its adjustable storage drawers that expand from 17”x13” to 17x19.6” wide with 1.9” deep slots. Easy to use and ideal for helping to maximize kitchen storage space, simply pull apart from the sides for additional storage space and a more secure fit for wider drawers. Different sized compartments allow for standard silverware and large utensil placement

Maximum Organization: Featuring 3 large compartments (13.4"L × 3.5"D) and 2 expandable slots on the side (14"L × 4.7"D), this utensil organizer offers ample space for storing most cooking utensils in the kitchen, such as spatulas, ladles, tongs, utensil sets, and whisks. Please check drawer dimensions before purchase
Put Everyday Kitchen Items in Front; Hide Special-Occasion Gear Below
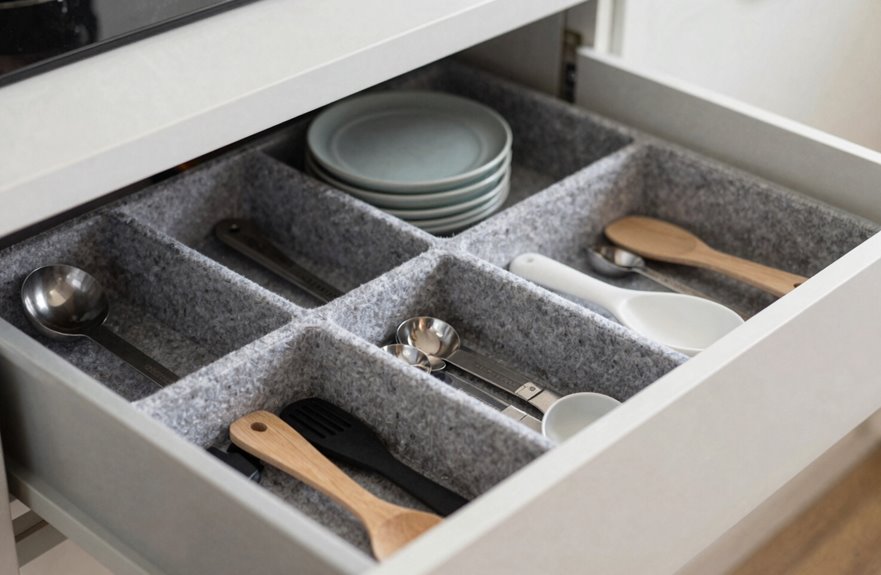
Where did I waste the most time in my kitchen? Digging past items I hardly used to find the one tool I needed daily. That frustration ends with smart kitchen drawer organization built around everyday items for easy access.
I use adjustable dividers and bamboo organizers to create dedicated front compartments for my everyday prep essentials—spatulas, knives, measuring cups—right where my hand falls. My front-focused layout groups tools by function, allowing me to grab what I need without thinking. Less-used items are stored below. Holiday cookie cutters and summer grilling gadgets go into seasonal gear storage, freeing up prime real estate.
Here’s how I balance accessibility:
| Front Zone | Middle Zone | Back/Below Zone |
|---|---|---|
| Daily utensils | Weekly tools | Monthly gadgets |
| Knives & spatulas | Baking extras | Holiday serveware |
| Measuring cups | Specialty pans | Seasonal gear storage |
I practice front-to-back rotation quarterly, sliding forgotten items backward and promoting frequently used items forward. This rhythm keeps my drawers organized and functional.

PREMIUM BAMBOO: Bamboo adjustable drawer dividers are durable, sturdy and have a great design,bringing you super smooth, sturdy & durable drawer dividers for your healthy life.


4 Drawer Dividers with 9 Inserts: Customize your drawer with our bamboo dividers and inserts; You can organize everything from silverware to utensils. The mini dividers can be easily inserted to make smaller or larger storage parts; LENGTH SIZE: Expandable from 17" to 22" Long
Reset Your Kitchen Drawers Quarterly Before Clutter Creeps Back
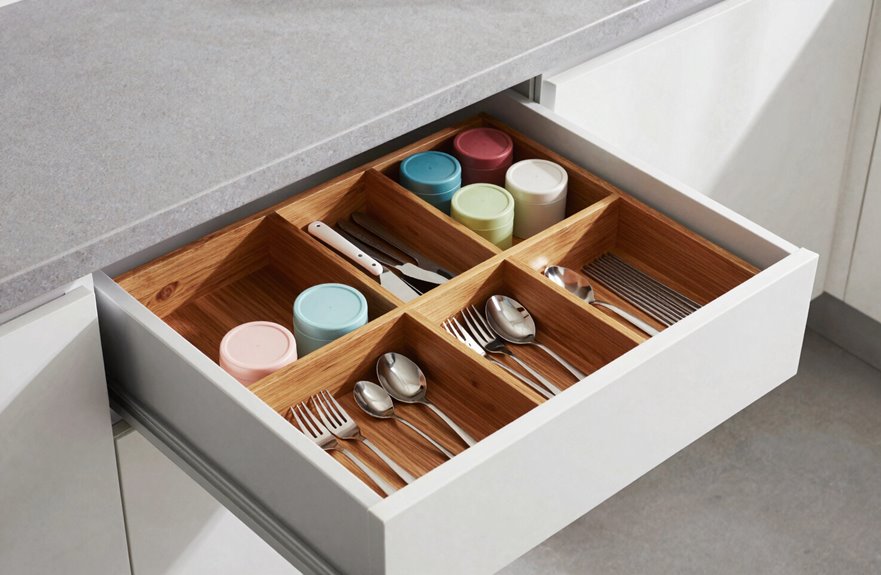
Here’s what I envision for each season:
- Empty drawers stacked on my counter, everything visible.
- Expandable dividers and clear compartments fitting together like puzzle pieces.
- Smooth bamboo surfaces displaying categorized tools, with nothing hidden.
I begin by establishing clear drawer goals, determining what earns its place and what should be moved. I categorize items by function (prep, serve, bake) before putting anything back. Stable organizers enhance accessibility and optimize storage. Regular reviews help me catch shifting habits early. This approach maintains my kitchen drawer organization, ensuring it remains functional and inviting throughout the seasons.

【Expandable Drawer Organizer】: Marbrasse newly launched the expandable drawer organizer! The humanized drawer organizer tray owns 2 sliding extension-type compartment which designed to fit any drawer, from 9.17 inches up to 17.12 inches. This drawer organizer specialized to comply with your desk, such a perfect supplies desk organizer must be the best choice for your office accessories

【L-SHAPED DESIGN FITS AROUND PIPES AND GARBAGE DISPOSALS】 The narrow top basket mounts left or right to clear your plumbing. The wide lower tier reclaims full vertical space under the sink, turning a blocked corner into organized, easy-to-use cabinet storage

All-in-One Desk Organizer: WALI multi-tier desk organizer features 4 letter trays, a vertical file folder organizer, 2 metal pen holders and a sliding divided drawer, keeping your office supplies for desk tidy and maximizing desktop space, ideal for women and men as office desk accessories