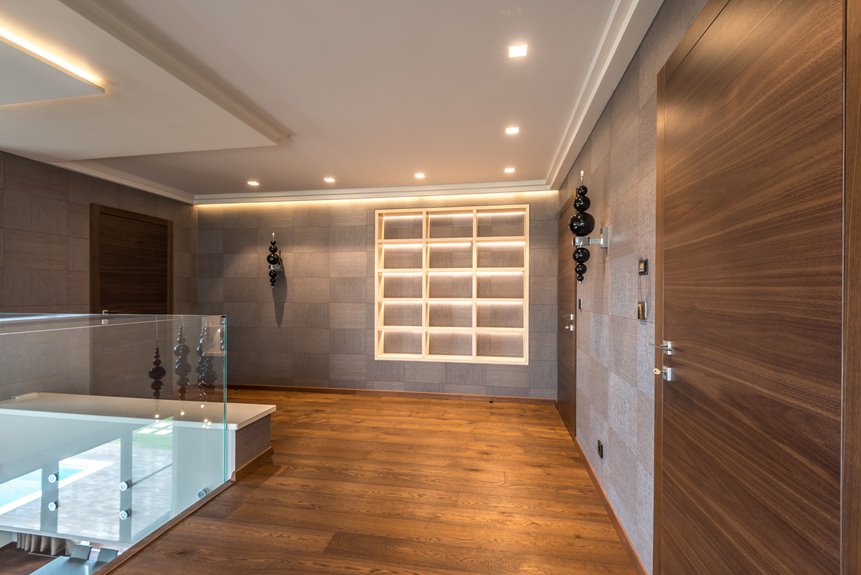
Recessed lighting breaks down into two main styles: downlights for focused, general illumination and wallwashers for highlighting vertical surfaces with ambient glow. You’ll choose between can housings, which are separate metal enclosures ideal for new construction, or slim, integrated canless units that are perfect for retrofits. Your housing also needs to match your build phase, with joist-attached options for new construction and adjustable brackets for remodels. From there, you can select trim shapes like round, square, or flangeless, along with aperture sizes and beam spreads that influence the overall atmosphere of a space. It’s important to consider how these choices align with the specific needs of your rooms.
Recessed Downlights vs. Wallwashers: Which Style Fits Your Space?
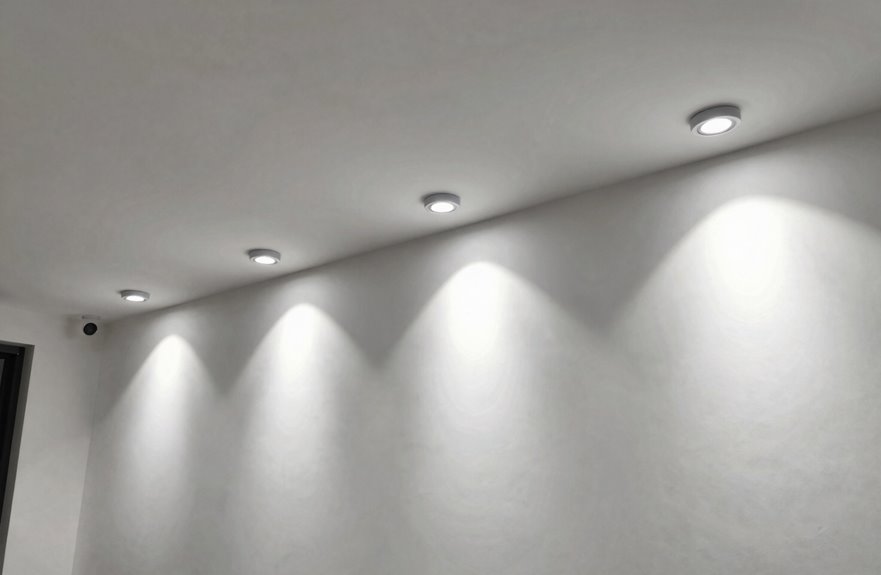
How do you choose between recessed downlights and wallwashers when planning your lighting? This decision primarily depends on your intended outcome for the space.
Recessed downlights offer a clean, streamlined look, providing focused light downward for general illumination. They are a versatile choice for unobtrusive lighting that fits in various settings.
Recessed downlights deliver clean, focused illumination downward—versatile and unobtrusive for any setting.
Wallwashers serve a different function. They are effective for highlighting vertical surfaces, adding depth to a room, or creating a soft ambient glow that makes spaces feel larger and more inviting. Wallwashers require wider beam spreads to evenly illuminate walls without harsh hotspots.
Both types share the same basic components—housing, trim, bulb—but fulfill distinct roles. Consider your room’s dimensions and whether you need focal lighting or wall illumination to guide your choice.
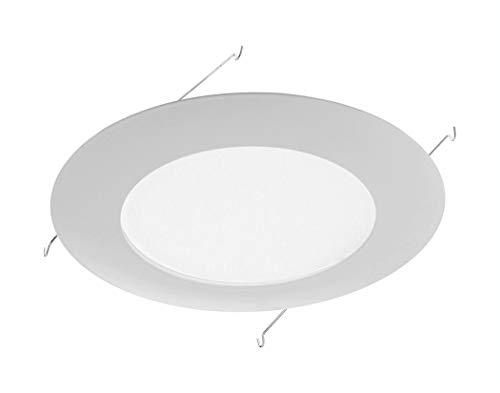
Requires one A19 bulb rated up to 60-Watts Max. (not included)

These goof rings have an outer diameter of 8.6 inches and an inner diameter of 6.22 inches. They offer a clean look and cover up unsightly ceilings with torn drywall, mis-cuts, and oversized holes.

Requires one BR40 or PAR38 bulb rated up to 150-Watts Max. (not included)
Linear and Multiple Recessed Layouts: Hallways and Scaled Configurations
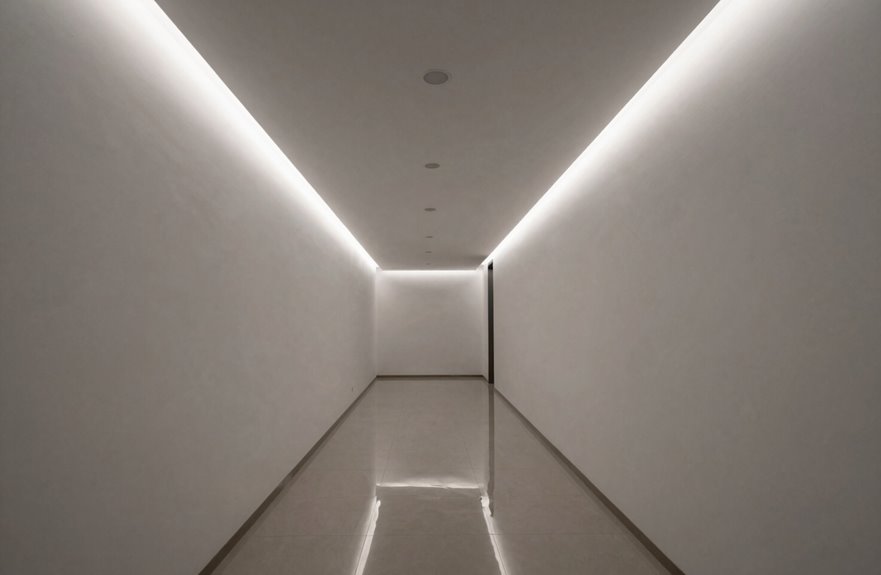
I’ll walk you through how hallway lighting configurations and scaled layout options transform recessed fixtures from simple points into effective room-shaping tools. When planning a corridor, I line multiple downlights in continuous runs that guide your eye forward without cluttering the ceiling. For larger spaces, I scale those same principles by adjusting fixture spacing, beam spread, and ceiling height to create even, unobtrusive illumination across any length or width required.

Premium Quality – Die-cast aluminum construction with FT6 DC cable, for safety and durability.
![CLOUDY BAY [4 Pack] 6 inch Gimbal Smart WiFi LED Recessed Lights,RGBCW Color Changing,Compatible with Alexa and Google Home Assistant,No Hub Required,15W 2700K-6500K, IC Rated](https://m.media-amazon.com/images/I/31wpyGcCMuL._SL500_.jpg)
Voice Control: Compatible with Alexa and Hey,Google. Use simple conversations to control your lights and release your hands like“Alexa, turn the light to day light” The answer is “OK” and followed by lighting change

Multi-directional metal step baffle to shed light in desired areas of any application
Hallway Lighting Configurations
Three distinct approaches define hallway recessed lighting: single rows for narrow passages, staggered pairs for wider corridors, and scaled clusters for transitional spaces. Linear layouts with multiple fixtures create an even, welcoming glow in corridors. Space your recessed cans about 6 to 8 feet apart for seamless brightness that enhances the home environment.
- Warm pools of light greet you after long days.
- Clean lines make narrow spaces feel open and inviting.
- Gentle illumination guides your family safely through the night.
- Wall-wash trims showcase your memories and art.
- Proportioned fixtures respect each hallway’s unique character.
For tighter spaces, I recommend 4-inch recessed lighting for focused beams, while larger 6- or 8-inch housings beautifully serve broader corridors. Adjustable trims control glare and highlight important features along your walls.
Scaled Layout Options
Where should you place each fixture when a hallway stretches beyond the reach of standard spacing? I turn to a scaled layout that blends 4-inch, 6-inch, and 8-inch housings to balance brightness across every foot of the corridor.
Linear and multiple recessed layouts create continuous light lines that guide you home. I space fixtures 4–8 feet apart, adjusting for lumen output to eliminate shadows or glare. Compact apertures maintain a clean ceiling while providing even coverage.
For seamless results, I often choose recessed track systems or canless fixtures that integrate into the architecture. Your hallway becomes a passage that invites you to linger—thoughtfully lit, precisely planned, and distinctly yours.
Can vs. Canless Recessed Lighting: How to Choose Your Housing
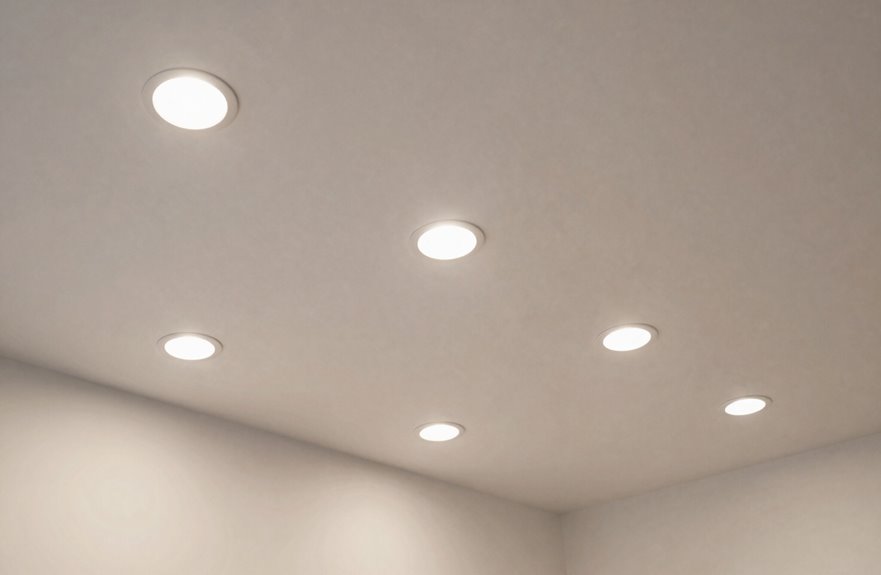
I will explain how housing structure influences your choice between can and canless options, as each design has specific installation requirements. Can housings necessitate securing a separate metal enclosure in your ceiling, while canless units allow for a slim, integrated fixture to be snapped directly into place. Understanding these structural differences helps determine which approach is suitable for your ceiling depth, construction phase, and comfort level with electrical work.

INSTALLATION: Easy retrofit led recessed lighting design fits most existing 6 inch recessed lights housings. matches HALO's most popular canless fixtures, making it perfect for remodel projects or new construction without requiring additional housing modifications for seamless integration.
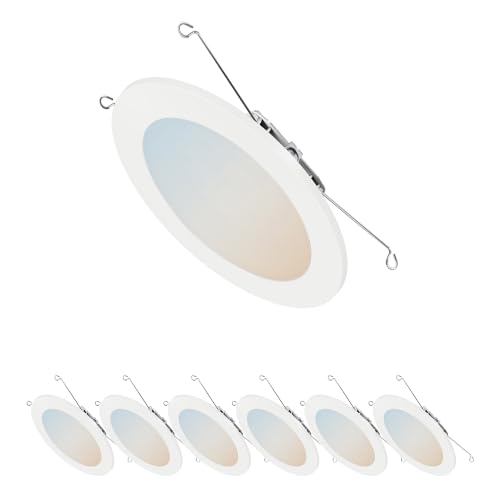
INSTALLATION: Easy retrofit led recessed lighting design fits most existing 6 inch recessed lights housings. matches HALO's most popular canless fixtures, making it perfect for remodel projects or new construction without requiring additional housing modifications for seamless integration.

5 CCT-in-1: 5 color temperature(2700K, 3000K, 3500K, 4000K, 5000K) is selectable to you, which successfully eliminates the hassle of returning or exchange products due to inappropriate color temperature. Just slide the switch on the side of the J-box and you will get the most-desired color that best fit in your room type.
Housing Structure Differences
When choosing between recessed lighting options, I focus on the housing construction, as it affects both installation difficulty and the fixture’s long-term performance. The differences in housing structures between can and canless recessed lighting fundamentally influence your approach.
Can housing employs a separate metal enclosure that holds the bulb and electrical components while effectively managing heat dissipation. In contrast, canless units integrate everything into one slim profile, typically just a few inches deep.
For new construction, I attach housings directly to joists during the building phase. Remodel housings utilize adjustable brackets designed for existing ceilings.
- Select technology that complements your home’s unique character.
- Know you’ve chosen a foundation that ensures lasting performance.
- Gain confidence as you understand these essential differences.
- Take pride in matching your housing choice to your ceiling’s specific needs.
- Join others who make informed lighting decisions.
Installation Complexity Comparison
Because installation complexity varies between these two housing types, matching the right approach to your specific project timeline makes a significant difference. Can housing requires more planning, as you’re mounting to joists during construction or cutting larger ceiling openings for remodels. Canless recessed lighting slides right into tight spaces, making it ideal for upgrades without extensive renovations.
| Factor | Can Housing | Canless Recessed Lighting |
|---|---|---|
| Ceiling Depth Required | 6-8 inches typical | 2-3 inches typical |
| Best Application | New builds, open framing | Retrofits, finished ceilings |
| Wiring Complexity | Accessible junction box | Integrated, streamlined |
You will want can housing when building from scratch and needing robust heat management. Canless recessed lighting is suitable for homeowners transforming existing spaces, offering simpler tools and faster results.
New Construction, Remodel, and IC-Rated: Matching Housing to Your Ceiling
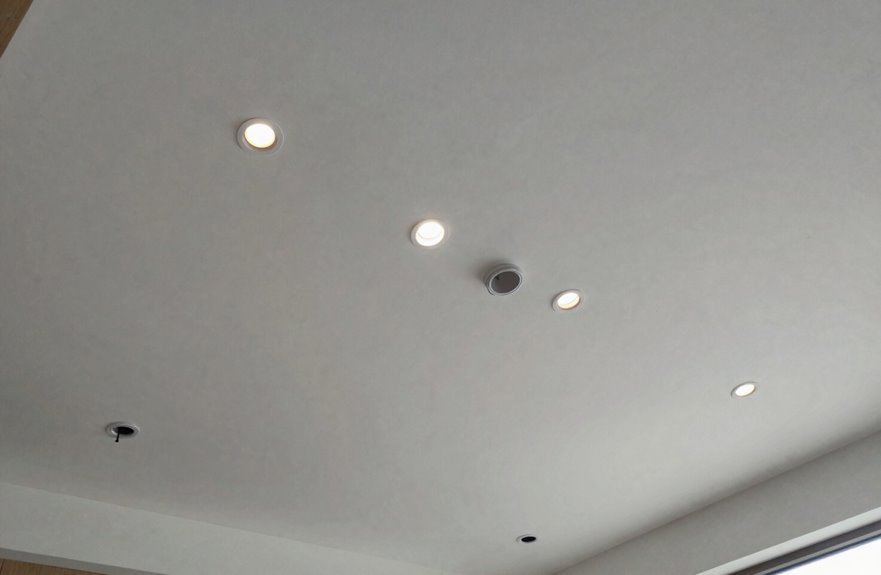
How do you choose the right recessed lighting housing for your ceiling? Selecting the appropriate option is crucial for creating a comfortable space. For new construction, I install housings directly to joists before the drywall is put up, ensuring clean and straightforward wiring. Remodel housing is designed for existing ceilings; I utilize adjustable brackets that slide through cutouts and secure tightly. IC-rated housings can safely touch insulation, minimizing fire risks and enhancing energy efficiency.
Join us in building spaces where we all belong:
- Experience the satisfaction of a seamless installation
- Ensure your family’s safety
- Create inviting, efficient rooms for guests
- Rely on a ceiling that complements your design
- Make a smart, lasting choice for your home


✅ Top Rated 6 Inch New Construction Can Recessed Light Housing

4 Inch New Construction Can Recessed Light Housing
Recessed Trim Shapes and Finishes: Round, Square, or Flangeless
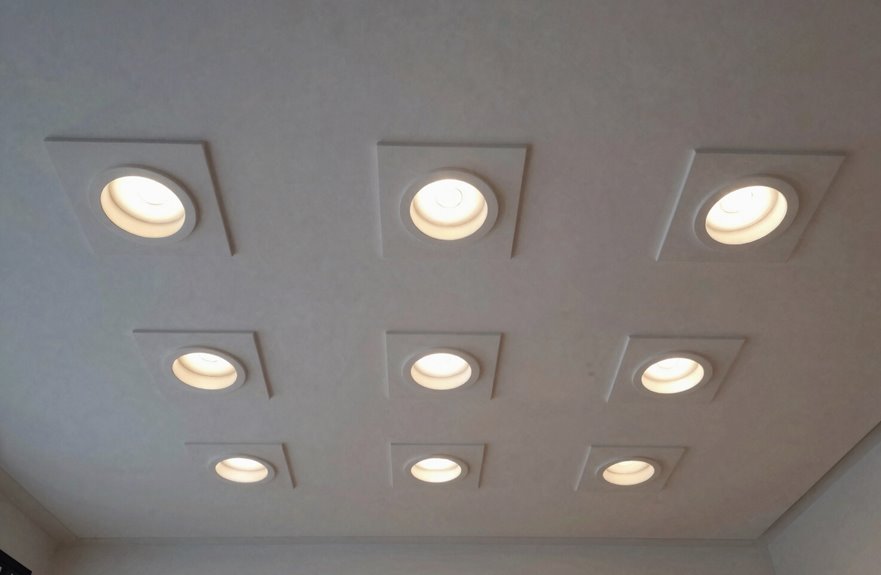
What shape should your recessed lighting take? Choose among trim shapes that suit your space.
Round trims are a timeless favorite, often the first image that comes to mind when considering recessed lighting. They integrate seamlessly into traditional homes. If you prefer cleaner lines, square trims provide a modern edge, framing your ceiling with intentional geometry.
Flangeless trims offer a minimalist approach, blending into the ceiling and allowing pure light to take center stage. This option is often favored by architects who prioritize architectural aesthetics over hardware visibility.
Your finish is important as well. Whether you choose to match or contrast with your cone, you’re creating a cohesive look that enhances your overall design.

💡 【20W 9-inch Recessed Lighting】 This 9inch canless LED recessed ceiling light consumes only 20 watts and delivers a 2700K-3200K soft warm white glow, creating a cozy and inviting atmosphere in bedroom, living room, dining room, and kitchen. Perfect for retrofit upgrades and new installations, its slim profile and canless design make it a versatile and hassle-free choice for any LED can lighting project.

IC Rated 6 Inch Slim LED Downlight with Junction Box
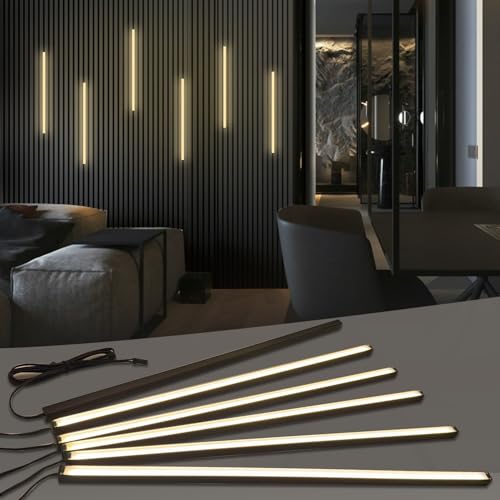
𝐅𝐮𝐬𝐞𝐝 𝐁𝐥𝐚𝐜𝐤 𝐂𝐨𝐥𝐥𝐞𝐜𝐭𝐢𝐨𝐧: This wall panel lights set Includes 6-piece of 16-inch 12V black LED strip lights. These slat wall lights feature black aluminum profiles, matte black diffuser covers and 3.1m black extension cables for flexible wiring. The 𝟎.𝟒-𝐢𝐧𝐜𝐡 𝐰𝐢𝐝𝐞 all-black wall panel LED lights seamlessly blends into slat panel gaps, easy to conceal and ideal for decorative black, matte black, gray oak, teak and black walnut wood slat wall panels etc. (𝐍𝐨𝐭𝐞: 𝐈𝐏𝟑𝟎 𝐍𝐨𝐭 𝐖𝐚𝐭𝐞𝐫𝐩𝐫𝐨𝐨𝐟 𝐖𝐢𝐫𝐞𝐝 𝐋𝐢𝐠𝐡𝐭 𝐒𝐭𝐫𝐢𝐩 𝐡𝐞𝐢𝐠𝐡𝐭: 𝟎.𝟒". 𝐏𝐚𝐧𝐞𝐥 𝐭𝐡𝐢𝐜𝐤𝐧𝐞𝐬𝐬 ≥𝟎.𝟒𝟑" 𝐢𝐬 𝐫𝐞𝐪𝐮𝐢𝐫𝐞𝐝 𝐟𝐨𝐫 𝐟𝐥𝐮𝐬𝐡 𝐢𝐧𝐬𝐭𝐚𝐥𝐥𝐚𝐭𝐢𝐨𝐧.)
Aperture Size and Beam Spread: How Cone Width Affects Your Light
Why does the same fixture feel different in two rooms? The answer lies in aperture size and beam spread working together. The cone width from your recessed light determines whether you’re bathing your space in a welcoming glow or spotlighting a single moment.
- Feel the warmth of a wide beam embracing your family gatherings.
- Discover intimacy in narrow cones that protect your quiet corners.
- Escape harsh glare that pushes people away from spaces.
- Take control of your lighting design, ensuring it aligns with your needs.
- Create rooms that reflect how you actually live.
I choose larger apertures for open areas where connection occurs, and smaller ones where focus is essential. Your beam spread shapes how people feel beneath it.

6 Inch Recessed light trim with detachable ring, your best choice to replace your yellowed trim

Requires one A19 bulb rated up to 60-Watts Max. (not included)

Recessed Lighting for Bathrooms: Wet Ratings and Special Features
Where does water meet electricity in your bathroom? It’s in areas where we want beautiful lighting—above showers, near tubs, and beside sinks. That’s why I always check the damp/wet rating before choosing any fixture for these spaces.
Wet lighting is essential for safety. I look for proper IP ratings and confirm that both trim and housing carry the right damp/wet rating for each zone. LED sources enhance energy efficiency and keep the bathroom cool. I also select baffle, reflector, or wall-wash trims in white, black, or metallic finishes to create the retreat I envision.
I ensure to check IC ratings as well; proper insulation contact protection prevents dangerous heat buildup in ceiling cavities near steam-filled areas.

WALL WASH DESIGN FOR EVEN LIGHT DISTRIBUTION - Engineered to create a smooth, uniform wall wash effect. Ideal for highlighting walls, artwork, and architectural features in residential and commercial spaces.

LED Wallwasher from the Square collection

LED Wallwasher from the Square collection
Dimming and Anti-Glare Options: Finishing Your Recessed Setup
How can I elevate my recessed lighting from functional to flawless? I plan to incorporate dimming and anti-glare features along with aperture size and beam angle for even light distribution. I will choose dimming-compatible LED drivers to adjust brightness for any mood while saving energy. Anti-glare lenses, diffusing options, or specific trim designs will minimize stray light and visual discomfort. I will coordinate trim finishes—white, black, or silver—with my space’s aesthetic. For bathrooms, I will install wet-rated trims that maintain performance despite moisture.
- Enjoy the warmth of a dinner party with gentle, dimmed glow.
- Protect your eyes from harsh glare during late-night reading.
- Match your style with finishes that complement your aesthetic.
- Create sanctuary moments with light that aligns with your rhythm.
- Experience spaces where every detail feels intentionally yours.

INSTALLATION: Easy retrofit led recessed lighting design fits most existing 4 inch recessed lights housings. matches HALO's most popular canless fixtures, making it perfect for remodel projects or new construction without requiring additional housing modifications for seamless integration.

5 CCT-in-1: 5 color temperature(2700K, 3000K, 3500K, 4000K, 5000K) is selectable to you, which successfully eliminates the hassle of returning or exchange products due to inappropriate color temperature. Just slide the switch on the side of the J-box and you will get the most-desired color that best fit in your room type.
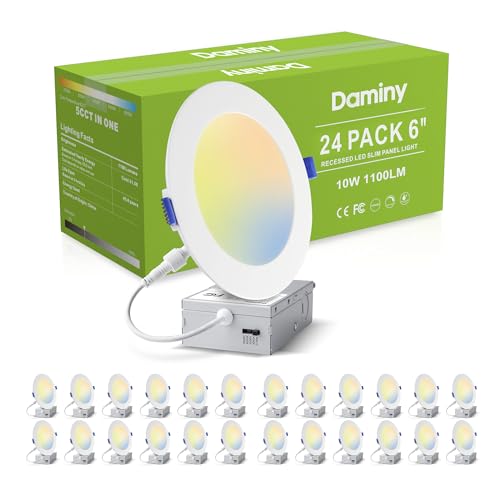
💡【5 CCT-in-1】5 color temperature options (2700K/3000K/3500K/4000K/5000K) for different application scenarios, eliminates the hassle of returning or exchange products due to inappropriate color temperature. Just slide the switch on the side of junction box for your desired color temperature.