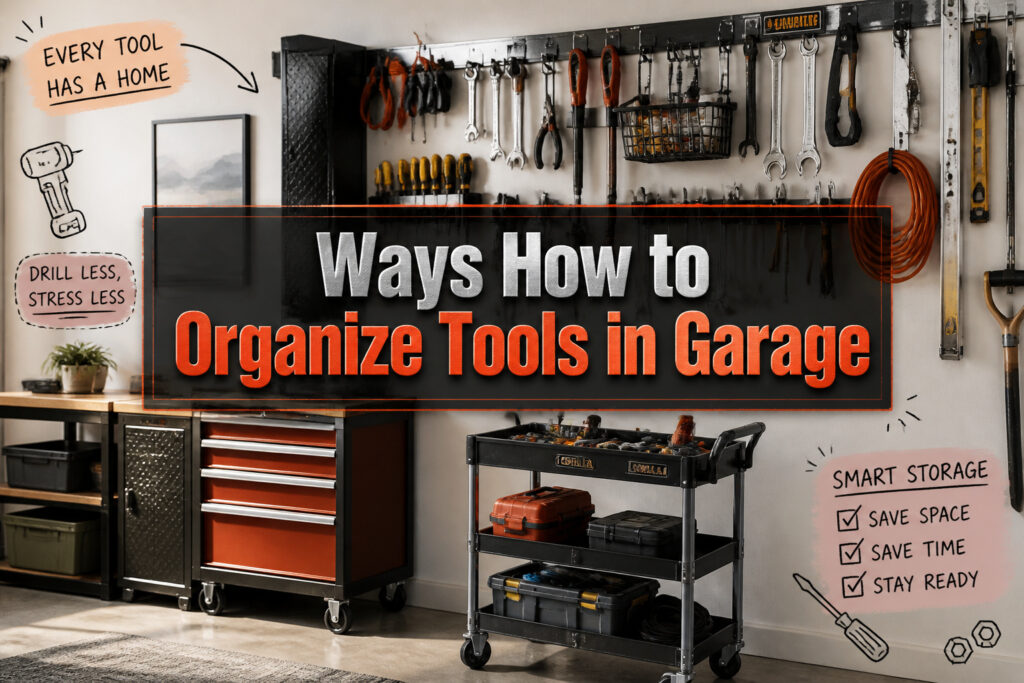
The right garage storage system depends on whether you own the wall or might need to leave it behind next year. Renters who drill into studs lose security deposits; freestanding racks and rolling carts keep your layout portable without sacrificing access. The Gladiator GearTrack rail mounts in minutes and lets you slide hangers between woodworking and automotive setups without fresh holes, proof that permanent-looking order does not require permanent decisions.
1. Wall-Mounted Racks
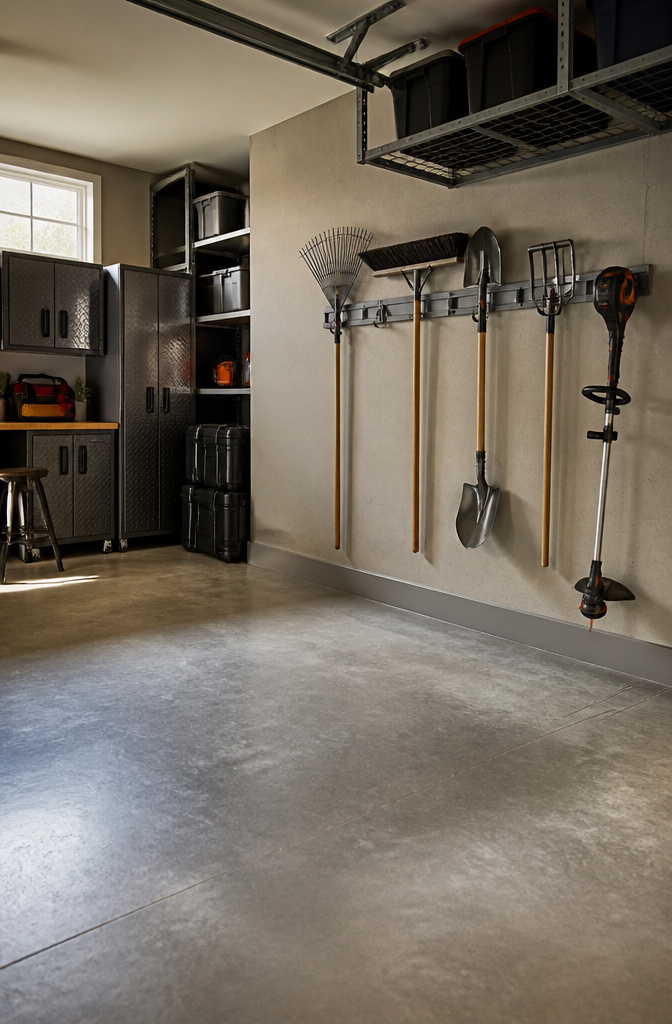
Vertical wall storage puts tools at working height and clears floor space that otherwise collects sawdust and scrap lumber. The Gladiator GearTrack system mounts as a horizontal rail, then lets you slide hangers to new spots without drilling fresh holes; rearranging takes minutes when your collection shifts from woodworking to automotive work. Renters who cannot drill into studs have a solid alternative in freestanding racks that lean against or bolt to existing shelving, giving the same visibility without lease violations. I spent too long stacking long-handled tools in corners where they fell and blocked the mower; the wall solved that, but only after I accepted that not every wall needs a permanent decision.
2. Pegboards
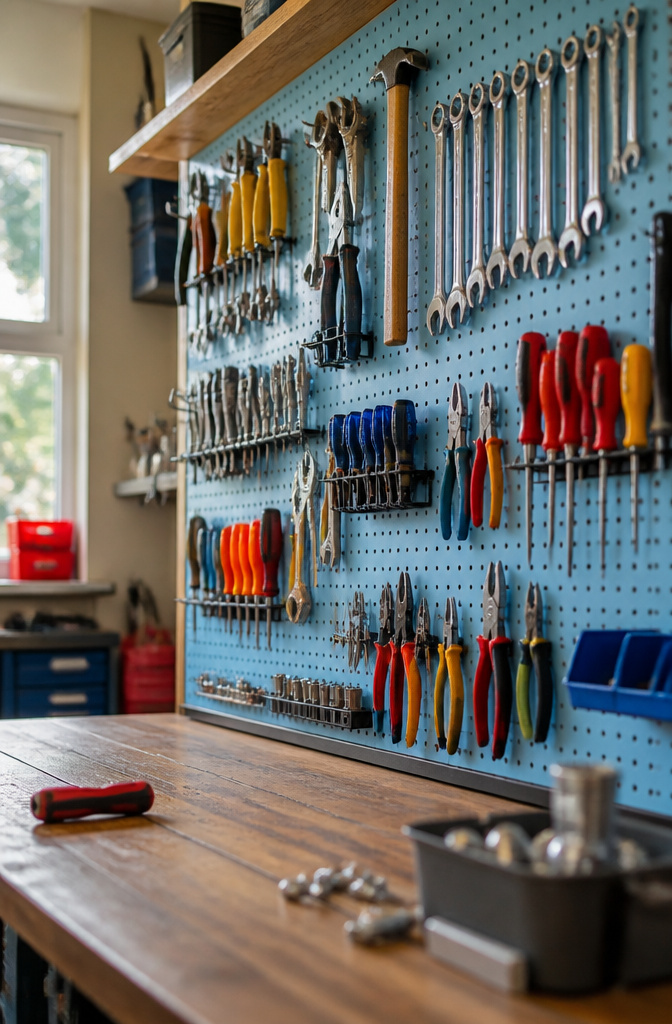
A pegboard still earns its wall space because you see every tool at once, no drawer to open or bin to dig through. Standard 1/4-inch pegboard handles most hand tools fine, but heavier gear needs the thicker 1/2-inch board or a metal version so hooks don’t tear out. Paint it a light color and the silhouette of each tool jumps against the background, especially under garage lighting that tends to pool in corners. The real advantage is speed: move a hook, add a small shelf, reconfigure the whole wall in twenty minutes when you pick up a new tool or retire an old one. I like that it doesn’t pretend to be furniture. It is a working surface, and it looks like one, which means you actually use it instead of treating it like a display you can’t disturb.
3. Freestanding Storage
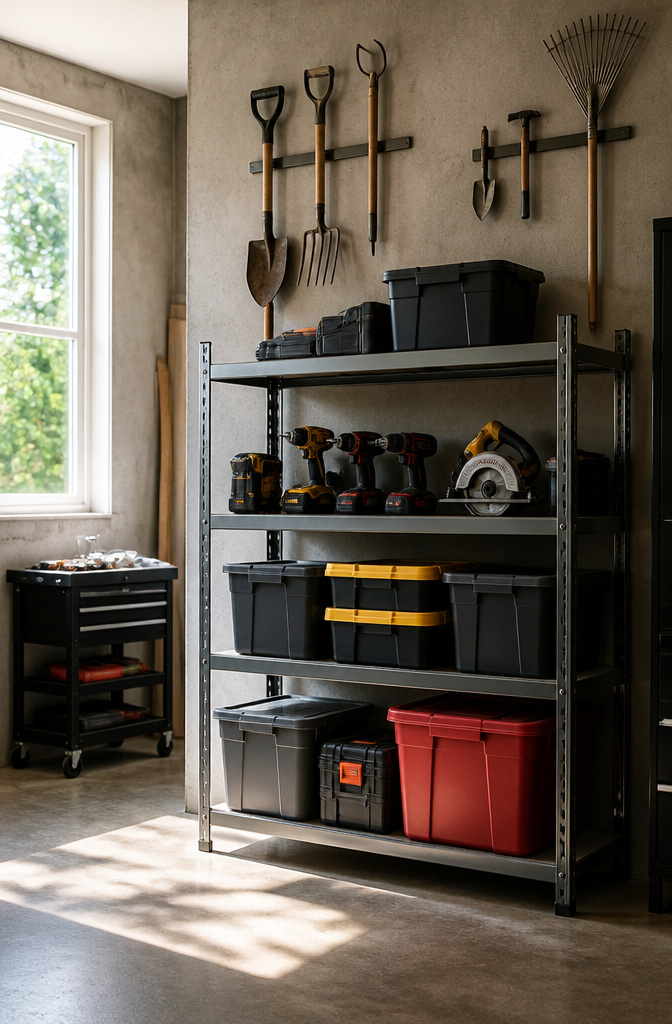
Metal shelving units, resin cabinets, and modular systems that stand without anchors are the practical answer for anyone who might need to pack up and move their whole setup. I learned this the hard way after drilling into a landlord’s concrete block wall and eating the security deposit. Freestanding storage sacrifices some stability and wall space efficiency, but the portability is worth the tradeoff if you rent or rearrange often.
Weight ratings are the spec to check before buying, not after you’ve loaded the shelf. A unit rated for light storage will bow or warp once you stack it with power tools and bins of fasteners. The metal Gladiator shelves I eventually switched to held up where plastic had failed; the resin cabinets that line my current garage each list their load capacity on a sticker inside the door, and I treat that number as a hard ceiling, not a suggestion.
For garden tools specifically, vertical freestanding racks keep long-handled items upright without touching the wall. Rolling organizers with locking wheels move out to the driveway or garden beds and lock back in place once the job is done. The tradeoff is real: these units eat floor space that wall-mounted systems would free up, and they can shift if bumped hard enough. Anchor them if you own the place, or leave them loose and accept the wobble if you do not.
4. Tool Drawers and Cabinets
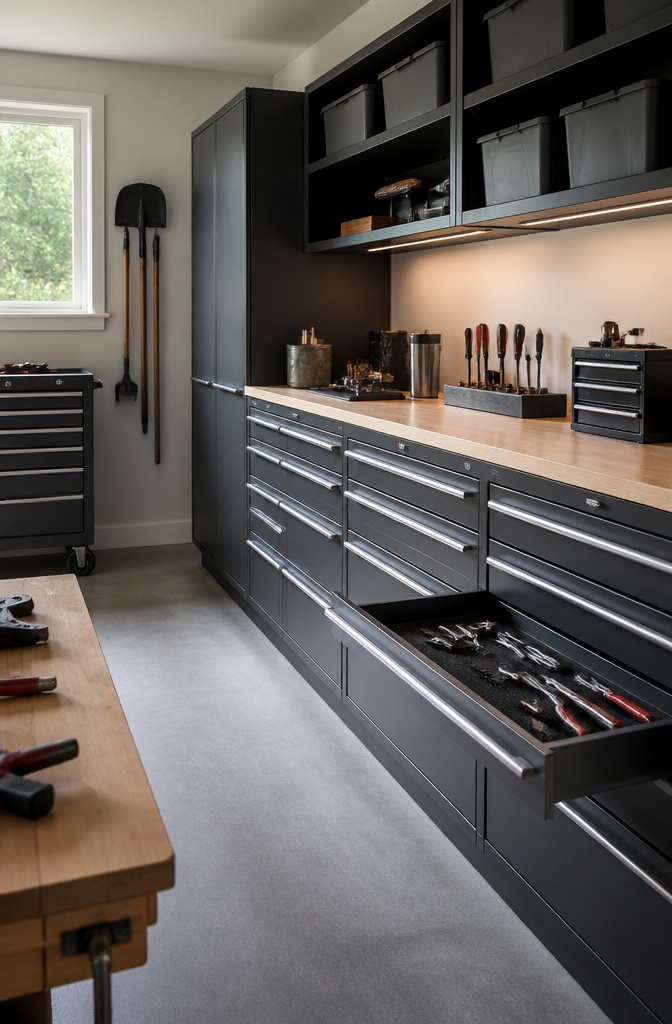
Enclosed storage is the only approach that actually protects tools from the garage environment. Dust settles on everything left open, and moisture in the air starts surface rust on steel within a season. Cabinets with drawers solve both problems at once, and they hide the visual clutter that makes a garage feel smaller than it is.
The drawer hierarchy matters more than most people think at first. Daily tools belong in the top drawers, where you reach without bending. Specialty or occasional tools go lower, since you plan for those trips. I sort by category, wrenches with wrenches, screwdrivers with screwdrivers, and within each group by size so the right one is immediate to the eye.
Foam cutouts or simple rubber drawer liners keep tools from sliding and knocking into each other every time a drawer closes. The liners cost little and save the edges on expensive pieces. Lockable drawers are worth considering for anything dangerous or worth stealing, especially in a garage that doubles as workshop and storage for the whole household.
5. Overhead Storage
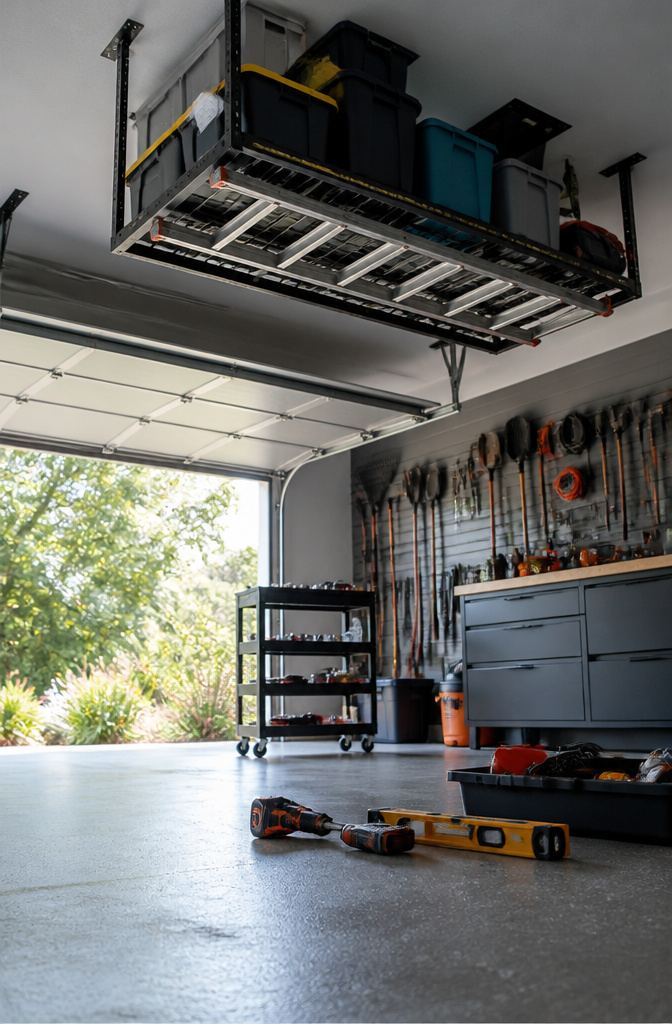
Ceiling-mounted racks and hoists turn the empty space above a garage door or workbench into storage for the things that sit unused most of the year. I looked at the Adjustable Ladder Ceiling Rack as one solid option: it bolts to ceiling joists, adjusts to different heights, and holds bins, ladders, hoses, and bulky items that would otherwise collect dust in a corner. Seed trays, extra bags of soil, or holiday decorations fit well up there, especially if the bins are labeled so you remember what you stored six months later.
The real limit on overhead storage is access. Nothing that goes overhead should need frequent access, because ladders and lifting overhead are where people get hurt. Seasonal items, the sleds or fishing gear you touch twice a year, belong up high. Anything you reach for monthly or weekly stays on a wall rack or shelf at standing height. The one exception I would make is a ladder itself: storing it overhead means you need a ladder to get your ladder, which is either comic or dangerous depending on how tired you are that Saturday morning.
6. Magnetic Strips
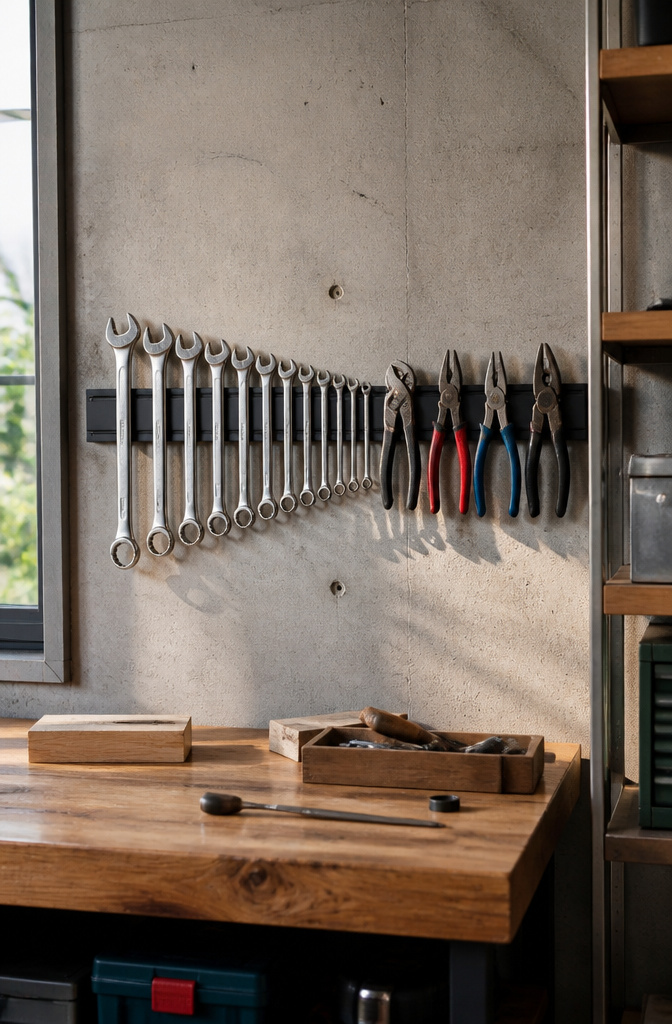
A magnetic strip mounted at eye level keeps wrenches, pliers, and screwdrivers where you can grab them without opening a drawer. The cheap kitchen-knife bars work for light hand tools, but heavier sets need the industrial-grade holders rated for real weight. Either way, the magnet grips tight enough that trapped moisture against the wall becomes a problem in humid garages. Aluminum levels, brass mallets, and anything non-ferrous just slide off, so plan another home for those. If your garage runs damp, Florida-style condensation will find the gap between tool and strip, and even decent steel will start showing rust where it sits flush. A dehumidifier helps, or just pull the tools down monthly to let the wall side dry.
7. Rolling Carts
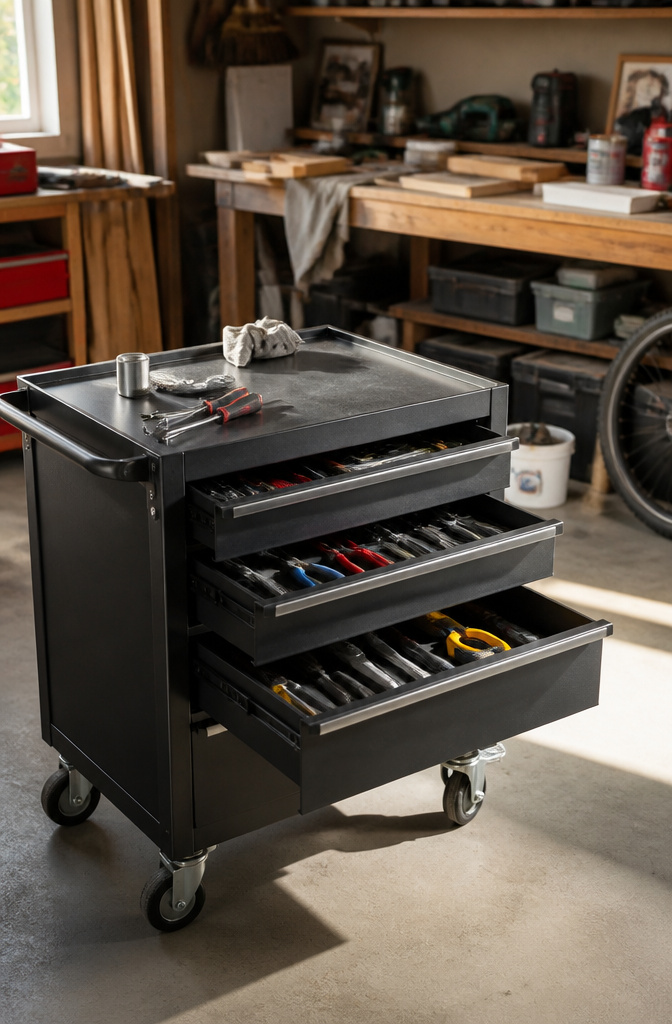
A rolling cart turns any corner of the garage into a temporary workstation. I keep a three-drawer cart loaded with the hand tools I reach for on every project, and it follows me from the workbench to the driveway without a second trip back to the wall. The full-width roll-away cabinet does the same job at larger scale, swallowing power tools and hardware bins that would otherwise clutter a fixed bench.
The cart only earns its keep if every tool goes back to its slot. Left unchecked, it becomes a portable mess that drags disorder from one end of the garage to the other. I set a hard rule: the cart gets cleared before the car pulls back in. For garages that double as parking space, a rolling workbench built from 2x4s and plywood rolls flat against the wall when the project ends, reclaiming the bay in minutes.
8. Labeling Systems
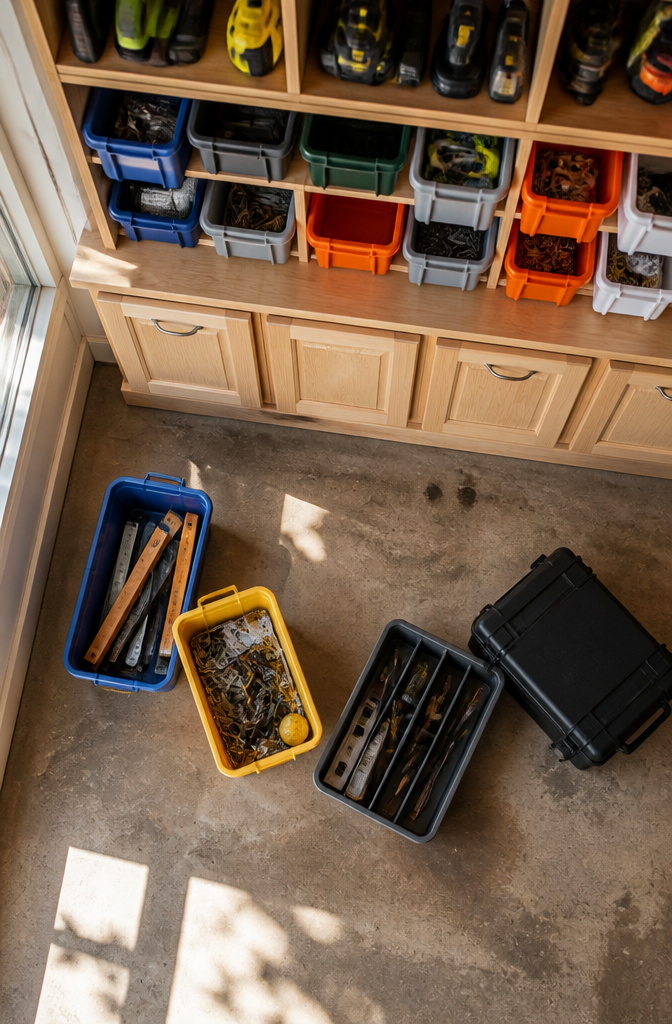
A label that reads "electrical" will get a tool back where it belongs; a label that reads "misc" guarantees the drawer becomes a junk pile by spring. I learned that the hard way after my first garage sort, when three different bins all carried the same meaningless word and nothing inside matched.
For the bins and cabinet doors, embossed tape on a handheld label maker lasts through garage humidity and still reads clean after years. Printed labels from a desktop machine look sharper if the setup faces a living area or you just prefer the finish. When the budget is tight, masking tape and a permanent marker do the job; the tape peels off clean when the category changes, and replacement costs pennies.
The point is naming what is inside precisely enough that someone else, or you six months later, knows where to return the item. "Chargers and cords" beats "power stuff." "Hex head bolts" beats "hardware." Specificity is the whole function. Without it, the wall-mounted panels and labeled bins that define each zone, the daily-use zone against the power-tool zone, start bleeding into each other and the system collapses.
9. Safety Equipment Placement
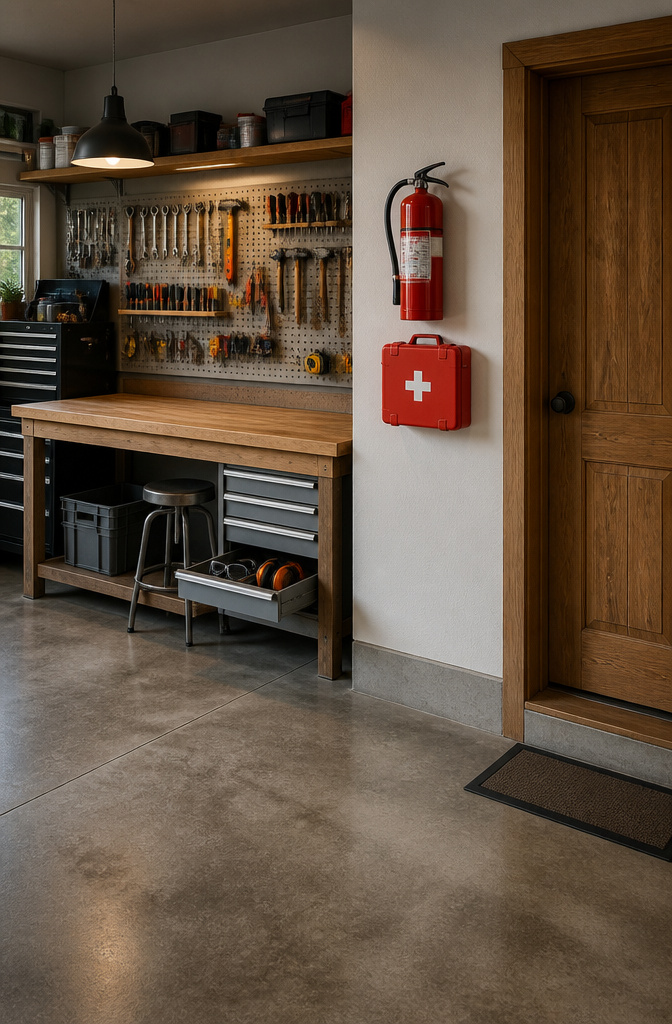
A fire extinguisher rated for electrical and chemical fires belongs on the wall beside the door you use most, not tucked behind the holiday bins. The same rule applies to the first-aid kit and the goggles and ear protection you actually wear: if reaching them takes longer than ten seconds, you will skip them when a blade binds or a battery sparks. I learned that timing by catching myself hesitating once too often, and the hesitation meant the gear was already too far away.
Ventilation matters just as much as the hardware. A garage without moving air, whether from an exhaust fan or a window you prop open, turns solvent fumes or a running engine into a hazard you cannot see. The workbench stays stable and the floor stays clear of sawdust and meltwater so you are not dodging tripping hazards while you are trying to find the kit. Safety gear visible and reachable in under ten seconds is the standard that makes the rest of the organization worth building.
10. Declutter and Inventory
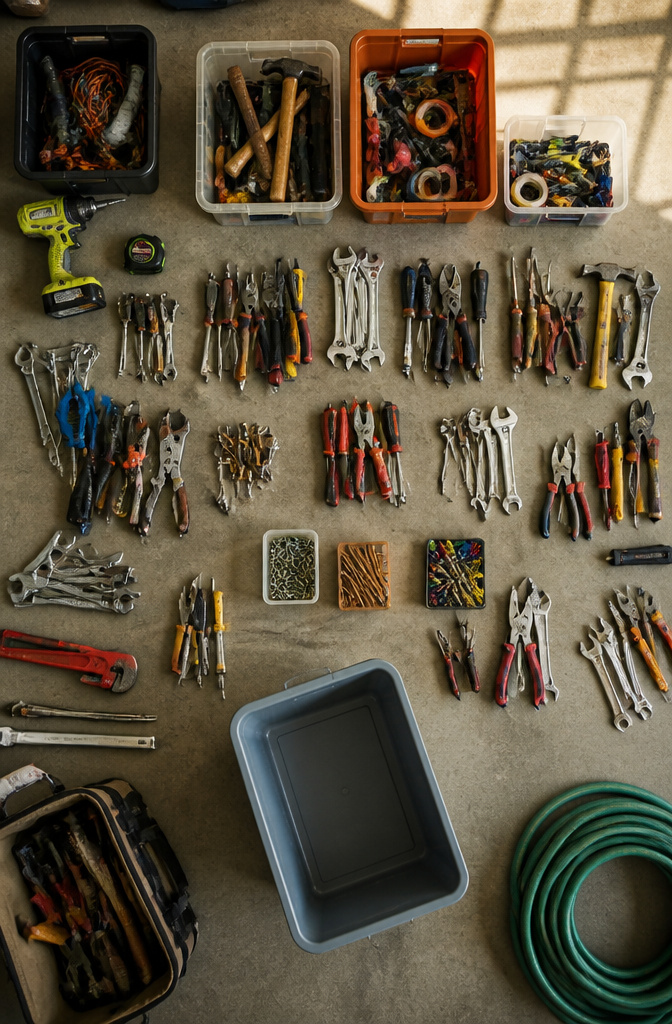
A Stanley Black & Decker survey found that 53% of U.S. homeowners use a home workshop or garage for DIY projects, which means most garages are stuck competing between project space and storage. You cannot solve that fight by buying bins first. The only way to know what storage you actually need is to pull every tool out, pile it in the driveway, and sort it into what you handle regularly, what you forgot you owned, and what you are keeping out of guilt.
If a tool has not been used in two years and cannot be borrowed or rented, it leaves. That rule sounds harsh until you count how many duplicates are hiding in a typical box. I have watched friends fill a wall rack with gear they later admitted they bought for one job in 2019. The two-year cutoff forces an honest call: is this worth the square footage it eats? Broken handles, rusted blades, anything that turns a quick task into a repair session, those go too. What stays is only the working gear you reach for on a Saturday morning. Once that pile is separate, you finally have real numbers: how many long-handled tools, how many small hand tools, how much power equipment. Those counts tell you whether you need wall hooks, drawer depth, or ceiling space, and they keep you from guessing your way into a storage system that looks tidy but still hides what you use.
Seasonal Rotation
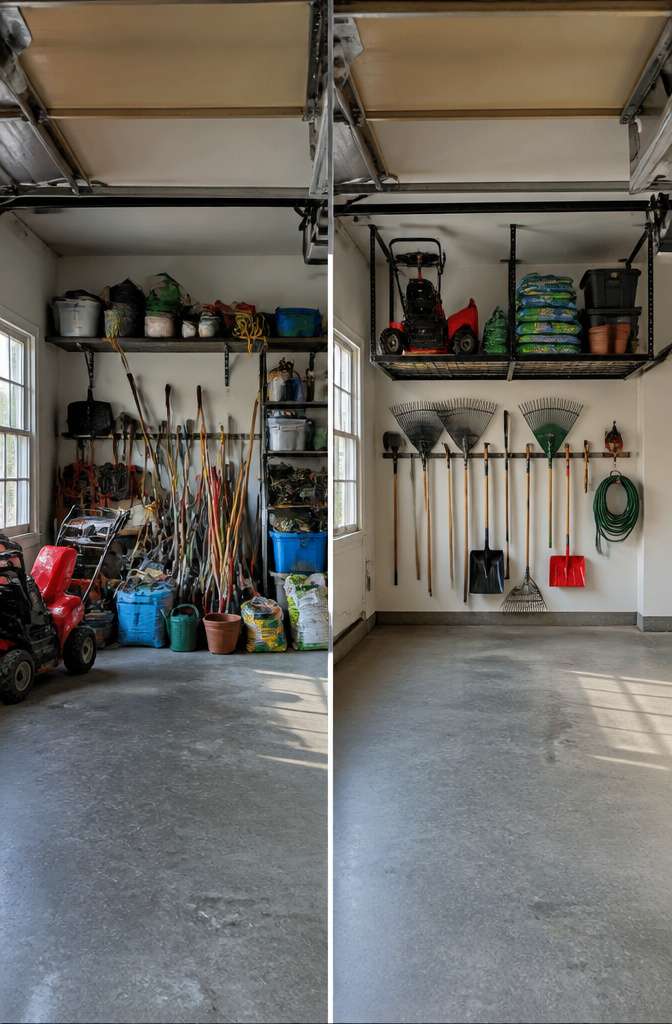
Snow blowers and garden tillers do not belong on the same shelf in July. Seasonal rotation pairs with overhead storage: the tool you need this month stays low, the one you won’t touch for six months goes to the ceiling. I swapped my tiller for the snow blower last October, and the move itself forced me to clean both before they sat. Compressed air and a rag on the tiller, a quick scrape on the blower’s auger, and I spotted a worn shear pin I would have missed otherwise.
The ceiling rack holds bins, but the real win is the floor space you get back. Label what goes up; seed trays and extra soil bags share that zone with the off-season machine. Come spring, the swap runs the other direction, and that inspection repeats. One rotation cycle costs an afternoon, and it beats discovering rust or a cracked housing when the first storm hits.
Tool Maintenance Before Storage
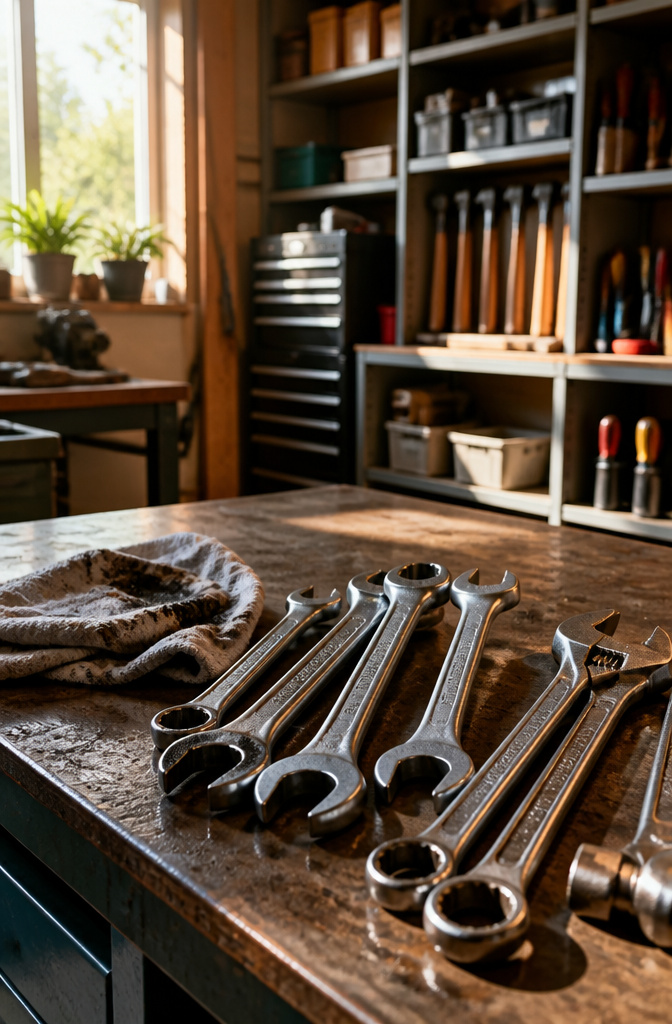
Steel tools left with garage grime and moisture will rust faster than most people expect, even the stainless ones. A quick wipe with an oily rag takes about thirty seconds and saves hours of restoration work later. The rag leaves a thin film that blocks the condensation garages collect from poor ventilation, bad roof drainage, and vehicles tracking in rain or snow.
Humidity control matters as much as the container you choose. Running a dehumidifier, upgrading ventilation, and adding a wall vapor barrier all help, but the first defense is simply drying the tool before it goes back on the rack. I learned that the hard way after finding a favorite framing square pitted beyond use one spring. Thirty seconds with an oily rag is the maintenance habit that actually sticks, because it happens while you are already putting the tool away.
Floor Protection
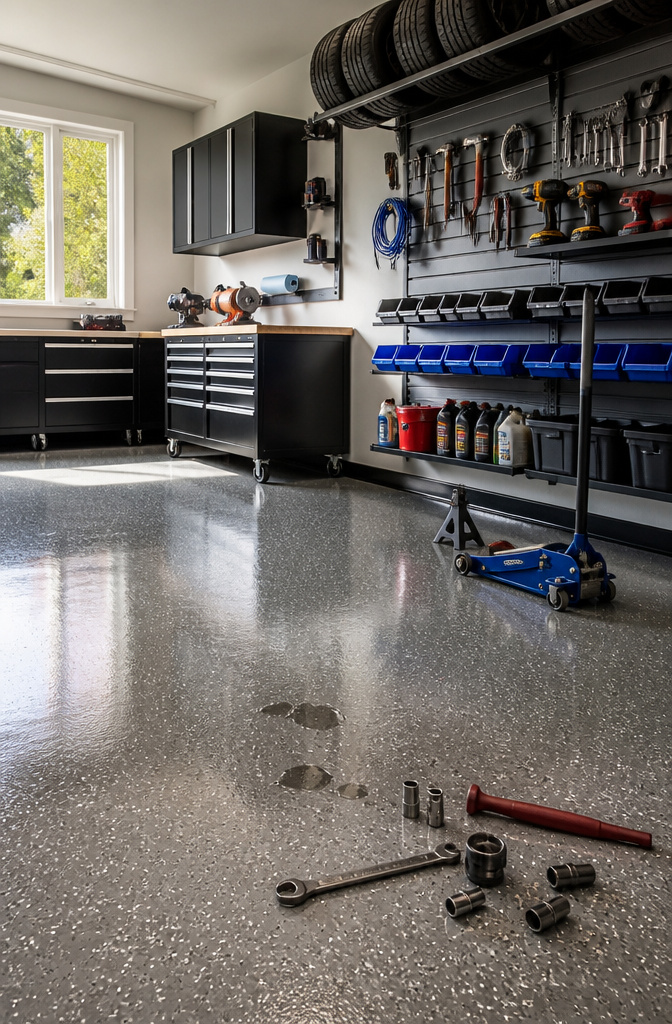
A bare concrete garage floor draws up moisture and stains the moment oil drips from a wrench or winter salt tracks in on your boots. The tools you spent time organizing on wall racks still end up resting on that surface, and a dropped socket set on raw concrete chips both the tool and the floor.
Floor coatings sit outside the storage conversation, but they change what happens to anything that sits or falls. Polyaspartic coatings run harder than epoxy or polyurea, and the Floortex line specifically takes the impact when a screwdriver slips or a mallet tips off the bench. Oil, gas, coolant, salt, and the damp that wicks through concrete all stay on the surface instead of soaking in, so cleanup is a wipe rather than a scrub.
I would not call this step storage. I would call it the reason your storage layout still looks the same in year three instead of slowly sinking into stained, dusty concrete. Coat it early, and the floor stops fighting the rest of the system you built above it.
Customizable Storage with French Cleats
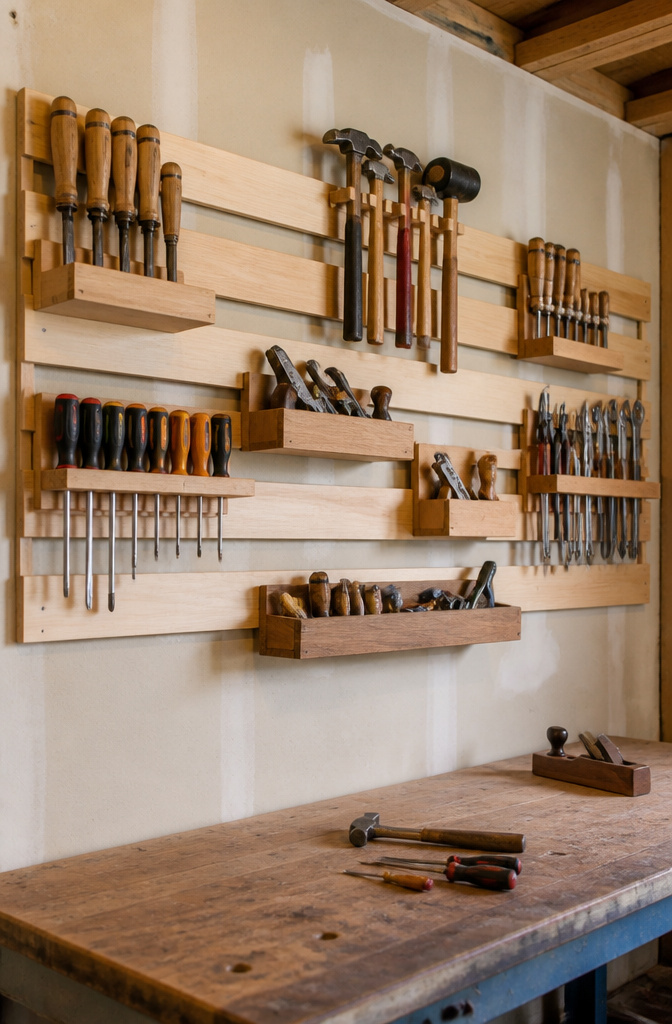
French cleats sit in a useful middle space between a pegboard you hang once and cabinets you build around your tools. The system is two interlocking strips: one screwed flat to the wall, the other built into the back of a shelf or tool holder. Gravity and the angled joint do the holding, so you can lift a holder off and reset it in minutes as your collection changes. That adjustability matters for woodworkers or anyone whose tools do not match the hole spacing a store-bought system expects.
I looked at this for my own garage and the wall commitment stopped me. Cleats need a long run of open wall and every strip has to be leveled precisely, or the holders tilt and tools slide. A freestanding unit can shift with you to the next house; French cleats stay behind unless you patch the screw holes. The payoff is stiffness. A cleat-backed shelf can take a drill press or a stack of hardwood offcuts without the wobble that pegboard hooks get. For a few hundred dollars and a single weekend, you can build the whole wall yourself, but only if you have the wall to give.
Frequently Asked Questions
How do I organize tools in my garage?
Pull every tool out, sort it into what you use regularly, what you forgot you owned, and what you are keeping out of guilt. Anything unused in two years that cannot be borrowed or rented leaves. The counts from what stays tell you whether you need wall hooks, drawer depth, or ceiling space, so you stop guessing into a system that looks tidy but still hides what you use.
What are the best storage solutions for garden tools?
Vertical freestanding racks keep long-handled items upright without touching the wall, and wall-mounted racks or pegboards give the same visibility. Rolling organizers with locking wheels move out to the driveway or garden beds and lock back in place once the job is done. The tradeoff is floor space: these units eat what wall-mounted systems would free up.
How can I prevent my tools from rusting?
Wipe steel tools with an oily rag before putting them away; the thin film blocks condensation that garages collect from poor ventilation, bad roof drainage, and vehicles tracking in rain or snow. A dehumidifier, upgraded ventilation, and a wall vapor barrier all help, but drying the tool first is the defense that actually sticks because it happens while you are already putting it back.