I built my first cattle panel trellis arch by driving two U-posts 12 inches deep with notches facing inward, about four feet apart.
I laid a 16-foot cattle panel flat with one end touching a post, then bent it into an arch with a partner and secured it to the opposite post using five or six heavy-duty zip ties per side.
The entire project took under an hour and cost roughly $35.
It is important to learn how to anchor this structure properly for storms and to identify which crops thrive best overhead.
Build Your Cattle Panel Trellis Arch in 4 Steps
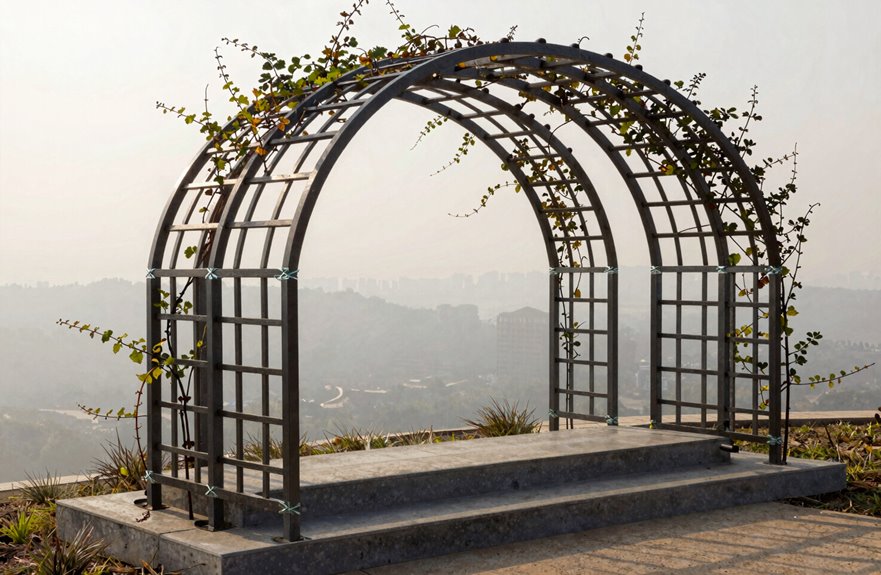
Building a cattle panel trellis arch is straightforward and can be accomplished in four steps. First, mark where your U-posts will go; if you’re working with raised beds, position them at the corners. Drive one post at least twelve inches deep, with the notch facing inward. Second, lay your cattle panel flat, with one end touching that post. Third, with a partner, bend the panel into an arch and walk it over to the opposite side. Fourth, secure both ends with five or six heavy-duty zip ties per post, threading them through the panel mesh and around the U-post notches. This trellis arch spans about four feet between posts and reaches roughly seven feet tall, making it suitable for beans, cucumbers, and climbing tomatoes overhead.
What Your Trellis Arch Will Cost (Complete Budget)
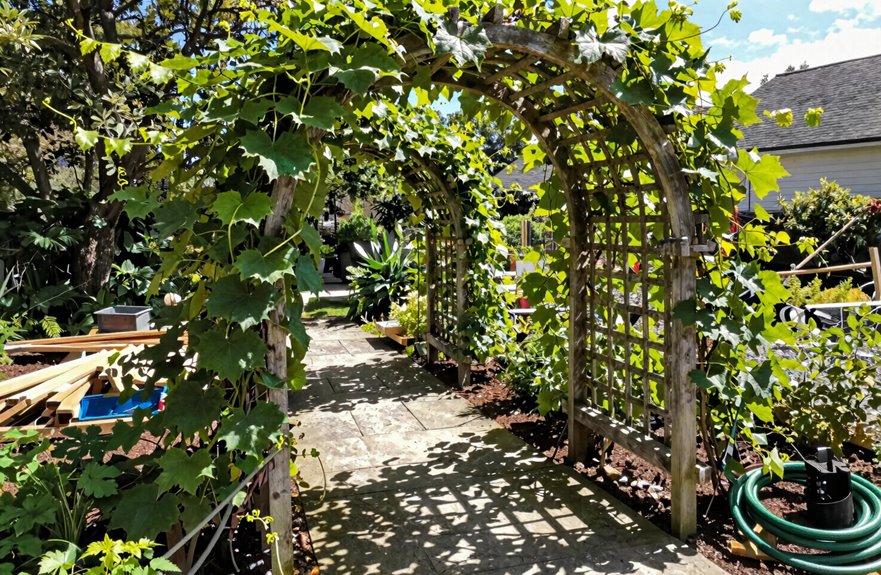
I will break down your expenses for materials and installation to help you plan your budget. A standard cattle panel arch costs about $30–$35 for the panel and U-posts combined, plus a few dollars for zip ties. If I need to rent a post pounder, the total cost will be around $55–$60 for that first arch.
Material Costs Breakdown
Building a trellis arch is budget-friendly, with complete setups costing about $40 to $50 per arch, depending on local prices and what you might already have. Here’s a breakdown of the costs.
The cattle panel typically costs $30 to $35 for an 18-foot panel from farm stores like Coastal. You’ll need two six-foot T-posts priced at $5 to $6 each, available at Home Depot or your local farm supply. A pack of zip ties is inexpensive, and you’ll use around 10 per trellis.
Your total cost remains manageable due to the simplicity of the project. If you don’t have a post pounder, consider renting one for about $25 instead of purchasing. This approach keeps your initial arch affordable, and you’ll have the tool for any future arches.
Installation Expenses Overview
Installation Expenses Overview
Material costs are only part of what you’ll spend to get your trellis arch standing. Your complete trellis arch cost runs $30–$35 per arch when you source smart. Here’s what we’re looking at together:
- Cattle panel (~$30): The 18-foot backbone of your structure.
- Two 6-foot T-posts (~$5–$6 each): Your anchor points in the soil.
- Zip ties (~$1): A 20-pack handles multiple trellises.
- Installation two people: Essential for bending that panel safely.
- Ground-level footing: Posts driven one foot deep for stability.
I’ve built these with neighbors, and that shared labor simplifies the process. Whether you’re growing in raised beds or straight in the ground, this budget-friendly setup remains effective season after season.
Gather These Tools (Or What to Borrow Instead)
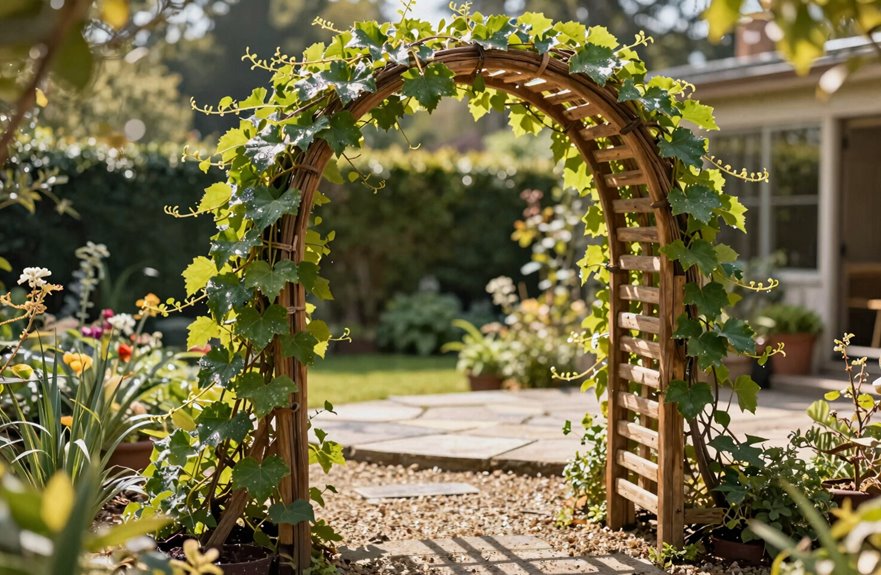
The right tools make this project easier, though you won’t need anything overly specialized. I’ve gathered my trellis arch tools over seasons of gardening, and you probably already own some.
| Item | Purpose | Borrow If Needed |
|---|---|---|
| 16′ utility cattle panel | Panel arch setup | Fellow gardener |
| U posts (2) + post pounder | Anchor each side | Community tool library |
| Zip ties (~10) | Secure panel to posts | Neighbor’s stash |
| Galvanized wire | Backup for zip ties | Hardware enthusiast |
I’ll grab four-foot U posts and drive them a foot deep with my post pounder. Zip ties work best for attaching, as they have no sharp ends. Wire serves as a substitute when I’m out. A friend helps bend that panel into shape.
Attach Your Arch to Ground, Concrete, or Raised Beds
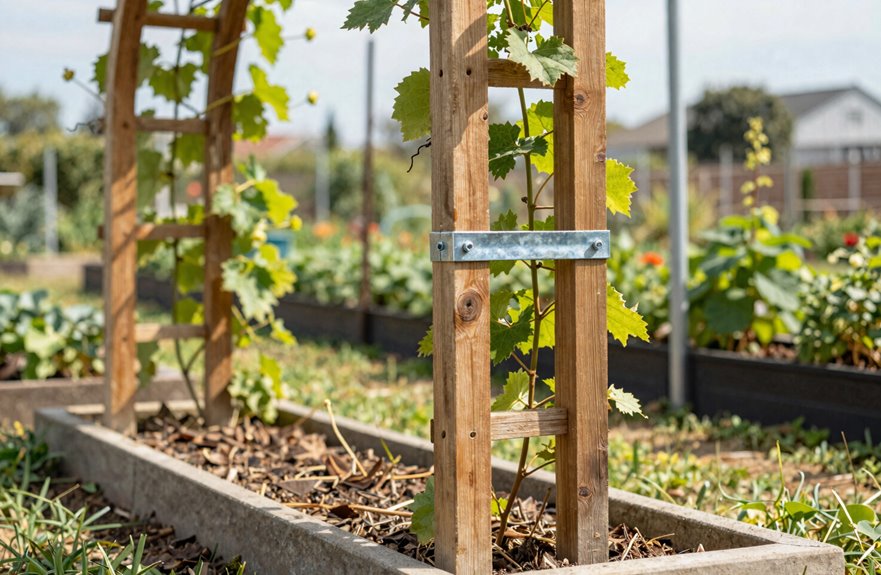
I’ll guide you through three effective ways to anchor your arch based on your building location. Whether you’re sinking posts into soil, bolting onto concrete, or spanning raised beds, each method requires specific preparation to ensure your trellis remains stable through the seasons. Let’s explore what works best for your setup.
Ground Installation Method
Installing a trellis arch directly into the ground provides flexibility and solid anchoring without needing permanent structures. This ground installation method works well for gardens that require sturdy support without concrete.
Here’s how to build this:
- Drive two 6-foot T-posts into the ground with notches facing inward, positioning them at your panel span ends.
- Dig trenches between posts and bury posts to bed level for stability.
- Lay your 18-foot cattle panel across, securing it to one post with 5–6 zip ties.
- Apply gentle arch tensioning as you bend and fasten to the opposite post.
- Trim excess ties and ensure the base sits below ground level to prevent wind wobble.
Your trellis arch is now ready for climbing plants, firmly anchored in your garden’s soil.
Concrete Anchoring Technique
While ground installation offers flexibility, concrete anchoring provides unmatched permanence for arches in high-traffic areas or exposed locations.
For this installation, I trace bracket locations on the concrete surface and predrill holes for concrete anchors before mounting the U brackets. I secure each bracket with concrete anchors, ensuring that at least one bracket per side offers stability through solid surface support. When working with a sidewalk or pad, I place the arch atop the concrete and fasten it with structural bolts for a secure hold.
If I’m adapting in-ground posts to concrete, I extend posts into dug holes, setting them at least one foot below grade, then reinforce with concrete around the base. After anchoring, I verify stability by applying gentle pressure on both sides and adjust fasteners to eliminate wobble before planting climbers.
Raised Bed Attachment
Raised beds provide a solid foundation that simplifies arch installation while keeping roots undisturbed. This approach allows us to build our DIY garden arch without disrupting established plants.
Here’s how I create a secure attachment for my raised bed trellis arch:
- Lay your cattle panel across the beds first to check spacing before committing.
- Dig small trenches at each U-post location to hide the base.
- Drive posts at least one foot deep, keeping them level with your raised bed walls.
- Attach one end with five to six zip ties, then bend and secure the opposite end.
- Double-check everything’s tight; a secure attachment ensures seasons of climbing harvests ahead.
This method transforms simple materials into something beautiful that can be shared with fellow growers.
Best Vegetables and Fruits for Trellis Arches
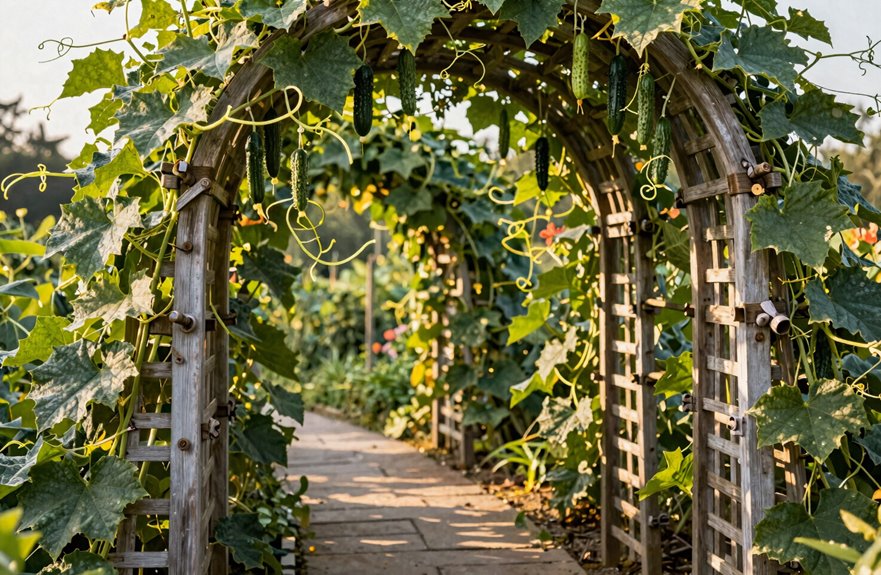
A well-chosen selection of climbers can turn your trellis arch into a productive centerpiece. Trellis arches transform ordinary garden spaces into thriving vertical ecosystems. For your garden arch, climbing beans like Scarlet Runner, Lima, and pole beans excel, as they are vigorous growers that drape beautifully downward, making harvests effortless. Cucumbers thrive here too; vertical support boosts air circulation dramatically, reducing rot issues common with ground-grown fruit. Both pickling and slicing varieties perform wonderfully. Peas, sweet peas, and nasturtiums provide quick coverage for gardeners looking for fast results. Tucking honeysuckle or morning glories at the base adds seasonal beauty that complements the harvest. Together, these selections create arches that provide food and enhance the garden’s aesthetic appeal.
How Much Weight Can Your Arch Actually Hold?
Let’s break down what your cattle panel arch can realistically handle before loading it with climbers.
Cattle panels measuring 34 inches by 16 feet create sturdy arches when paired with two 4-foot U posts. The method of securement—zip ties or galvanized wire—affects how weight distributes across those post connections.
Here’s what I’ve learned about capacity:
- Cattle panels flex but maintain integrity through multiple seasons.
- Proper securement prevents stress points from weakening.
- Wind load increases dramatically with dense foliage.
- Posts set in firm soil handle base weight better.
- Growing crops like pumpkins need monitoring for vertical drag.
With two people bending and securing properly, these arches can thrive for three seasons. Monitor soil moisture around posts when growing heavier crops; saturated ground can compromise stability.
Keep Your Arch Productive: Simple Year-Round Care
Since I’ve maintained my cattle panel arch through three growing seasons and into a fourth, I know that consistent upkeep is more effective than major repairs. I check my trellis arch monthly, tightening any loose fixings to prevent wind stress from weakening the structure. My garden arch is positioned over a raised bed, so I closely monitor soil moisture; vertical growth requires more water at the base, and exposed leaves dry faster in breezy conditions. As my indeterminate tomatoes climb, I pinch off lower leaves to improve airflow and reduce the risk of disease. I’ve learned to upgrade support gradually as plants mature; heavier climbers need sturdier anchoring. This straightforward maintenance routine ensures my arch remains productive year-round without complications.
Troubleshooting: Sagging, Rust, and Failed Crops
Why do so many trellis arches fail before their time? I’ve watched neighbors abandon theirs after one season, but we build things that last.
- Drive U posts one foot deep and use four zip ties per post to stop sagging before it starts.
- Choose galvanized or stainless hardware so rust never weakens your frame.
- Maintain gentle panel tension; over-tightening creates stress points that invite collapse.
- Anchor to concrete or add side bracing for wind stability during storms.
- Space crops wisely; dense beans and cucumbers need airflow to thrive.
I check my ties each spring and adjust panel tension if I spot any bend. Your arch should remain in your garden for years, not months.
Modify the Design for Tunnels, Fences, and A-Frames
Once you’ve mastered the basic arch, it bends easily into new shapes. I stretch my trellis arch into a tunnel by lining up multiple cattle panels along my garden bed, keeping arch spacing at about four feet so vines weave a continuous green roof overhead. For a fence, I anchor panels side-by-side against existing posts, creating a living wall that welcomes you into the space. The A-frame offers a unique design: I taper both ends toward the ground and brace them to sturdy rails, building a triangular frame that supports rapid climbers. Proper anchoring is essential here; I use U-posts, brackets, and galvanized wire locked under tension. These structures foster collaboration in gardening, and your beans, cucumbers, or honeysuckle will contribute to a thriving, lush environment.