I start by deciding what my shelves need to accomplish daily. I choose one neutral color, one accent, and plenty of white to maintain cohesion. I select four materials—typically wood, ceramic, glass, and metal—that complement each other. Daily dishes are placed on the lower shelves while special pieces are positioned higher to catch the light. I create vertical interest by varying heights and depths, anchor the setup with a signature pattern, and organize small items in wire or woven vessels. I stop before the shelves feel overcrowded, allowing for breathing room. Seasonal touches are swapped in four times a year to keep the decor fresh. Follow along to see how each step comes together.
Start With Your Open Shelves’ Real Job
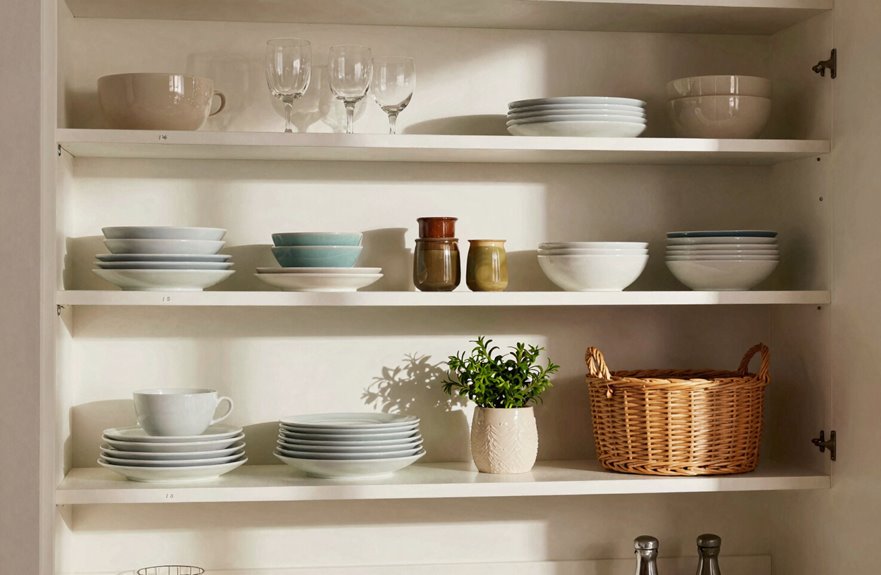
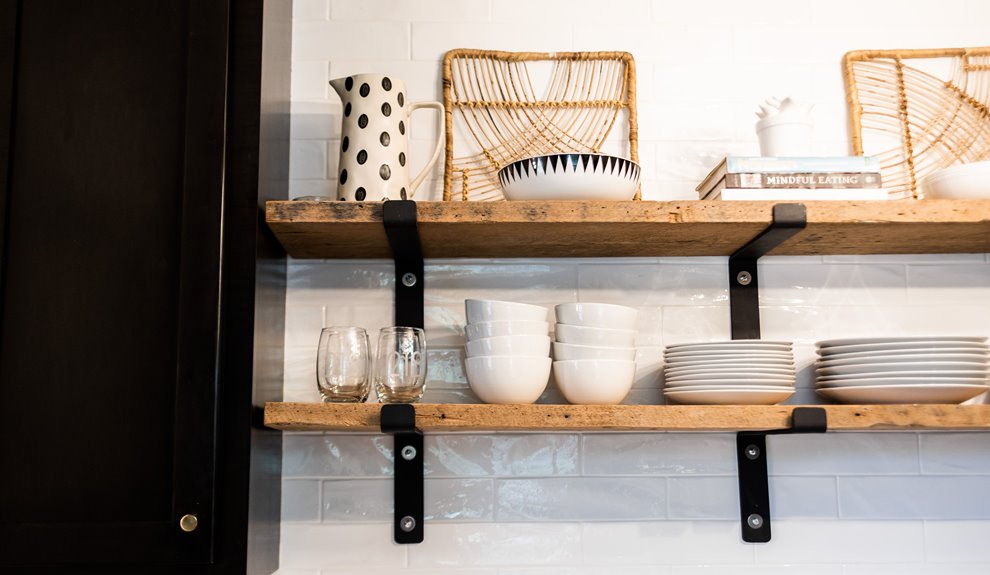
Before I style a single plate or tuck away a seasonal figurine, I determine what my open shelves need to accomplish for me. Open shelving is most effective when I respect its daily rhythm; my everyday plates and bowls occupy the bottom shelf for easy access. Seasonal treasures and delicate pieces are placed higher, keeping clutter out of my workflow.
I arrange items across two shelves using intentional diagonals, allowing plates and glass cloches to create movement that draws the eye. Wood, ceramic, glass, and metal combine with greenery and natural fibers, adding depth while maintaining functionality. I incorporate cohesive accent patterns sparingly, providing just enough whimsy to feel inviting. Frequently used items are grouped together, while decorative pieces are positioned higher. This balance enables me to live beautifully and practically in my space.

【 Cabinet Plate Organizer 】This adaptable kitchen corner shelf helps you make the most of your kitchen space. Bambooplates organizer help you easily place plates and bowls, and store spoons and other kitchenware. Is an indispensable kitchen countertop organizer!

Set of 2 metal wire racks for kitchen and cabinet organization

[Plenty of Storage] Keep your cooking essentials, such as spice jars, containers, cans, cutlery, and cookbooks organized, easily visible, and quick to find with these kitchen organizers and storage. They can also serve as a small food table for cats
Lock In One Neutral, One Accent, and Lots of White
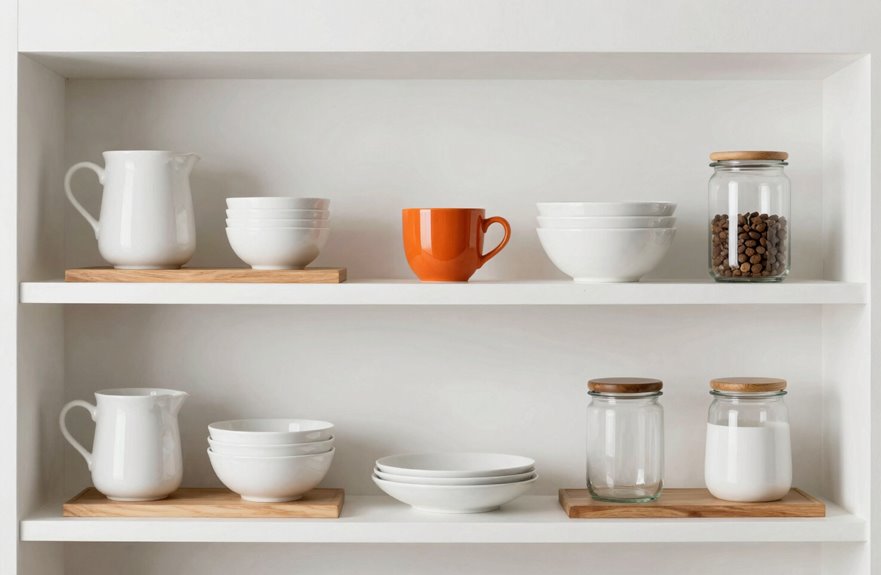
Once I’ve mapped out what my shelves need to do, I turn toward color. I lock in one neutral, one accent, and lots of white to create cohesion across my open shelving. This trio keeps everything feeling intentional and organized.
I pull my palette from an inspiration piece, such as a painting or a landscape that resonates with me. That guides every dish and accessory I choose. I balance melamine, ceramic, glass, and metal textures to add depth while maintaining a consistent accent color throughout. I use that accent sparingly, highlighting a few standout whimsical pieces without cluttering the display. I rotate daily-use items with seasonal décor, ensuring my neutral, accent, and white palette remains fresh and harmonious. This approach makes my open shelving feel inviting and personal.

Material: The double sided sticky dot are made of acrylic material, which is flexible, transparent and not visible, and it can be reused. It does not leave glue marks after removing, and the surface of the adherend will not be damaged

HELPS SECURE VALUABLE ITEMS DURING EARTHQUAKES & ACCIDENTAL MOVEMENT: Museum Putty helps stabilize collectibles, figurines, ceramics, antiques, glassware, small electronics, and home decor to reduce shifting, tipping, and sliding caused by earthquakes, vibrations, pets, or accidental bumps.

Welding High Strength Oily Glue: The Welding High-Strength Oily Glue can reach the maximum bonding strength within 15 to 30 seconds, the glue is soft, strong stickiness, and still has elasticity after drying.oily glue, welding oily high strength glue, oily glue - super glue,super glue for plastic,super glue for metal,super glue for wood,super welding glue,super glue for glass,wood super glue!
Pick Four Materials That Play Nice Together
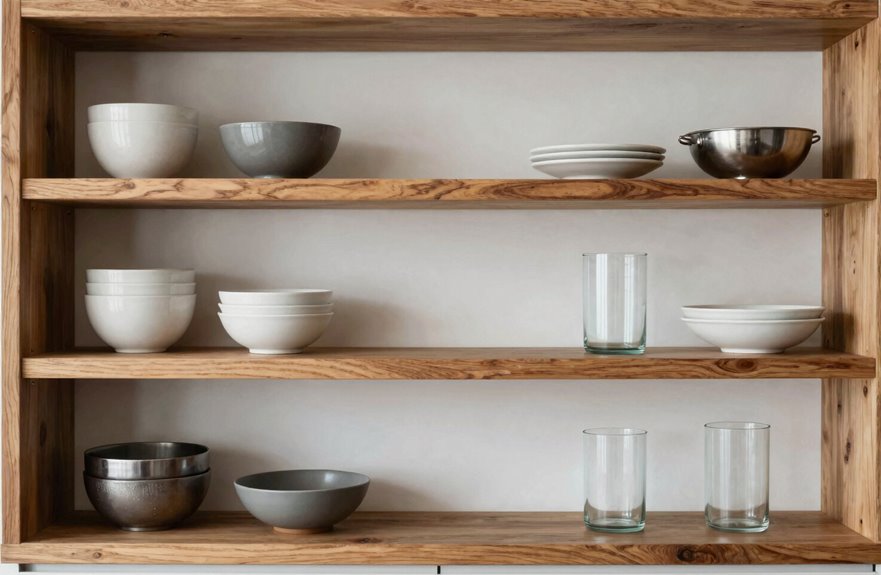
I start with wood, ceramic, metal, and glass as my four materials because they provide contrast without clashing. I pair rough, natural textures with smooth surfaces to ensure the shelves have depth and dimension. Additionally, I mix matte finishes with subtle metallic sheen to create layers of light reflection, keeping the eye engaged while avoiding visual clutter.

A set of 4PCS: The woven basket includes 1 large and 3 small organizer boxes that are perfect in the drawer. Measure about(L×W×H):11×11×3.9inches,10×5×3.7inches, 5×5×3.7inches

DURABLE METAL FRAME CONSTRUCTION – Crafted with a sturdy steel wire frame and premium polypropylene (PP) plastic strapping, this black storage basket is built to last. The anti-oxidation and waterproof materials ensure long-term durability, making it a reliable organizer for any room in your home or office.

INCLUDED CHALKBOARD LABEL & MARKER: Comes complete with a water- and scratch-resistant chalkboard; use the marker to stay organized, then clean it off with a damp towel
Material Selection Strategy
Four materials, carefully chosen, create the backbone of shelves that feel collected rather than chaotic. I always start with wood, ceramic, metal, and glass; this quartet hits every note for open shelves styling without overwhelming your space. One anchor material, like white ceramic, should repeat throughout while the other three complement it.
Here’s how I balance them:
| Material | Role on Shelves |
|---|---|
| Wood | Warmth and grounding |
| Ceramic | Everyday functionality |
| Metal | Structure and shine |
| Glass | Airiness and light |
I group by height and color. Consider pistachio green dinnerware beside clear cloches and natural wood cutting boards leaning against metal trays. This arrangement keeps your kitchen feeling like home rather than a showroom.
Texture Combination Tips
The secret to shelves that invite touch without tiring the eye lies in pairing four materials that disagree just enough to stay interesting. I mix ceramic dishes, wood accents, glass cloches, and hammered metal pieces to build texture that feels collected, not chaotic.
- Smooth glaze ceramics resting beside matte stoneware create quiet tension.
- Glossy glass catching light against rough woven baskets adds depth.
- Hammered metal clustered diagonally can echo your favorite patterns.
- Rattan trays soften the hard edges of metal and ceramic.
I alternate surfaces deliberately, placing rough against slick and warm against cool. Natural greenery bridges the gaps. By distributing these four materials across varied heights, I prevent flat uniformity. Your shelves become a place where every texture invites you home, with each layer enhancing the beauty and functionality of your space.
Stage Dishes by Use: Daily Low, Special-Occasion High
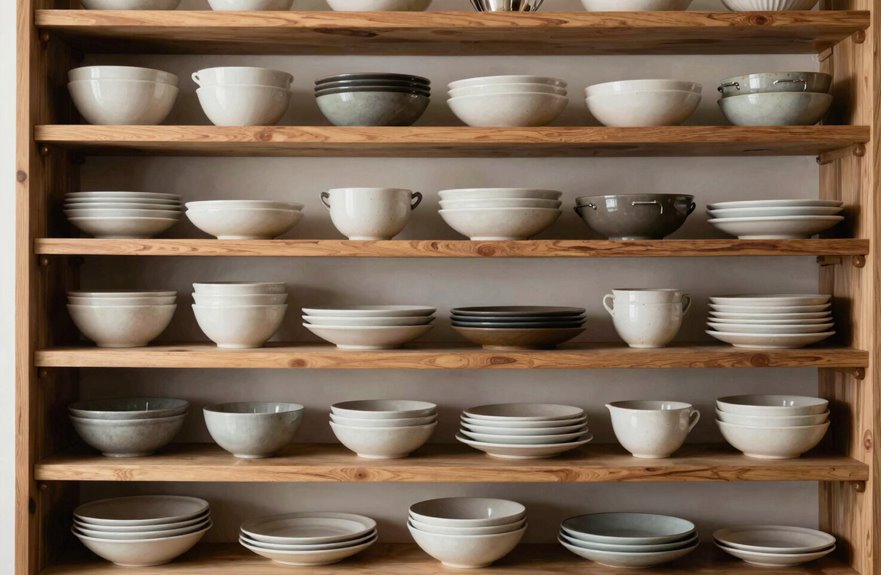
Where should you reach when you’re rushing to plate Tuesday’s spaghetti? I place my everyday plates and bowls on the lower open kitchen shelving tiers, right where my hands land naturally. This approach keeps my kitchen functional and personalized.
My special-occasion pieces are stored higher up, catching light and drawing eyes upward without obstructing my daily workflow. I stagger them diagonally, creating depth that feels intentional and organized.
I tuck a bit of greenery or a glass cloche among my daily dishes to tie the look together. Similar colors and textures bridge both zones, ensuring my shelves feel cohesive while serving their purpose. This is my rhythm: function below, beauty above.

Modular Horizontal & Vertical Space Optimization Set: This plate organizer set includes a 3 tier corner shelf and a vertical plate holder.The 3-tier corner design is engineered to reclaim "dead space" in deep cabinets and cluttered countertop,which effectively triples your storage capacity. The 6-slot plate rack enables an efficient layout that prevents the hassle of digging through heavy stacks while protecting delicate ceramic edges from scratches and chipping.

Keeps Plates In-Place While Travelling: Helps stop plates from sliding and rattling while you travel
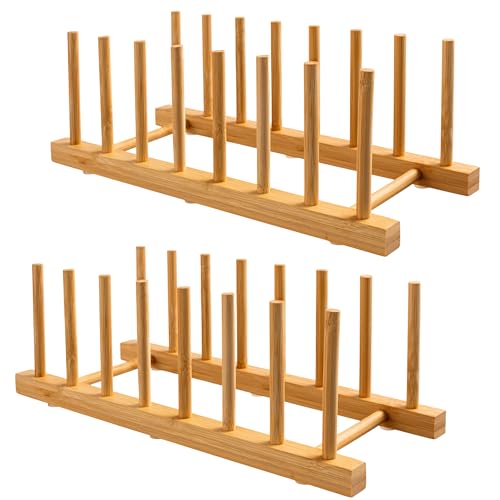
Premium Bamboo Material - Safe & Durable: Crafted from high-quality natural bamboo, this dish rack plate stand holder features a smooth splinter-free finish and long-lasting durability. As a renewable resource, it contains no harmful chemicals (unlike plastic dish racks), ensuring safety for food contact and your family. The natural bamboo texture adds organic elegance to any kitchen, matching modern, rustic or traditional decor styles perfectly.
Build Vertical Interest With Varied Heights and Depths
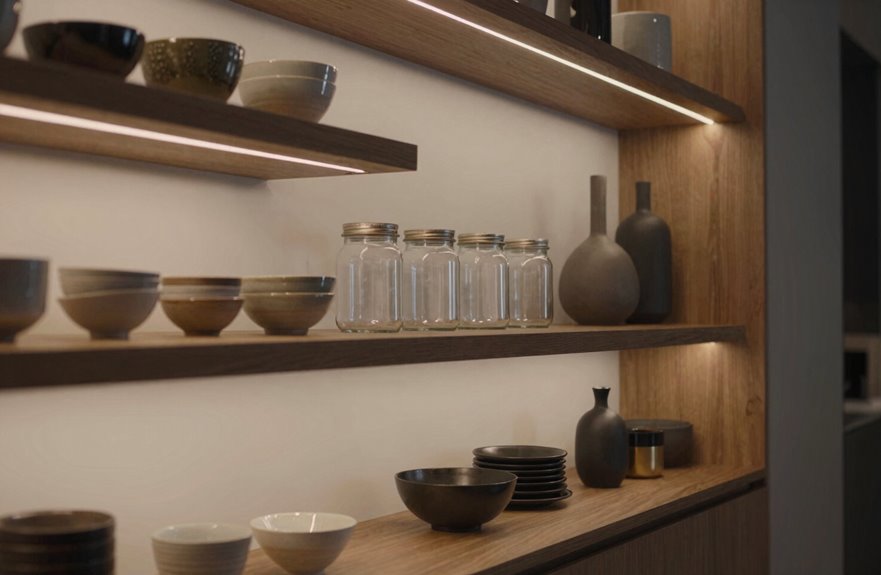
I will stack items at angles and layer tall pieces next to short ones to create visual rhythm across my shelves. Deeper items will be placed toward the back to avoid blocking smaller pieces in the foreground. This approach maintains a dynamic feel for my open shelving while preventing a cluttered appearance.
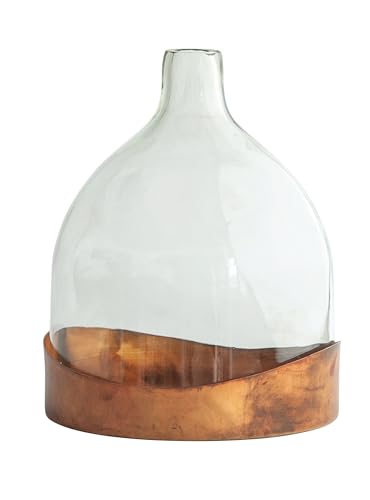
Display any plants or decorative items in these elegant glass cloches with copper-finished metal tray

Elegant Glass Cloche: Add a touch of sophistication to your home decor with this small, bell-shaped cloche crafted from clear glass. Ideal to display a treasured item, a small plant, or create a terrarium

Package and Size: Our product includes 2 glass cloche display domes and 2 dark brown wooden bases. The large cloche measures 4.7 inch in diameter and x 9.8 inch in height, the dark brown wooden base measures 5.5 inch in diameter.
Stack Items at Angles
Why settle for flat, predictable shelves when a simple shift in angle creates so much more energy? Diagonal stacking reimagines open shelving from ordinary to visually captivating, providing that curated-gallery feel many desire in their homes.
Here’s how I make it work:
- Angle two plates and glass cloches diagonally on the left shelf, creating dynamic depth that draws the eye.
- Position taller teapots or pitchers toward the back, anchoring shorter cups and jars at the edges for layered silhouettes.
- Mix ceramic dishware, glass cloches, and greenery at different depths to catch light from every viewpoint.
- Maintain a cohesive Courtly Check theme running through varied heights, ensuring the diagonal arrangement feels intentional and welcoming.
Layer Tall and Short
Once I angle pieces across the shelf, I consider how they stack up vertically. Layering tall glassware or vases alongside shorter plates and bowls creates a visual rhythm that guides the eye along each shelf. I position two teapots diagonally and place a tall carafe next to a low ceramic bowl, allowing the space to feel more open.
I incorporate wood, metal, and glass at various depths to avoid a flat or sterile appearance. Small herb pots nestled between levels introduce living color, making the kitchen feel personal and inviting.
I keep daily essentials within easy reach below while reserving upper areas for pieces that reflect our story. This balance of function and beauty enhances the welcoming quality of open shelving, inviting you into the home we have created.
Place Deep Pieces Back
How does a shelf move from cluttered to captivating? I push my deepest pieces toward the back of my open shelves, creating breathing room up front where lighter treasures can shine. This layering builds natural depth that draws you in.
- A heavy ironstone teapot anchors my back corner.
- Tall glass cloches rise behind shorter everyday plates.
- Stacked bowls boost height where I need vertical lift.
- A folded linen and trailing pothos soften the rear edge.
I angle a few pieces diagonally to guide your eye across the display. By anchoring substantial items low and back, I build a foundation that feels intentional, not chaotic. Your kitchen can also benefit from this confident depth.
Weave Wood, Stone, and Greenery Between Dishes
A well-balanced shelf starts with intentional material mixing. I layer wooden boards, stoneware dishes, and potted greenery across my open shelves to build natural texture contrasts that feel collected, not staged. I alternate materials diagonally, placing wood beside ceramic and stone tucked behind to create depth that draws the eye through the display. I use greenery sparingly; small herbs or trailing plants refresh the palette without overwhelming the space. Terracotta planters between stackable plates add organic height variation that breaks up rigid lines. I maintain a cohesive story with neutral woods, whites, and earthy greens, repeating it across adjacent shelves so everything feels connected and welcoming.
| Material | Placement | Purpose |
|---|---|---|
| Wood | Front corners | Warmth and accessibility |
| Stone | Mid-depth | Visual weight and texture |
| Greenery | Between stacks | Soft color refresh |
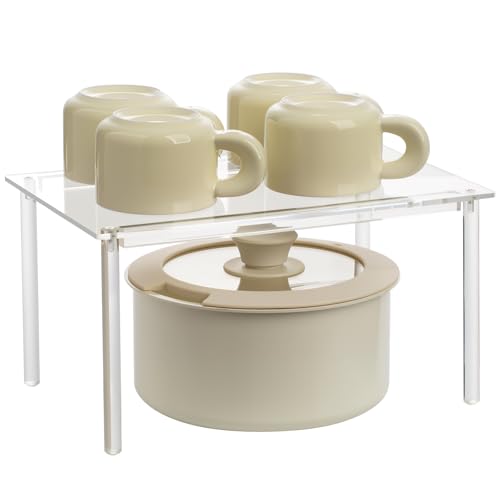
Plenty of Storage: Acrylic Cabinet Organizer can keep your cooking essentials, such as spice jars, containers, cans, cutlery, and cookbooks organized, easily visible, and quick to find with these kitchen organizers and storage. Acrylic spice rack can also serve as a small food table for cats

【Natural Bamboo,Premium Quality】 Made of superior bamboo material, durable and odorless, formaldehyde-free release. In addition, the edges and surfaces of the corner shelf are professionally and meticulously polished, so it won't hurt your fingers when you use it,ensuring safety and harmlessness.
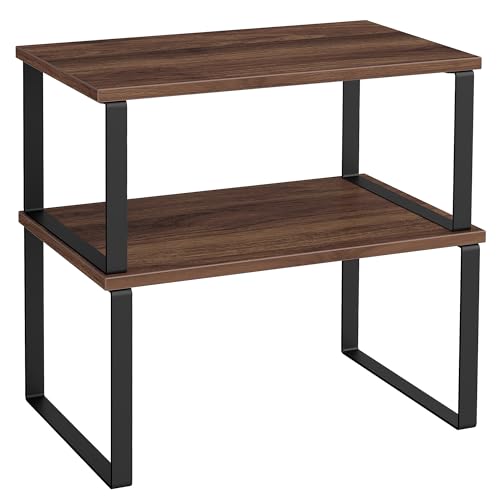
[Plenty of Storage] Keep your cooking essentials, such as spice jars, containers, cans, cutlery, and cookbooks organized, easily visible, and quick to find with these kitchen organizers and storage. They can also serve as a small food table for cats
Anchor the Look With One Signature Pattern
Why scatter competing patterns when a single motif can tie everything together? I anchor my open kitchen shelving with one signature pattern, like Courtly Check, repeating it across teapots, cups, and small accessories to create instant cohesion.
Here’s how I make it work:
- I vary the scale, placing a bold kettle beside delicate napkin rings and tiny dust covers.
- I group pieces diagonally to build rhythm without rigidity.
- I balance busy patterns with solid neutrals, such as white ceramic, pale woods, and clear glass.
- I let the motif guide every new purchase, ensuring future additions echo the same palette.
I extend this pattern sparingly to built-ins and shelves opposite my range, maintaining that whimsical farmhouse vibe. One anchor creates endless harmony in the space.

High weight capacity for multiple items: the wood pedestal riser safely accommodates several glass pieces, ceramic art, or retail display stand products for professional presentation,tabletop riser stand,glass display stand for office reception desk

Large and Practical: This is a bathroom shelf of 15" in length, 11.8" in width and 29.5" in height that occupies a small footprint, very ideal for tight spaces. Whether it's toiletries and towels, ornaments or miscellaneous items, glass shelves can organize them all, bringing a neat and tidy atmosphere to your space

[ Primary Measurement ] The diameter of the mounting hole in the clock case is crucial. This correlates to the back side of the clock fit up which fits into the pre-drilled hole in a clock case. The mounting inside diameter is 1.28 inches (32.5 mm). This increases slightly with the included ring gasket, ensuring a secure and snug fit. The mounting depth is 1/4 inch.
Corral Small Items in Wire, Glass, or Woven Vessels
I organize loose tea bags, spice jars, and various pantry items in wire, glass, or woven vessels to manage clutter while keeping everything visible. Combining tall cloches with short baskets and slim wire jars creates visual interest while ensuring everything is easily accessible. I choose one accent color for all my vessels to maintain a cohesive look throughout the arrangement.

Size: 12W x 6.5D x 5.25H" – This mini basket is the perfect shallow basket for organizing small spaces or creating cute gift baskets empty to fill with your favorite items.
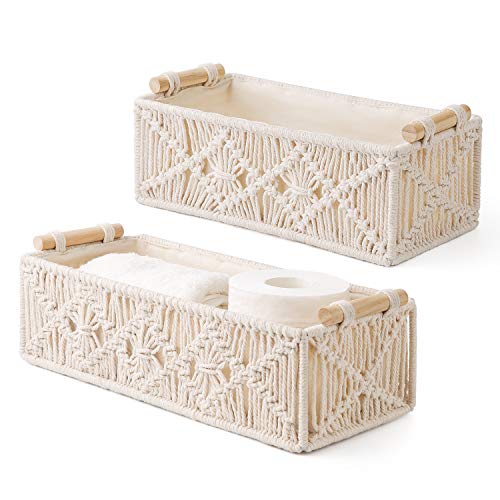
PERFECT ADDITION TO BATHROOM DECOR. These cute little baskets evoke a warm and classy taste that both works harmoniously and aesthetically. The neutral colors and sleek design means that it will fit perfectly into any home. Use it to decorate, organize and store items, keep the home clean and comfortable. --( It is protected by intellectual property right.)
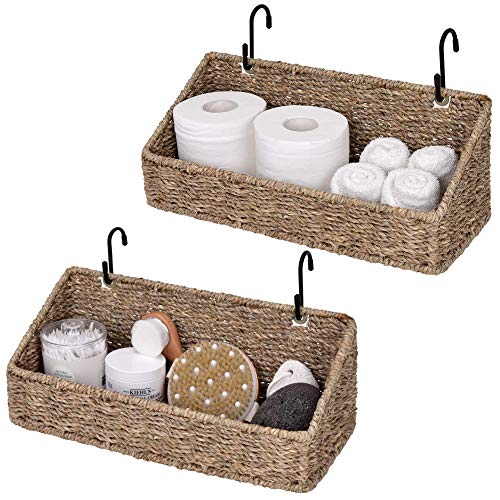
Handcrafted from seagrass over an iron frame, renewable, sustainable and durable.
Contain Clutter Creatively
Small items tend to multiply when open shelving is introduced, so I corral them in vessels that conceal the mess while still allowing me to see what I have. Transparent and woven containers provide a quick view of ingredients while maintaining order.
- Glass cloches shelter delicate tea sachets under a gleaming dome.
- Wire baskets gather spice jars into breathable, sculptural bundles.
- Wicker trays cradle rolled napkin wraps in textured warmth.
- Varying heights and shapes stack like a quiet skyline, with each vessel offset slightly to echo the diagonal rhythm of plates above.
I have placed them with intention, complementing our greens, whites, and hints of Courtly Check. Each cluster feels cohesive within the farmhouse aesthetic.
Elevate Everyday Essentials
When everyday items are visible, they deserve containers that enhance their utility. I organize small items in wire, glass, or woven vessels on my open shelves to maintain a light and organized appearance. Using similar textures—metal, glass, and wicker—in small containers creates a cohesive look across the shelves. Grouping similarly sized items and placing frequently used essentials within easy reach balances practicality with aesthetics. Mixing clear glass jars with colored ceramic or stoneware vessels adds tactile variety while ensuring a tidy presentation. Incorporating lightweight greenery or herbs in compact vessels introduces color and freshness without creating clutter. Together, we elevate the ordinary into something purposeful and inviting.
Stop Before It’s Full: Editing Open Shelves
Although open shelving encourages you to display everything you own, I have learned that restraint is what makes it work effectively. I always stop before my open shelves feel full, leaving 20–30% empty for breathing room that keeps the space feeling intentional, not chaotic.
Here’s how I edit with purpose:
- I keep daily-use dishes on lower shelves where my hands naturally reach.
- I group items by a consistent palette—warm woods, soft whites, matte blacks—to create visual harmony.
- I vary heights with teapots, cloches, and trailing greenery so nothing feels flat.
- I remove duplicates and ensure every piece tells a story I want to share.
This careful curation transforms my kitchen into a welcoming space where friends gather and feel at home.

Efficient Storage Solution: Our bamboo plate rack dish stand holder,available in a convenient set of 2 packs, Weight limit is 80 pounds,offers a smart and Eco-lovely way to organize your kitchen essentials. With a rack provides ample space for your plates, bowls, cups, cutting boards, and even books

Metal plate rack is not only organizer plates, platters, dishes, but also storage bowls, pot lids, cutting board. Perfect for home, restaurant, rv, camper to organizer dinner plates, dishes and bowls.
Swap in Seasonal Pieces Four Times a Year
Once I’ve edited my shelves to that sweet spot of curated breathing room, I look ahead to how I’ll refresh the display throughout the year.
I swap in seasonal pieces four times a year to keep my shelving feeling alive while maintaining its curated essence. In spring, I incorporate greens and botanical accents; come autumn, I shift to warm, earthy tones that reflect the changing landscape outside.
I adhere to my core styling concept, rotating a cohesive accessory line with themed ceramics and fresh greenery. My layout remains consistent, with plates on two shelves, diagonal placement, and touches of green to uphold the balanced, readable flow I’ve established.
Each season, I schedule moments to reassess: removing clutter, checking accessibility, and ensuring daily-use items remain accessible. This routine keeps my kitchen shelving both functional and inviting, creating a space that feels distinctly mine.

ELEGANT GLASS DISPLAY DOME – Add timeless sophistication to your home décor with this 12”H clear glass bell cloche. Perfect for showcasing candles, small plants, desserts, or keepsakes, it creates a beautiful focal point for any table or shelf.

【Multifunction】Glass domes can protect your items from dust.An elegant way to arrange and display artificial plants, Model figurines, collectibles, keepsakes, jewelry, necklace, string light, pocket watch, ceramic orchids, etc.

Decorative Set of Two Bell Jars:This set includes two decorative glass cloche jars in different sizes (5.1" H and 4.3" H), offering versatile styling options for tabletops, shelves, mantels, and seasonal decorative arrangements.