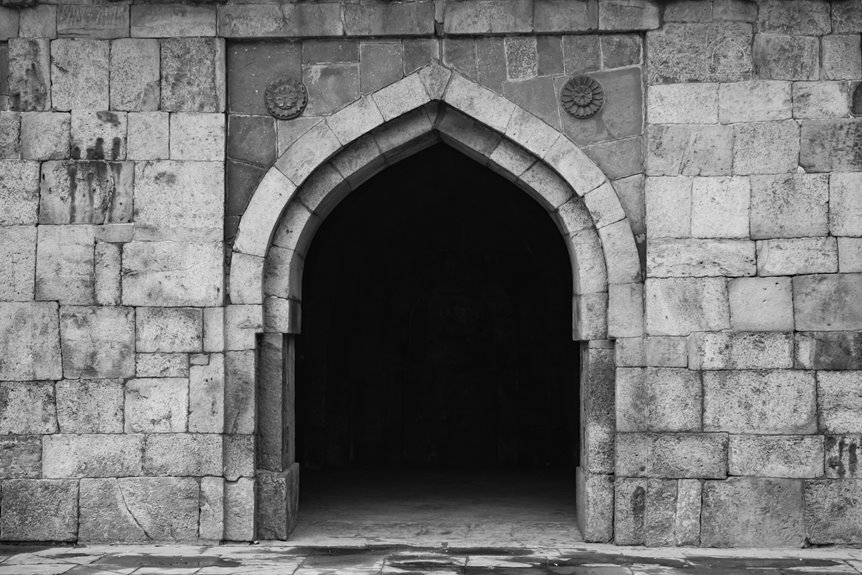
I’ll build an archway by first measuring my doorway and tracing a half-circle on plywood using a string compass. Then, I’ll cut that curve with a jigsaw to create matching pieces.
Next, I’ll hang drywall across the top and sides, bending thin strips to follow the arch’s curve. After that, I’ll apply mesh tape and joint compound to blend everything together, sanding between coats for smoothness. Finally, I’ll finish with paint or flexible trim for a polished look. Follow along for the detailed steps that contribute to a successful archway project.
Measure and Frame Your Archway Opening
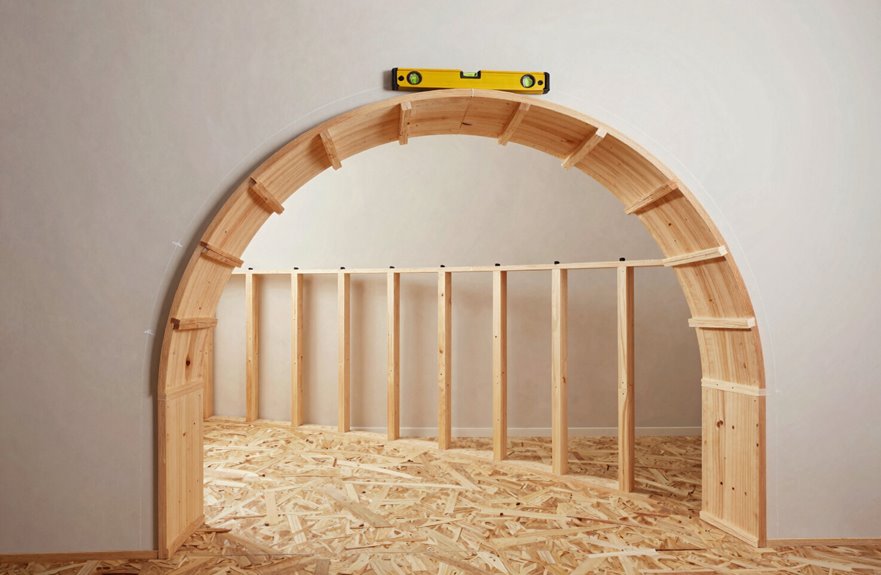
Where should your arch begin and end? Let’s figure this out. First, measure the doorway opening between the studs. This measurement gives you the arch width and indicates how much space you have to the ceiling above where your archway will be.
Next, take a half-inch sheet of plywood and mark the center point of your doorway distance. Secure a pivot screw at this point, then tie a string to it. With your pencil at the opposite end of the string, keep it taut and trace a perfect half-circle.
After drawing the curve, use a straightedge to mark the top and side edges. This outline will serve as your guide for cutting. You are building this archway alongside me, and we are framing it accurately before moving forward.
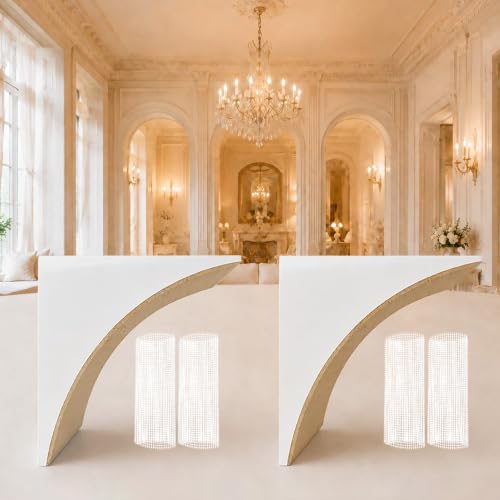
【Universal Arch Kit for Any Doorway】 This DIY doorway arch kit includes 2 pre-curved wooden arch moldings (8.5"x8.5"x5", White). Easily upgrade any square or rectangular opening (e.g., living room arch, kitchen doorway, hallway entrance) into an elegant rounded arch, adding timeless architectural charm without a full renovation.

Solid Wood Material: crafted from natural wood, this arch corner kit offers durability and a smooth finish; Ideal for doorway arches, wall molding, and interior renovation, it resists warping and cracking for long-lasting architectural upgrades

Curved drywall Universal Arch Kit includes a set of (2) SimpleARCH interior doorway pre-bent drywall arches
Cut and Shape the Arch Curve
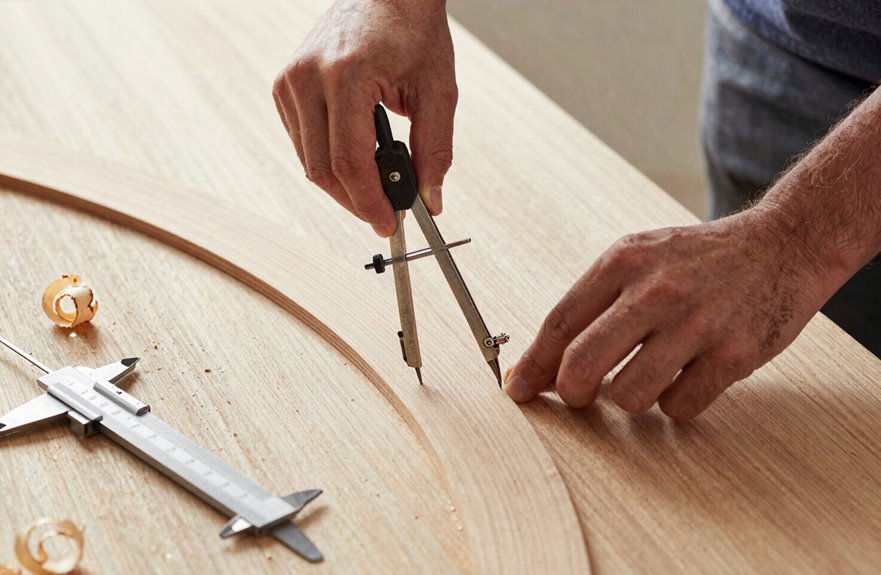
Now that I’ve marked my half-circle on the plywood, I’m ready to turn that outline into actual pieces. I will keep my string taut from the pivot point as I double-check my curve. This is where we separate the dreamers from the doers in our archway journey.
I will grab my jigsaw and cut slowly along the traced curve, allowing the blade to follow that smooth half-circle. Then, I will mark the straight sections with my straight edge and cut those as well, creating two matching corner pieces. For a symmetrical arch sandwich, I will repeat this tracing and cutting process to get four identical plywood corners total.
If I want a single taller arch, I can simply trace my top line higher and cut one larger arched piece. In either case, my jigsaw is doing the heavy lifting now.


ONLY QUALITY WILL DO - If you're looking for quality wood rounds, you're looking for 1/4" thick Baltic birch plywood circles. These have all the sturdy goodness of our classic circles, just in a trendy half circle!
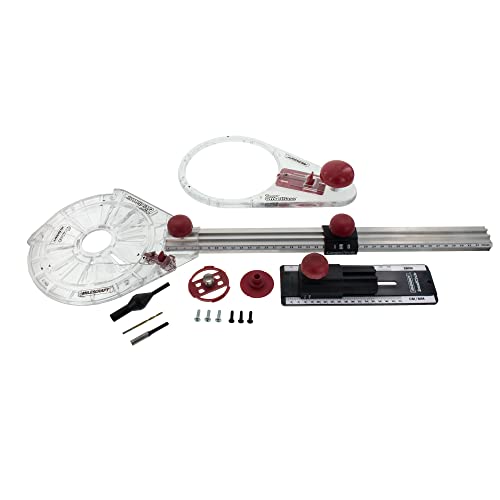
LARGE CUTTING RANGE: Small circle router guide jig cuts circles from 1. 5" To 12" In diameter; Large circle Jig cuts circles from 10" To 52" In diameter
Hang Drywall Inside and Around the Arch
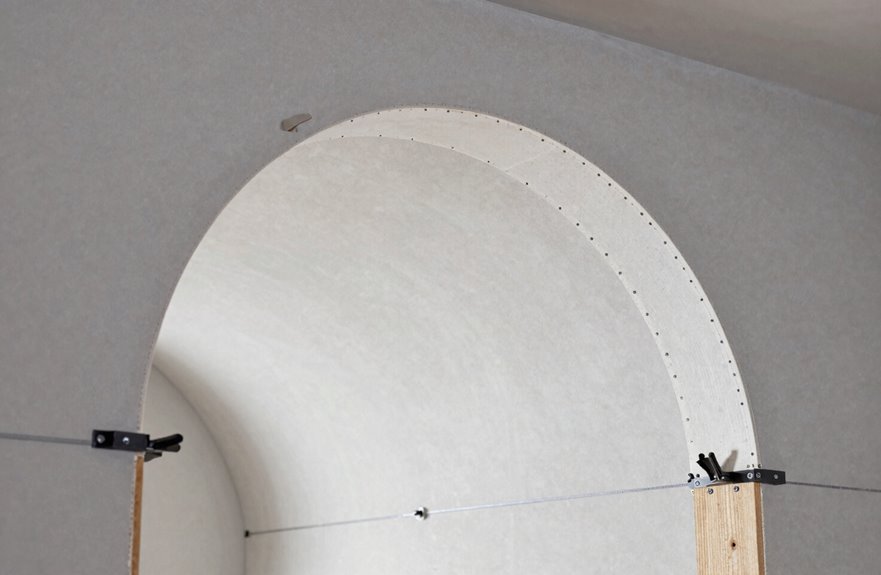
How do we transform this skeletal frame into a finished wall? I measure and cut drywall to fit the curved opening, securing the top and sides to the framing with screws. For the arch interior, I bend two ¼-inch strips to match the curve; wetting or scoring can assist with this. I fasten the strips with screws, creating a smooth radius. I install arch bead along inside seams using spray adhesive and staples, ensuring crisp edges. Then, I apply joint compound to all seams, building a seamless blend.
| Task | Technique |
|---|---|
| Cut drywall | Fit curved opening precisely |
| Bend strips | Use ¼-inch drywall, wet if needed |
| Secure pieces | Screw to framing and arch |
| Install arch bead | Spray adhesive plus staples |
| Apply joint compound | Two coats, sand between |
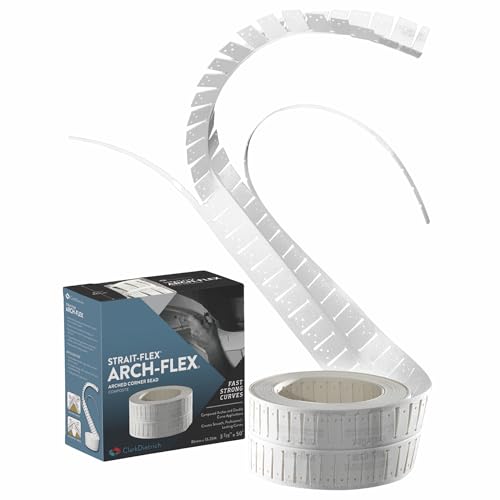
Flexible Fit for Curved Projects: Designed for curved drywall, Arch-Flex shapes to arch windows, ceilings, and round corner. Ideal for drywall repair, wall patch, plaster wall repair, and spots that regular corner bead can’t cover.

Compatible LED Strip Specifications: This flexible plaster led channel is designed for <10mm flexible or rigid LED strips. Suits for most led strip lights such as the 2835 5050 5630 COB LED Strip (Not for Hue Strip). For better lighting effect, we suggest to use 2835 120LEDS/M 5050 60LEDS/M or COB LED Strip. LED Strip Lights are Not Included. Kindly noticed that the accessories bags are put at the end of the carton

Ultra-Slim Design: 0.25" × 0.25" low-profile quarter round trim – designed specifically for small gaps and fine finishing where bulky trims don’t belong
Mud, Tape, and Sand for a Seamless Finish
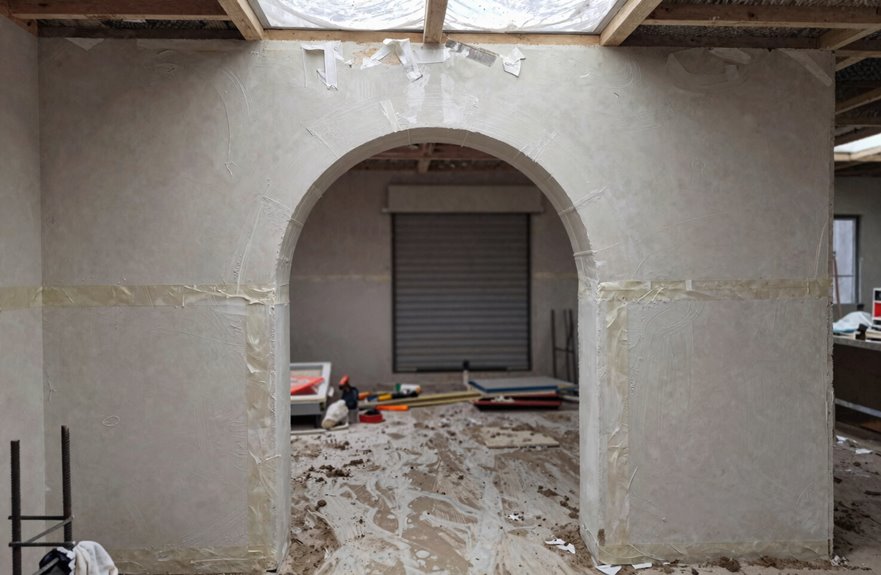
.paywalls and API. We are getting into the craft of drywall finishing, where our arch comes together. I cover every gap between my arch frame and drywall with mud and tape to create the seamless transition we want. I press mesh tape into the seams and embed it with a thin first coat of joint compound. Once that dries, I lightly sand before applying a heavier second coat that blends those curves into my wall. After the final coat dries, I sand again until the surface feels uniform and free of ridges. I then wipe away any dust and inspect closely, touching up any flaws with more mud and sand.
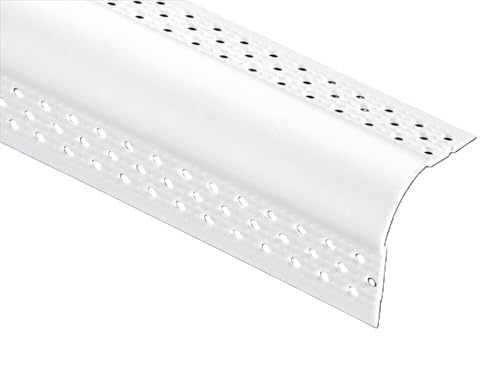
BULLNOSE CORNER BEAD – Designed specifically for drywall corners and not intended for outside or exterior corners
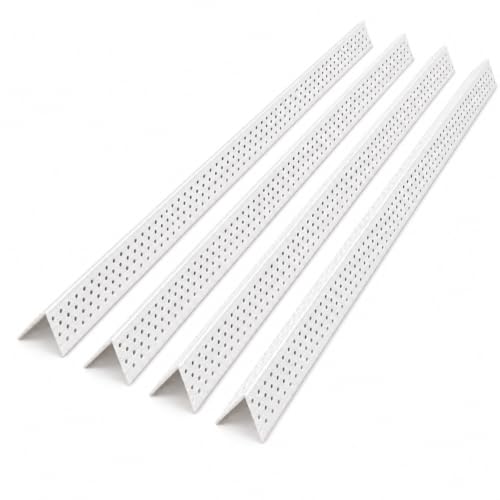
STANDARD 90° OUTSIDE CORNER BEAD – Creates straight, durable edges on exposed drywall corners; intended for interior drywall and veneer applications

12 Pack Value Kit: Includes 12 pieces of 7 ft shower bead strips, giving you 84 linear ft of coverage for bathroom renovation, tub enclosure edges, shower surround projects, or multiple drywall finishing jobs. A practical choice for contractors, handymen, and DIY users who need more material in one pack
Paint, Tile, or Trim Your Completed Arch
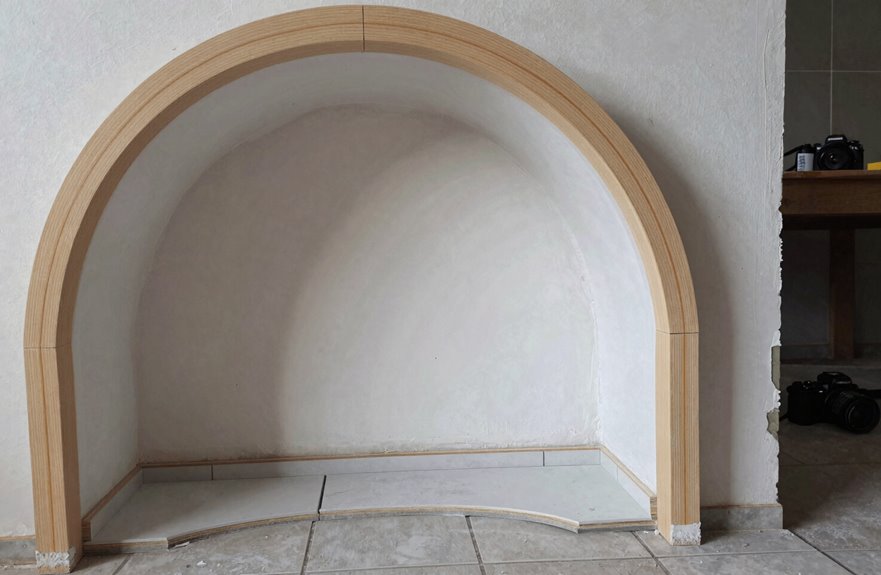
With my arch smooth and dust-free, I’m ready to choose how to finish it. I want this archway to feel like it belongs in my home.
A smooth, dust-free arch awaits its finishing touch—ready to become a seamless part of home.
- I spread mortar and press mosaic tiles along the inner curve, then cut rectangular tiles to hug the arched top perfectly.
- I pack grout between every joint and seal it after curing to prevent moisture from seeping in.
- I skim joint compound over seams, sand until my fingers feel no ridges, and roll paint that blends seamlessly with the wall.
- I bend FlexTrim around the edge, allowing trim to create a clean transition that enhances the space.
Whether painted, tiled, or trimmed, my finished archway invites everyone to pass through.

IDEAL FOR MODERATE SANDING AND SMOOTHING of joint compounds
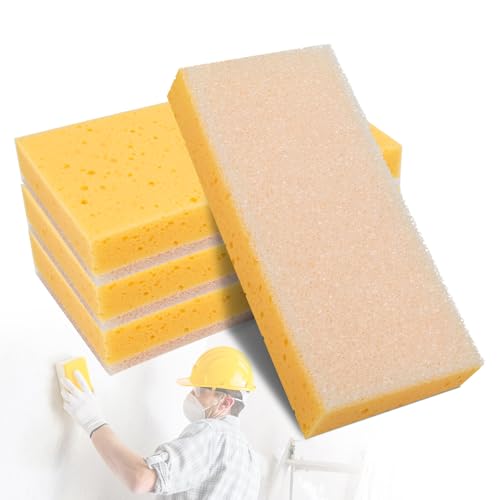
Dustless Drywall Sanding Sponge: This drywall sponge for wet sanding traps fine particles within its porous structure, keeping your workspace clean. Efficient sanding whether you're tackling a small patch repair or an entire room renovation
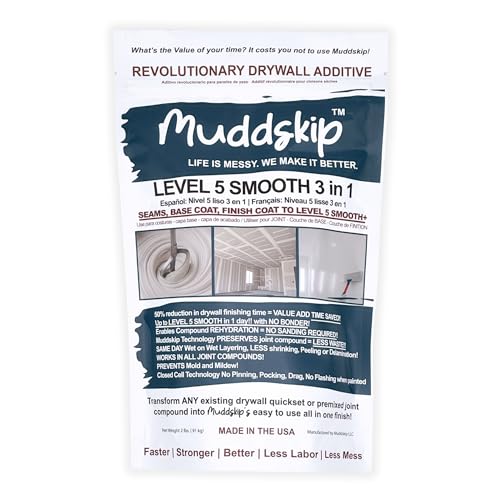
LEVEL 5+ SMOOTH FINISH: Ideal for seams, base coats, and finish coats. Formulated to deliver a consistent, professional Level 5+ smooth finish. (For heavy repairs and textured surfaces, check out the Heavy Duty Formula)