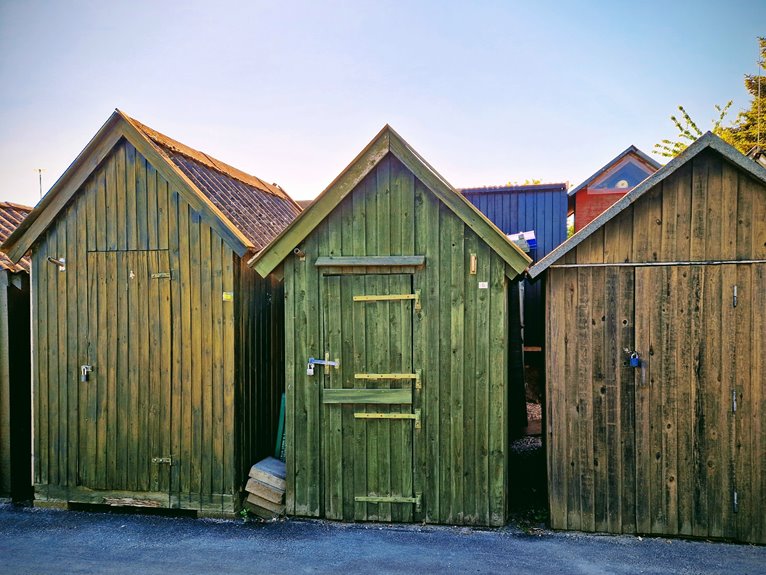
I built my small storage shed by first checking local permit rules, as structures under 120 sq ft often skip paperwork. I then called 811 to mark utilities. I laid heavy foundation blocks on flat ground or buried them on slopes with piers downhill. I framed the floor with full 4×8 OSB sheets, built walls flat on the ground with panels attached, and then raised them square. I cut roof trusses at 22.5 degrees for precise joints, painted walls before roofing, sealed every joint, and finished with doors and built-in shelving. Stick around as I walk you through how each step comes together.
Shed Permits and Utilities: Size Thresholds That Skip Paperwork
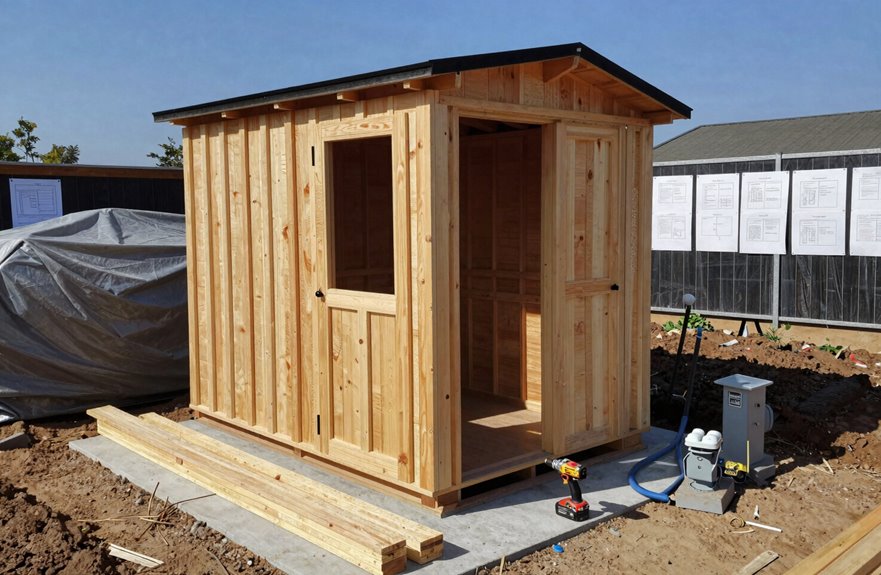
Why deal with bureaucracy if you can avoid it? I always check size thresholds before starting my shed projects. In many places, structures measuring 120 square feet or less and standing 8 feet tall or less qualify as accessory structures, with permits potentially waived. Some plans even indicate these dimensions might allow you to skip wiring permits for power. However, local regulations vary, and I’ve seen identical builds face different rules across neighboring towns. Before I break ground, I call the buried utilities hotline to mark underground lines; this service is free and ensures safety. Even when permits aren’t required, site-specific amendments can affect requirements. I verify requirements with local officials each time.
Shed Foundation on Flat Ground or Slope: Block and Pier Methods
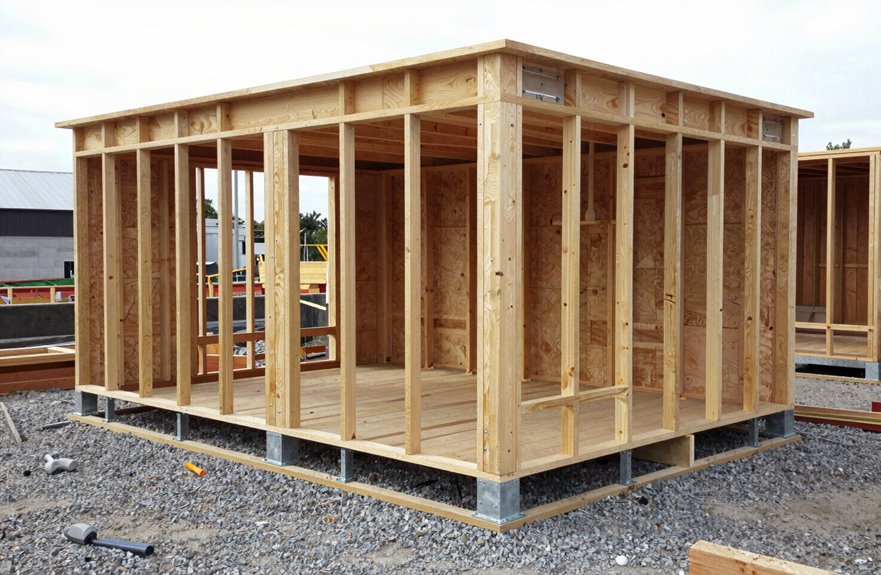
I start by choosing heavy-duty blocks like 12×8 Olde Manor stones that won’t shift under load. Then, I adapt my layout to the terrain, burying blocks on flat ground or pairing buried blocks with elevated risers on piers when working on a slope. I use a temporary frame to position everything accurately, check level obsessively, and isolate the wood from concrete with aluminum shims before bolting the floor frame down tightly.
Block Selection Criteria
How should you choose foundation blocks when building a shed on flat ground versus a slope? I place heavy 12×8 Olde Manor garden blocks at the four corners and wall midpoints for an 8×8 shed on level terrain. These foundation blocks provide the stability needed to prevent shifting under floor joist loads.
On sloped ground, I bury blocks for the upper portion and pair them with elevated risers on concrete piers below. I use a temporary framing frame to achieve precise pier alignment before constructing the floor frame. This ensures everything remains level and true.
I isolate wood from concrete with aluminum shims to prevent moisture wicking and limit pest access. These details protect the structure and contribute to the longevity of your shed.
Slope Adaptation Techniques
Because the ground rarely cooperates with our plans, I adapt my foundation approach to the slope I’m facing. Slope adaptation involves working with your terrain, so you’re building smarter alongside fellow DIYers who have faced the same challenge.
I bury foundation blocks partially on the high side and support the low side with concrete piers or elevated risers to create a true level deck. For an 8×8 shed, I position blocks at corners and wall midpoints, checking constantly for a flat plane despite uneven ground.
My technique involves building a temporary framing frame to position pier blocks accurately before installing the floor frame. I secure everything with lag bolts through pre-drilled holes. I also slip aluminum shims between blocks and timber to keep wood isolated from soil, which helps prevent pests and rot.
Leveling and Alignment
With the foundation blocks or piers positioned, I will spend the next hour ensuring everything sits perfectly level and square before moving forward. I place blocks at corners and midpoints on flat ground, or use buried blocks uphill with elevated piers downhill when working on a slope. I check each block side-to-side and front-to-back with my longest level, adjusting until the bubble reads true.
I slip aluminum shims between wood and concrete to block pest access and fine-tune alignment. These thin metal wedges allow for precise adjustments where blocks sit slightly off. Once shims are set, I anchor the frame with lag bolts through pre-drilled holes.
Finally, I verify that the frame is plumb across all corners and midpoints. Only when every diagonal measures equal and my level reads true do I consider this foundation ready for walls.
Shed Floor Framing With Full 4×8 Sheets: Zero Cuts
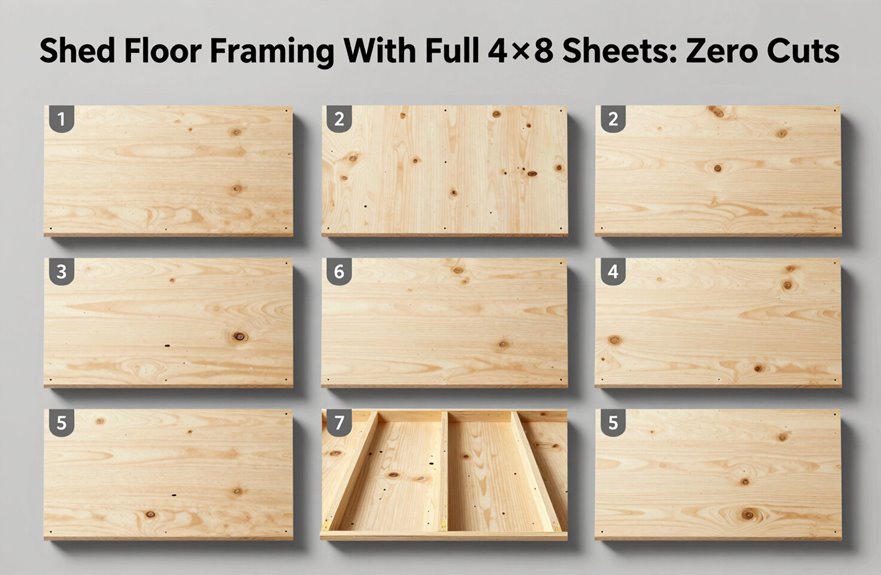
Once you’ve positioned your foundation blocks, I will show you how I framed the floor using full 4×8 sheets with no cutting required.
I started with a temporary frame to position my pier blocks at corners, wall midpoints, and to make any slope adjustments by burying upper blocks and using elevated risers on concrete piers where needed. For the floor framing, I built an 8×8 frame right on that finished foundation, securing joists with galvanized joist hangers and exterior screws for strong connections.
I dropped two full tongue-and-groove OSB sheets onto that frame. No table saw, no measuring, no waste. Just line up those grooves and fasten with exterior screws to create a seamless surface. I added mid-frame blocks between joists at the edges for extra support. This approach maximizes efficiency and minimizes waste.
Shed Walls: Build Flat, Raise Square, Panel Before Lifting
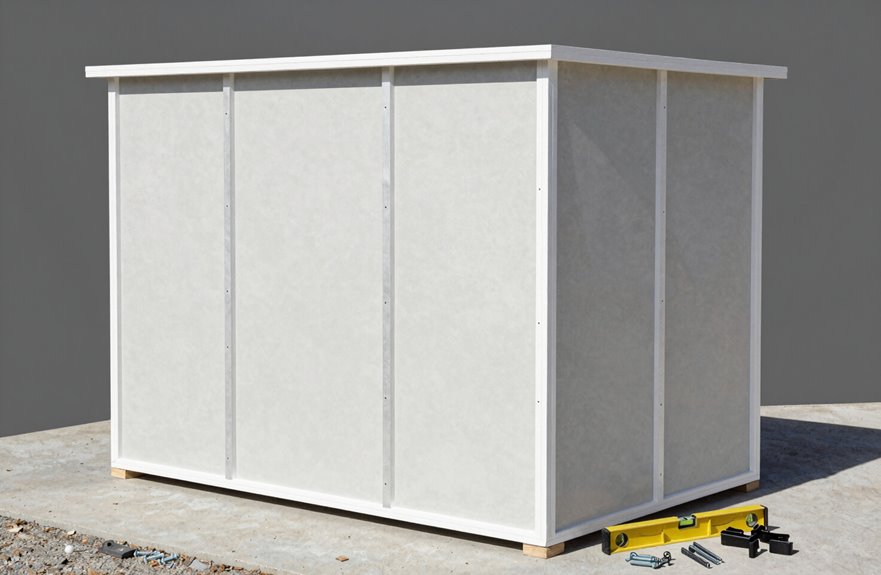
I build my shed walls flat on the ground because it is faster, safer, and allows for better control over the framing. Working at ground level enables me to nail every connection precisely and check for square before the walls leave the ground. I attach the exterior panels while everything is still flat; those factory-square panels guide true assembly. I frame peaked end walls to eight feet, so panels span full height without cutting. I reduce side wall widths by three and a half inches on each end so they butt cleanly against end walls, keeping corners straight and tight. I plan vents, windows, and doors in advance, installing vents on windowless sides and cutting panels for openings only after raising. Once I have everything square, I lift the walls and brace them plumb.
Shed Roof Trusses: Cut 22.5° for Perfect Birdsmouth Joints
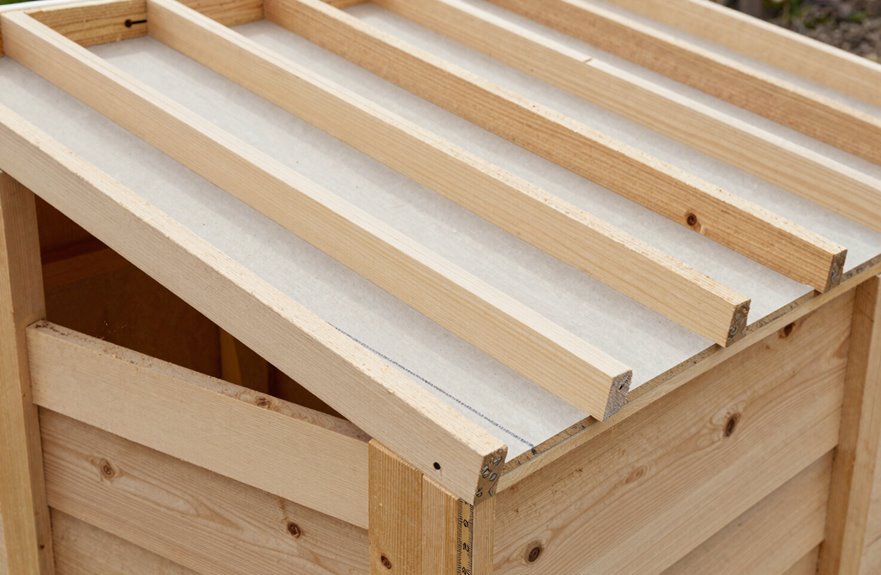
Why make roof trusses harder than necessary? Cutting every angle at 22.5 degrees makes birdsmouth joints straightforward.
Here’s how I maintain consistency in my trusses:
- I sketch every cut on the floor first, verifying my angles before using a saw.
- I cut both ridge and seat cuts at 22.5 degrees so my birdsmouth notches seat flush on wall plates.
- I space five trusses exactly 24 inches apart, ensuring ends are square for perfect mating.
When my angles match precisely, the top chords and rafters align without forcing or adjusting. I have seen many builders struggle with unstable connections due to imprecise cuts. Measure twice, cut at 22.5 degrees once, and your roof frame will fit together correctly.
Shed Shell: Paint Walls Before Roofing, Then Seal All Joints
The best decision I’ve made on any shed build is painting the walls before the roof goes on. I can reach every edge, corner, and window frame without dealing with shadows or overspray from above. I use exterior-grade paint designed for wood siding—cedar or OSB—and ensure every board, including the edges, is fully covered. I allow it to cure thoroughly before the roofing crew arrives.
Once the walls are fully painted, I focus on sealing. I address every joint where water could enter: roof-to-wall connections, window perimeters, and any gaps. I flash and seal joints carefully, as this layer prevents rot. By painting and sealing early, I can avoid complications when the roof framing starts, aligning with builders who prioritize a strong finish.
Install Shed Door and Built-In Interior Storage
I’ll guide you through installing three custom doors: one single and two double doors, using 2×4 frames and T1-11 siding. After that, I will demonstrate how to optimize your shed’s utility with built-in shelving that won’t interfere with the door swing.
Door Installation Steps
Where should you position your doors for maximum convenience? Placing one by the stairs and a pair by the ramp creates a natural flow for our community of builders.
Here are the steps for installation:
- Build your doors using a 2×4 frame sandwiched between T1-11 siding, adding eight trapezoid trim pieces with the first piece as your template.
- Mount heavy-duty hinges—three per door—screwing firmly into both the frame and door, then removing shims for smooth swinging.
- Fit windows and doors into frames by caulking perimeters, nailing through strips, and trimming to cover flashing.
I prime and paint everything to match our shed’s exterior. The built-in shelves near your door opening keep essentials accessible and enhance the functionality of this space.
Interior Storage Options
With your doors hung and swinging smoothly, you’re ready to make the inside work as hard as the outside does.
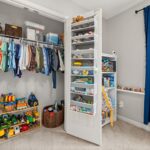
I frame shelves directly into my end walls using pressure-treated studs and exterior screws, building vertical or horizontal storage that won’t shift when loaded. With eight-foot walls and full-width paneling, I run continuous shelves along entire walls and mount pegboard for tools that require quick access. I plan my layout around door swing and any windows, ensuring clear paths to my storage bins and bench space.
For lighting, I install solar-powered or battery fixtures above work zones, avoiding complicated wiring. I finish walls with cedar or pressure-treated boards to combat moisture. Each decision is based on how I use the space, maximizing efficiency and accessibility.