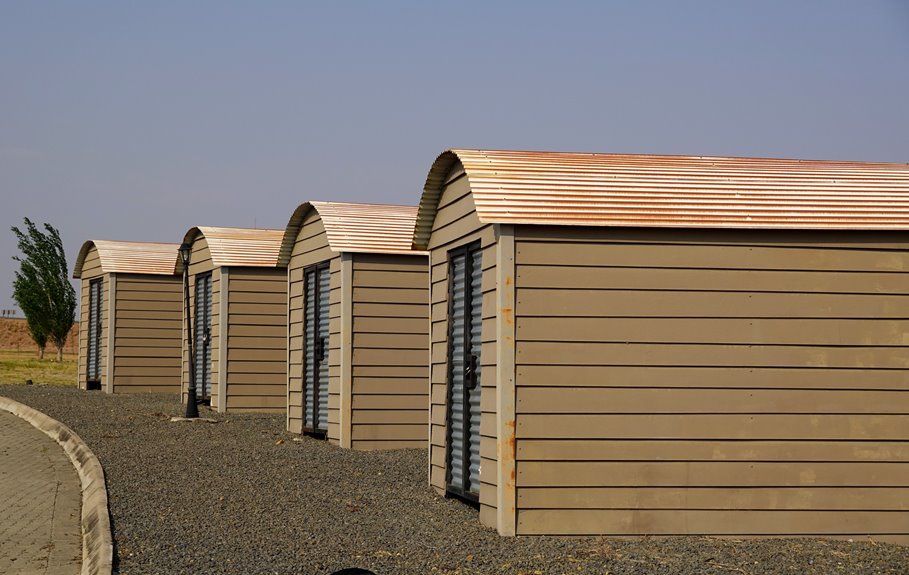
I start by evaluating your site and securing permits, checking for clearance and obstructions before I begin. Next, I prep and level the ground, choosing a foundation that suits my yard, whether that’s a shed base kit, concrete slab, or wood base. Then I dry-fit and anchor the frame, raise the walls with panels oriented correctly, and span the roof beams before sealing everything tight. After that, I install door tracks, hardware, and windows, testing every moving part for smooth operation. Finally, I anchor the shed firmly and seal all seams against weather. Follow along, and I will guide you through each step to ensure your shed remains durable for years.
Site Your Metal Shed and Check Permits
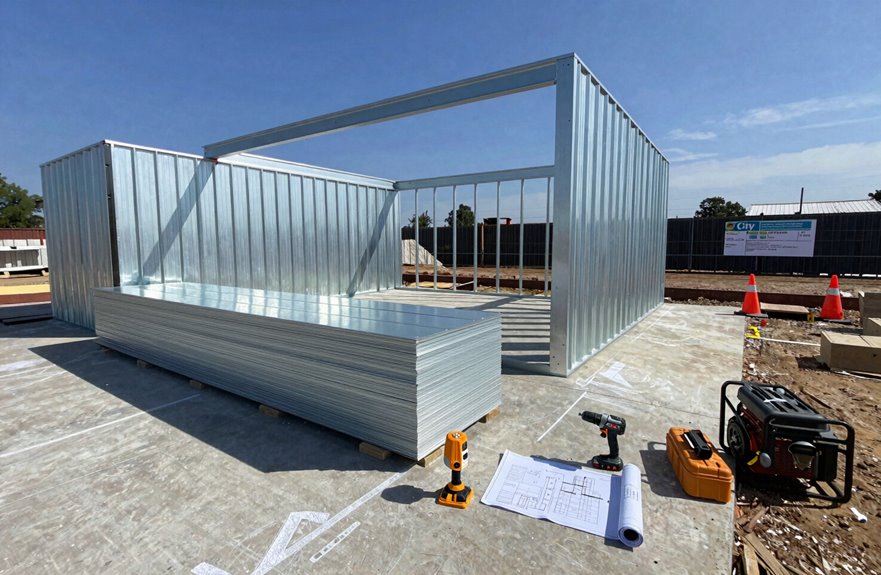
Before I pick up a single tool, I ensure my shed project won’t encounter legal or logistical issues later. I start with a thorough site evaluation, checking permits with my homeowner’s association and local municipality; skipping this step can lead to fines.
I need several feet of clearance on all sides for access during assembly and future maintenance. I look for obstructions like low branches, utility lines, and shrubs that could block placement or damage my shed.
Once I’ve confirmed my spot, I read the manufacturer’s instructions carefully and lay out the parts to verify everything is present. I gather my tools—drill, tape measure, nail gun—and arrange for a friend to assist. We will tackle this on a dry day to ensure my shed foundation sits perfectly before we begin.

Keep your items off the ground and your building square with this Base Kit 8 x 8' , 10 x 8 & 10 x 9 ft Sheds. (Plywood Not Included) This is just the metal frame

Fits Arrow and Storboss 10' by 12', 10' by 13' and 10' by 14' buildings (not compatible with buildings with swing doors)

Compatible with Arrow Elite 12 x 16, 14 x 14, and 14 x 16 ft sheds
Prepare and Build Your Foundation (Level If Needed)
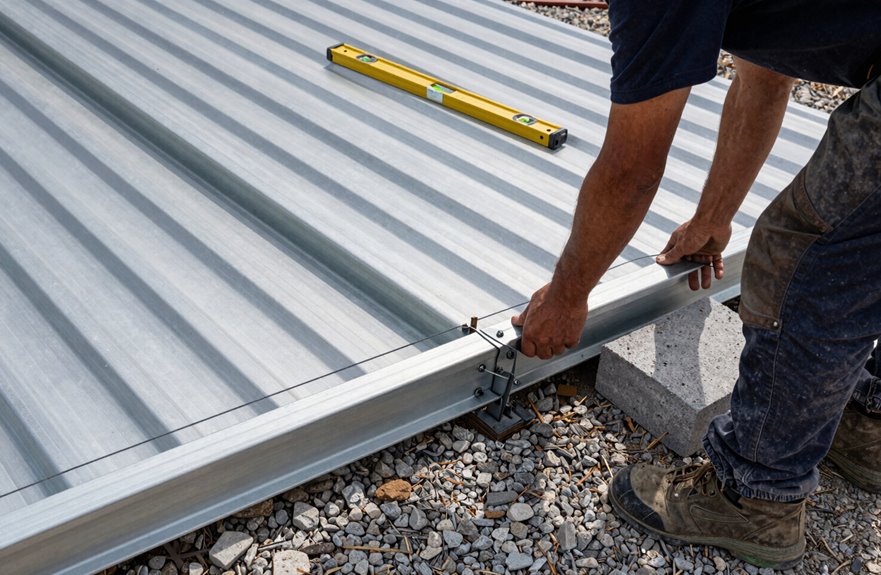
Why leave anything to chance when a stable foundation determines how long my shed will last? I start with ground preparation by removing grass, adding topsoil if needed, and letting it settle for 24 to 48 hours. For level ground, I drive stakes around the perimeter and pull level strings taut, checking with a line level to verify even height. I won’t place my shed directly on dirt, as moisture can damage what I’ve built. Instead, I choose a foundation that suits my site: a shed base kit for quick setup, a concrete slab for permanence, or an elevated foundation for wet areas. Each option protects my investment.
| Foundation Type | Best For | My Priority |
|---|---|---|
| Shed base kit | Sloped yards | Fast assembly |
| Concrete slab | Permanent storage | Maximum durability |
| Elevated foundation | Wet climates | Moisture protection |
| Wood base | Budget projects | Cost balance |
| Floor frame kit | Tools/gear storage | Versatility |

A flexible concrete crack repair that fills cracks and stays filled: stretches up to 300 percent of the original crack size to move with shifting soil, temperature, moisture, and traffic instead of breaking again


A flexible concrete crack repair that fills cracks and stays filled: stretches up to 300 percent of the original crack size to move with shifting soil, temperature, moisture, and traffic instead of breaking again
Assemble Your Metal Shed Frame, Walls, and Roof
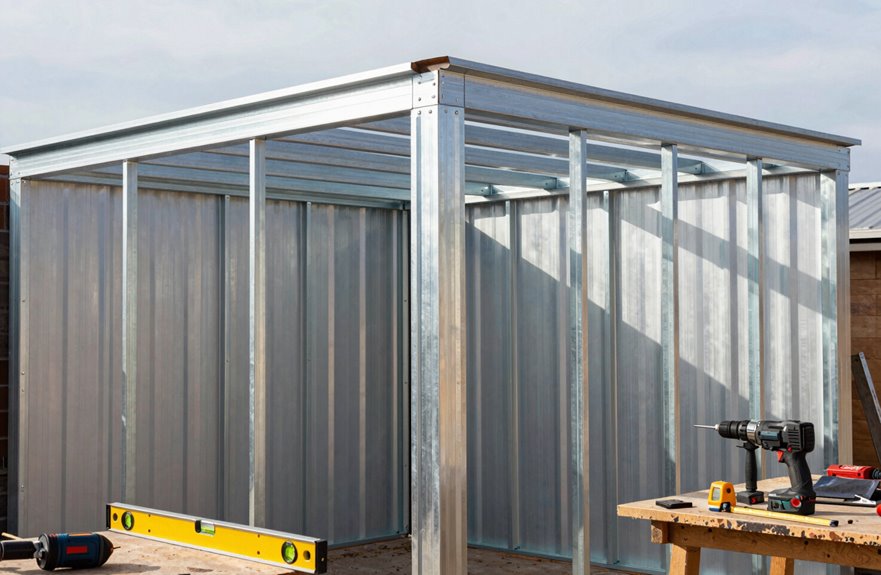
I begin by dry-fitting the base rails to form the floor perimeter, measuring corner to corner to confirm the frame is perfectly square before tightening a single anchor. Once I am certain, I secure the anchors and fasteners, ensuring every connection is reliable.
Next, I raise the wall frame, placing a corner panel at each floor corner with its widest part along the building side. I attach wall panels at the top and bottom, fastening each center to the wall channel until the structure feels solid.
Then I span roof beams across the walls, aligning them for snug roof panels, and seal the ridge cap with structural trim. If doors are included, I build door jams now, leaving hardware for later.
- Square the base rails first; precision creates stability.
- Raise walls together; strength grows from shared effort.
- Crown with roof beams; shelter completes the structure.

Complete Heavy-Duty Ground Anchor Kit: Comes with 4×18″ ground anchors, 50 ft of galvanized cable, bolt-type clamps, extra-wide tree straps, drill adapter, T-Socket & clamp wrench—all you need to secure sheds, mobile home, tents, trampolines, and canopies

HEAVY DUTY GROUND ANCHORS: Each earth anchor features a fully welded 2 in wide spiralblade joined to a carbon steel shaft. As the screw-in ground anchor drives into suitable ground, thebroad spiral engages more soil for reliable holding support in grass, soil, sand, hard clay and rockyground. Designed for sheds, swing sets, playsets and other outdoor structures, these earth anchorshelp provide dependable anchoring in windy conditions when properly installed.

✅ Won't budge, even in high winds - : Every steel shed has anchor pressure relief that has been tested in HIGH WINDS at 1000 lbs per drilled anchor - which means they will hold any anything - making them ideal ground anchors, swing anchors, standing anchors, playset anchors, or as anchor drill bits.
Install Doors, Windows, and Hardware
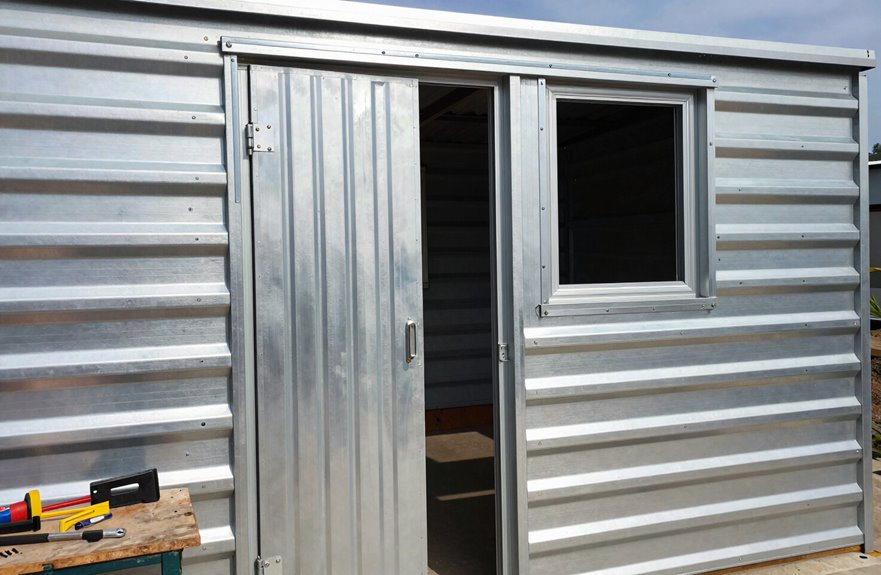
The door tracks go in first, anchoring firmly to the frame before I lift each panel into place. I verify smooth operation by checking the opening, closing, and latching mechanisms, then tighten the hardware once I am satisfied. A light coat of lubricant on hinges, rollers, and tracks keeps everything moving freely and protects my metal shed from premature wear.
For window installation, I seal frames with silicone immediately after fitting them. This weather-tight barrier prevents leaks and drafts from occurring. I follow manufacturer instructions precisely, adjusting jams and braces for proper fitment on every opening.
Before moving forward, I test all moving parts. Doors and windows must glide correctly. Precise alignment ensures my metal shed functions as intended. Getting this step right means I am building something that provides lasting protection.

Set includes 8 47.5 x 28 inch corrugated galvanized steel roof panels
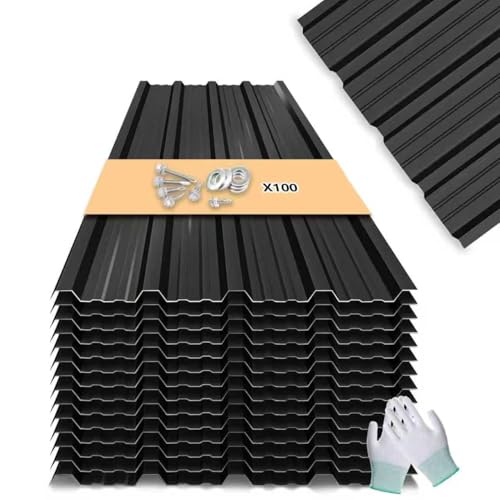
METAL ROOFING PANELS: Metal roof panels are primarily used to cover and protect roofs, effectively preventing water from passing through and safeguarding the interior of buildings from moisture. Corrugated metal sheets roofing possess excellent wind resistance, snow load capacity, and corrosion resistance, making them suitable for various climatic conditions

【High-Quality Material】: Our Roof Panels are made from high-quality, long-lasting and robust galvanized steel which is durable, strong, even in extreme weather conditions.
Anchor and Weatherproof Your Metal Shed
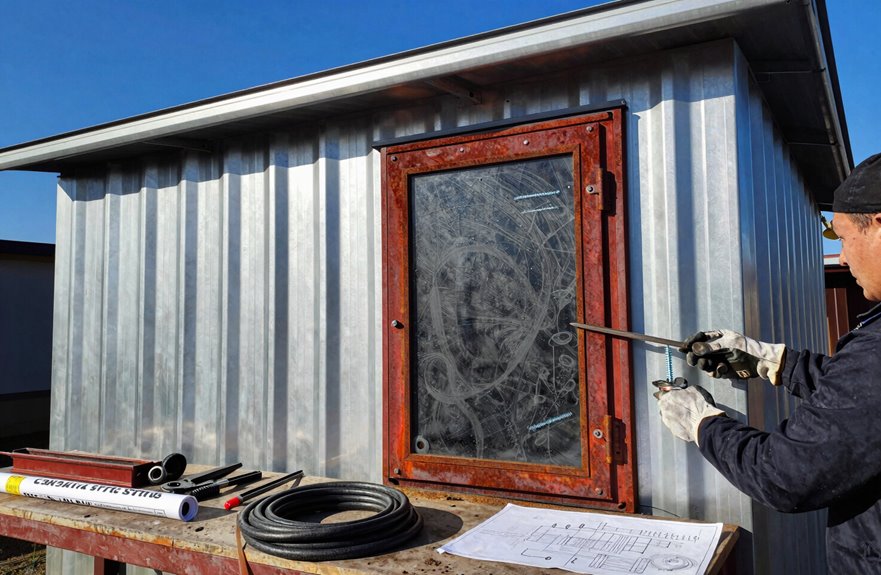
With doors and windows operating smoothly, I am ready to secure the entire structure against wind, water, and time.
First, I anchor every corner of my metal shed and space additional anchors at 4–6 foot intervals along the base rails. For concrete slabs, I will use concrete anchors like J-bolts or wedge bolts, ensuring the slab extends 4–6 inches beyond the frame with a slight slope for drainage. On gravel or wood, I am using tie-down straps with helical anchors.
Here are the key measures to keep the shed dry and standing strong:
- Foundation leveling prevents pooling water that can exploit any weakness.
- Silicone sealant on all seams and roof edges blocks hidden paths inside.
- Annual maintenance, including cleaning, rust touch-ups, and fastener checks, protects our investment.
Metal panels resist water; they do not stop it alone. Proper waterproofing seals our space, and consistent upkeep ensures the shed remains solid for years.

Precise Compatibility: Metal shed door glides compatibility with Yardmaster Outsunny , this 4‑pack door slide kit ensures a hassle‑free fit. No cutting, drilling, or modifications needed—just install and restore smooth door operation.High-Quality 3D Printing. Please verify your shed model and panel thickness before purchase to ensure a perfect match.
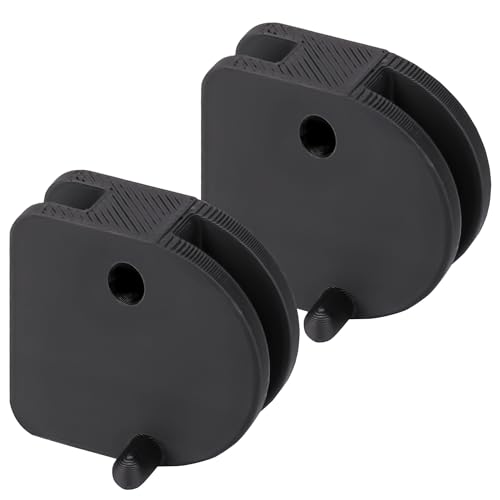
Precise Compatibility: Metal shed door glides compatibility with Yardmaster Outsunny , this 2‑pack door slide kit ensures a hassle‑free fit. No cutting, drilling, or modifications needed—just install and restore smooth door operation.

【Compatible With】: Compatible With Arrow shed and outdoor warehouse doors