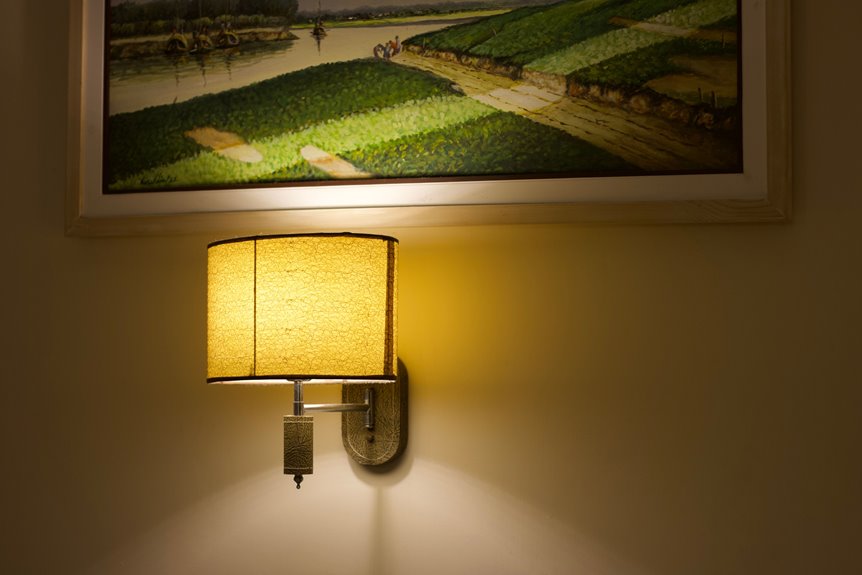
Yes, you can paint lamp shades, and it’s an effective way to refresh a room without purchasing new lighting. The key is matching your paint to the shade material; watercolors work well on parchment, while acrylics or emulsion paints are suitable for fabric bases. Begin by cleaning the shade with mild soap, taping off hardware, and applying thin, even coats rather than thick ones. Spray painting provides a smoother finish, while brushing offers more control for detailed work. Consider how paint thickness affects brightness, as opaque layers can dim the light, while diluted paints allow more glow through. This technique can be very successful in revamping dated thrifted shades.
Choose the Right Paint for Your Lampshade Material
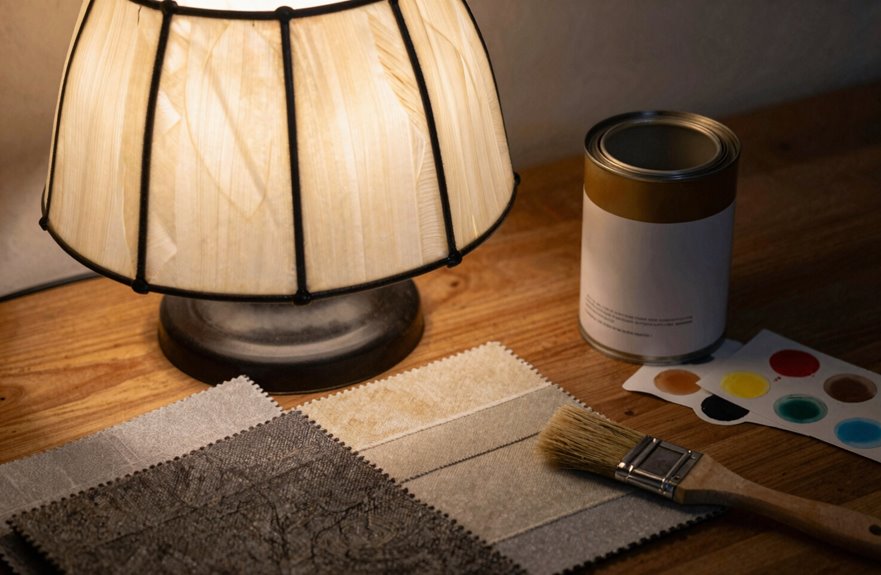
How can you determine which paint won’t damage your lampshade? It depends entirely on the material of your shade.
Parchment lampshades are ideal for watercolors, which provide a soft, artistic touch. For bolder designs on parchment or fabric surfaces, acrylic or emulsion paints are suitable. Cotton fabrics benefit from thicker base colors; emulsion or chalk paints work best for achieving eye-catching details.
Your choice of paint impacts more than just appearance. Thicker, opaque layers tend to reduce light transmission, while diluting the paint allows more light to shine through. For an even finish on any material, spray painting achieves professional results, provided there is adequate ventilation. It is advisable to apply light, multiple coats instead of one thick layer, and to seal everything with a clear varnish for added durability.
Prep and Prime: Get Any Surface Ready to Paint
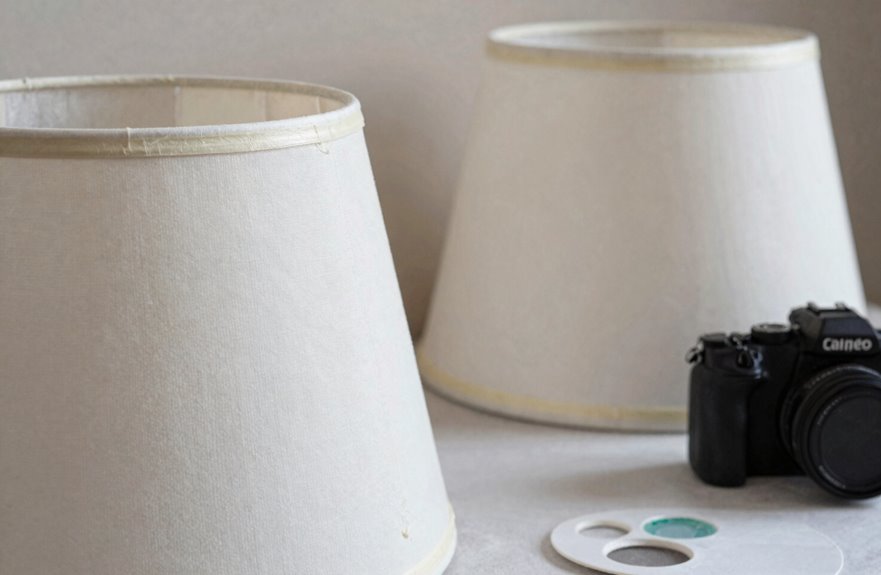
I start by washing the shade with mild soap and a soft cloth to ensure the paint adheres properly and doesn’t flake off later. After taping off any hardware, I choose a primer that matches the surface; plastic and metal shades require that extra grip, while fabric often skips this step. With my workspace covered and ventilation running, I apply thin, even coats and allow each one to dry before adding the next layer.
Surface Cleaning Essentials
Before you open that paint can, let’s go through the prep work that will influence your finished lamp shade. Even the best paint won’t adhere properly to a dusty, oily surface.
I begin every project with thorough cleaning. I mix mild soap with water, grab a soft cloth, and gently wipe away years of fingerprints, cooking grease, and household dust. Don’t rush this step; I’ve seen beautiful paint jobs bubble and flake because someone skipped the scrub.
Once it’s clean, I protect what I don’t want to paint. I tape off hardware with painter’s tape and spread plastic or newspaper across my workspace. I ensure windows are open so fumes can escape and dust stays away from wet surfaces. This preparation emphasizes the importance of patience in DIY projects, as it can prevent issues later on.
Primer Selection Guide
What primer you’ll need depends entirely on the material of your lamp shade. I have learned this firsthand and am sharing it for clarity.
For plastic or metal shades, I use a spray primer specifically formulated for those surfaces; it creates the bond needed for long-lasting paint. If I’m working with fabric and using fabric-safe paint, I skip the primer entirely. The same applies to smooth parchment or cotton when I have water-based paint designed for those materials.
Before priming, I clean thoroughly with mild soap and a soft cloth. Then, I tape off surrounding areas, lay down a drop cloth, and ensure proper ventilation. I apply one thin coat of primer and let it dry for about 30 minutes before moving on to color.
Spray Paint or Brush: Which Method Works Better?
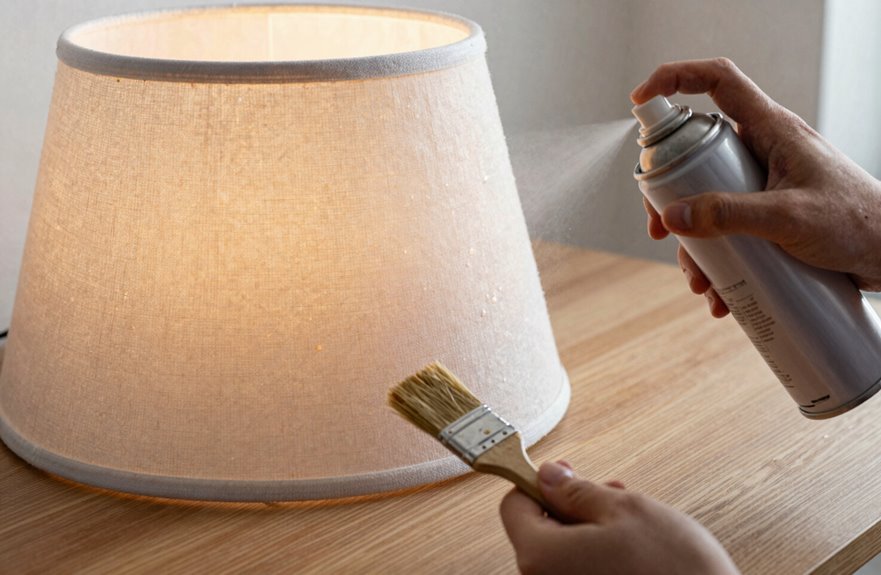
Let’s paint the picture together:
- You’re standing in your garage, respirator on, watching mist settle like morning fog across taut fabric.
- Light catches the micro-droplets mid-air before they kiss the surface, no stroke marks in sight.
- Paper transforms without buckling, that fragile skin drinking just enough color.
- Your fingers never cramp from repetitive motion; you’re free to rotate, layer, breathe.
- That final coat dries uniform, fitting seamlessly into any curated space you’ve envisioned.
Rely on your material and your vision.
Spray Paint a Fabric or Paper Lamp Shade Step-by-Step
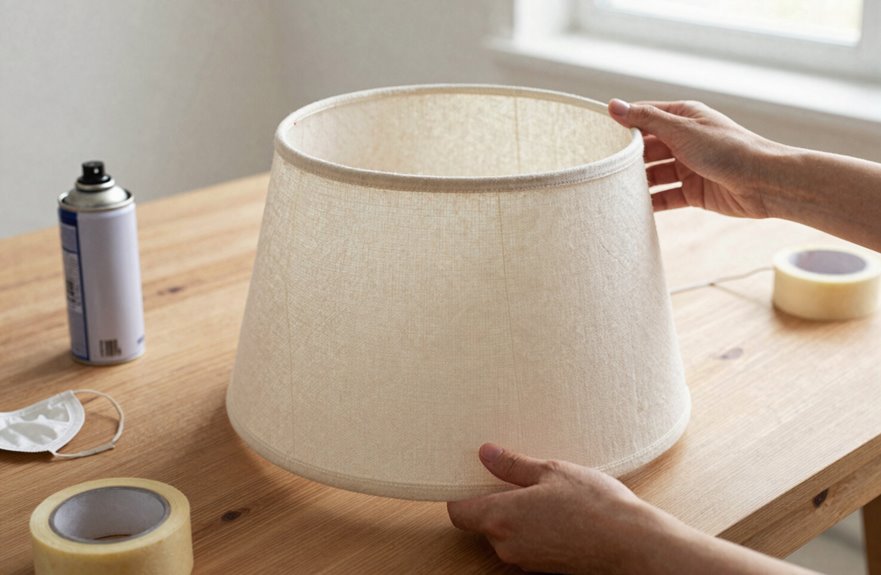
Spray paint offers results that brushwork can’t achieve, and I’m here to guide you through the process.
First, I grab a fabric or paper lampshade and clean it gently with mild soap and a soft cloth. I set up outside or in a well-ventilated area, using drop cloths to protect the surroundings. I tape off hardware to ensure paint doesn’t touch the metal rings, and I prime the surface if necessary.
I apply thin, even coats of spray paint, waiting thirty minutes between each application. For sharp edges, I use painter’s tape and spray from above to avoid blotching. Once the final coat dries completely, I seal it with a clear protectant.
This process transforms ordinary fixtures into beautifully painted lampshades that enhance your space.
Create Ombre, Stenciled, or Metallic Finishes
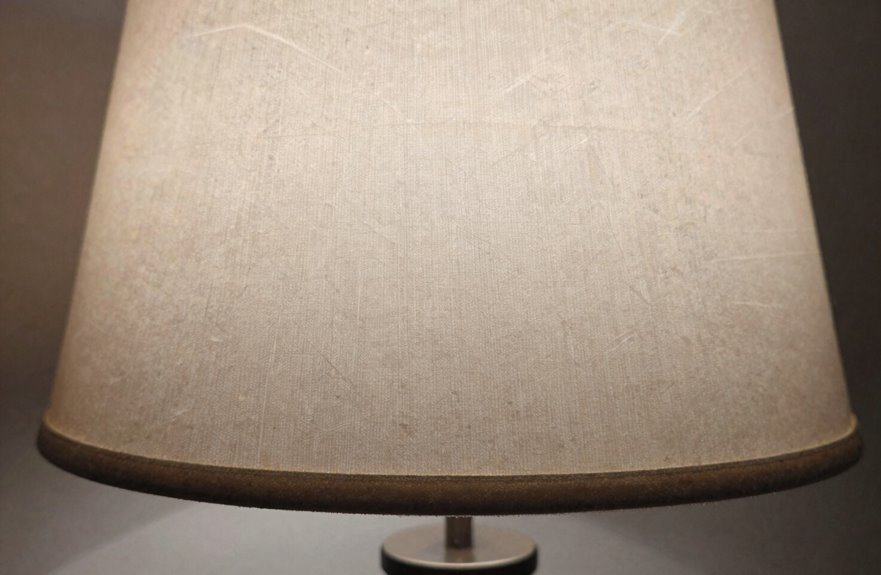
I’ll walk you through three finishes that transform ordinary shades into statement pieces: ombre gradients, stenciled patterns, and metallic interiors. Each technique requires patience with thin, repeated coats rather than heavy applications that cause blotching. Spray painting is particularly effective for ombre and metallic effects, while stenciling needs careful taping and light passes to maintain crisp edges.
Ombre Gradient Techniques
An ombre gradient transforms an ordinary lampshade into a showpiece through patient layering. I start with a pale base on parchment or fabric, then blend adjacent shades while they’re still wet; this technique eliminates harsh lines and creates a seamless color flow. Here’s what matters:
- I begin light and work darker, or reverse it for a moody effect.
- I keep each coat thin and even, allowing adequate dry time between layers.
- I test blends on scrap material first to avoid guessing.
- I feather edges where colors meet to ensure they merge naturally.
- I add metallic hints to the top or bottom for an extra glow.
Following this process turns your shade into a recognizable piece of art.
Stenciled Pattern Methods
Why settle for a plain shade when a stencil can deliver museum-worthy detail in an afternoon? Stenciling allows us to create something unique without needing an art degree.
I start by giving my shade a gentle wipe and then testing on a hidden spot; this step can save heartache. When I’m ready, I tape my low-tack stencil firmly and dab lightly with fabric-safe paint. Heavy hands cause bleeding; patience results in clean edges. For ombre effects, I layer gradually, letting intensity shift from top to bottom. On parchment or fabric, I use delicate materials and apply repeated gentle touches to prevent tearing or ghosting.
Grab some painter’s tape and join in; your perfectly patterned shade is within reach.
Metallic Interior Finishes
Where better to hide a little luxury than inside a lampshade? Metallic interior finishes transform ordinary shades into ambient masterpieces, casting that coveted warm, downward glow we all crave in our spaces.
When I paint the inside, I always consider how these finishes work:
- A gold sheen bouncing warmth through parchment, inviting everyone closer.
- Spray or brush techniques that make you feel like a true craft insider.
- Exterior opacity controlling whether light diffuses soft or bold.
- Ombre layers shifting from bright to moody, reflecting our evolving tastes.
- Thin coats preventing blotches, ensuring your shade looks effortlessly perfect.
I prep the surface carefully, build up gradually, and see the metallic interior finishes reward me with that even, reflective glow we seek.
Control Brightness: How Opacity and Layering Affect Light Output
How do you keep a painted lamp shade from turning your cozy reading nook into a cave? I control opacity through smart layering. Thicker, denser paint layers decrease light output and cast pronounced shadows, while lighter GSM parchment shades remain more translucent. I build multiple thin coats rather than one heavy application; this gives me even tint and steadier diffusion without blotchy brightness. The base material matters too; parchment offers more translucency than fabric, which varies in how it handles paint density. I have found that metallic interior finishes, like gold, reflect light downward and warm the glow inside. By balancing these elements, you can achieve the perfect ambient brightness.
Fix Wrinkles, Peels, and Other Paint Problems
Even the most carefully painted shades can develop wrinkles, peels, or other frustrating flaws. I have found effective ways to address these issues without starting over.
- Spot wrinkles early by keeping shades away from moisture and allowing each coat to dry completely before applying another.
- Prevent peeling by cleaning surfaces with mild soap to remove dust and oils that block adhesion.
- Apply multiple thin layers instead of thick ones; this stops crackling and peeling before it starts.
- Lightly sand scratched or textured areas to create a smooth surface that bonds better with fresh paint.
- Protect your work from heat and direct sunlight with UV-resistant coatings so colors remain vibrant.
These quick fixes help keep our painted shades looking intentional and beautiful, avoiding the appearance of accidents.
Before and After: Painting Thrifted and Dated Lamp Shades
Why let a dated shade end up in a landfill when I can transform it instead? I’ve rescued countless thrifted lamp shades from obscurity, and you can too. Here’s my proven approach:
| Step | Action | Result |
|---|---|---|
| Prep | Clean, sand, prime worn areas | Smooth surface ready for paint |
| Paint | Spray or brush thin coats | Even, customizable color |
| Finish | Add metallic interior if desired | Unique glow effects |
I always layer multiple thin coats on my lamp shades rather than applying thick paint; this technique helps avoid blotches. Whether I’m working with parchment or cotton, spray paint and acrylics provide control. The dated beige drum I found last month is now a deep navy with a gold interior that casts a warm downward glow. We belong to a community that sees potential where others see trash.