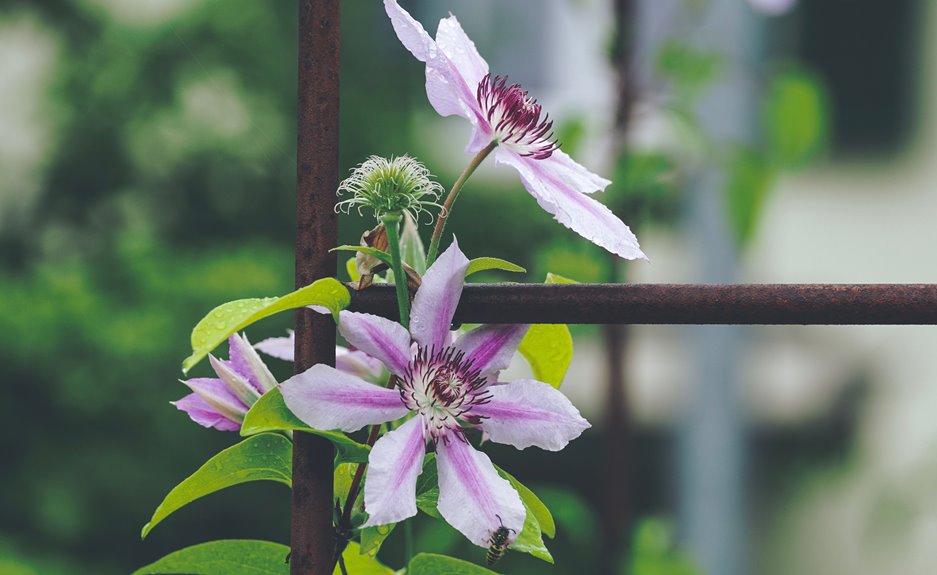
I’ve built dozens of trellises, starting by choosing between a taut wire grid or a rustic branch framework.
Next, I gather materials—galvanized steel wire with ferrules or sturdy limbs and twine.
I then map anchor points with a level, drill holes, and insert eye hooks for the base.
I string wire through the hooks, crimping ferrules for clean joins, or lash branches into place.
Finally, I train vines upward with soft ties every 6–12 inches.
Follow these steps to maximize your harvest with each method.
Pick the Right Trellis Type: Wire or Natural Branch
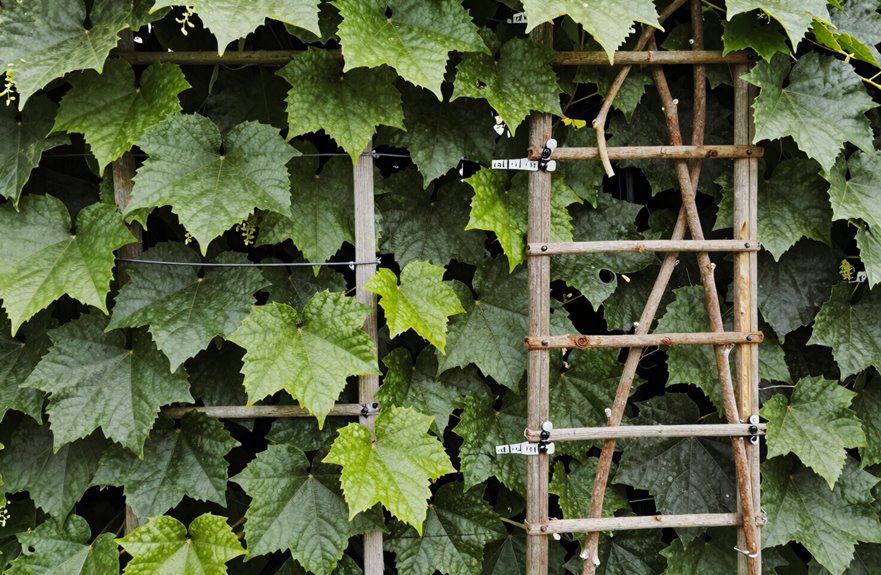
Before I start building, I need to decide what kind of trellis will work best for my space and plants. I have found that wire trellises use galvanized steel wire rope with ferrules and eye hooks to create taut, diamond-pattern grids that effectively hold climbing plants like clematis or cucumbers. A diamond-pattern wire trellis can be spaced with 25 units between anchors to maintain even tension and uniform growth guidance. Alternatively, natural branch trellises rely on tree branches or bamboo, secured with twine or wire, offering a free-form aesthetic. These branch-based supports are noted for their visual appeal and easy customization. For indoor uses, I can repurpose natural branch trellises with lightweight bamboo, while wire trellises provide stronger vertical support for heavier climbers. Selecting the appropriate DIY supports ensures my climbing plants thrive.
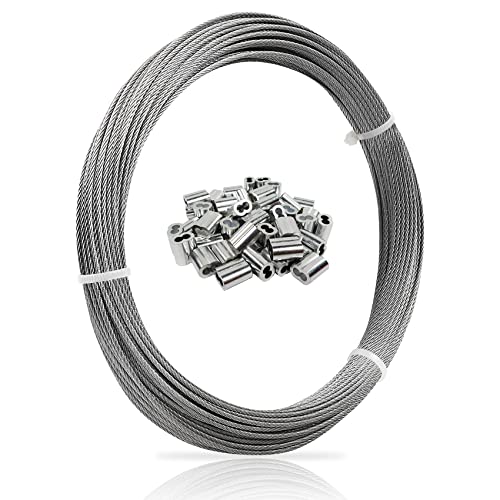
Made from 304 stainless steel for superior strength, corrosion resistance and durability. 1/16 inch diameter wire is thin yet strong. 100 feet length provides ample wire for various household, garage and outdoor projects.

1/16 Wire Turnbuckle Kit: This 50ft wire rope kit includes a 1/16 stainless steel coated cable, 2 M5 turnbuckle hooks and eyes, 4 M2 wire rope thimbles, 4 M5 screws hooks, and 8 M2 aluminum crimping loops. Ideal for various applications requiring secure and hanging wire rope installations
Source Materials for Your Chosen Trellis Design
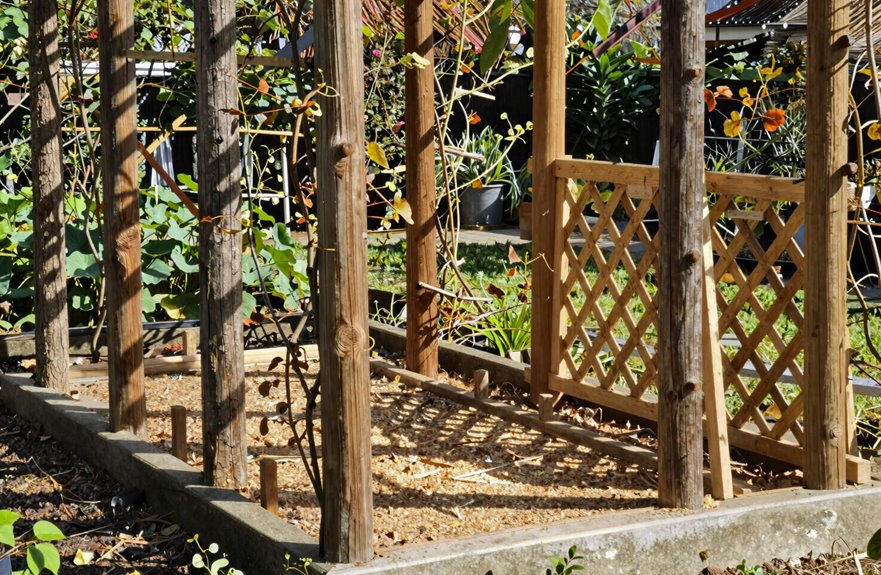
Once I’ve settled on a trellis style, I need to gather specific materials.
For my wire rope trellis design, I will get three packs of 1/16 inch galvanized uncoated steel wire rope and twenty-two aluminum ferrules paired with stainless steel screw eyes as my mounting hardware. I plan to space these twenty-five units apart for diamond spacing across the wall, marking each point with tape before drilling. Masonry anchors and a hammer drill with masonry bits will be essential for brick installations.
If I lean toward a more organic approach, I will gather sturdy limbs, loppers, twine, and scissors—tools that have been used by generations of gardeners. For the horizontal cross supports, I will drill through branches and add extra wire to create a structure that can support growth for two seasons.

Complete Package for Convenience: the wire trellis kit Includes 61m trellis wire and 20 eye screws (diameter 2/10 inches); This package ensures you have all necessary components right at your fingertips, making set up a breeze and eliminating the need for additional purchases

Material: Our heavy pad eye plates U hook are made of 304 stainless steel, smooth surface without burrs,corrosion resistant, sturdy.

Install Your Trellis Anchors or Frame
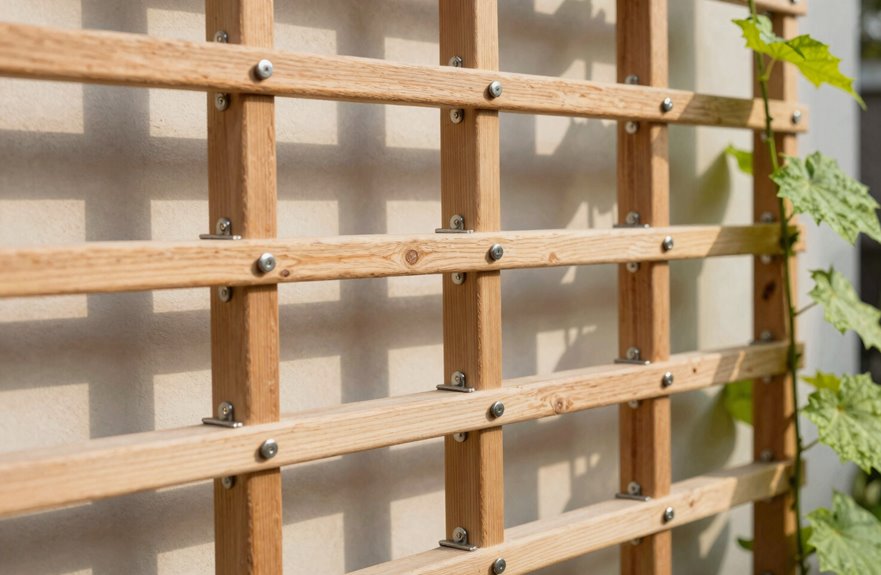
I’ve gathered my materials, and the real work begins when I start securing the trellis to the wall. Together, we’ll build something that transforms bare space into a living community where our plants thrive alongside us.
- I map my anchor points with a level and yardstick, keeping patterns centered so our wire trellis feels intentional.
- I drill anchor holes with my hammer drill, then insert plastic anchors for sturdy trellis supports that will endure through seasons.
- I screw in eye hooks at each point, envisioning the coverage we will achieve together.
- I thread wire through eye hooks twice per point, creating taut loops with aluminum ferrules.
- I verify vertical alignment with scrap wood, ensuring our anchors and frame welcome climbing vines into something beautiful.
I sometimes add turnbuckles for tension, adjusting eye hooks as growth requires.

Natural bamboo trellis: Made from natural and renewable materials, bamboo is fumigated twice to ensure strong quality and durability. Our garden trellis is hand-picked and hand-made to ensure the premium quality, it is very sturdy and flexible to be used in the garden for several seasons

Package included : The height of bamboo trellis is 16 inch, each package includes 3pcs trellis. Three shapes are available for you to choose from

QUALIT: Jollybower U-hoops bamboo trellis are hand selected and made from and renewable materials. Plant support bamboo has been fumigated twice to ensure strong quality and long life. Small plant trellis are very flexible, durable and can support climbing plants, so our potted plant supports will not be easily blown down by the wind.
String Wire or Assemble Your Branch Structure
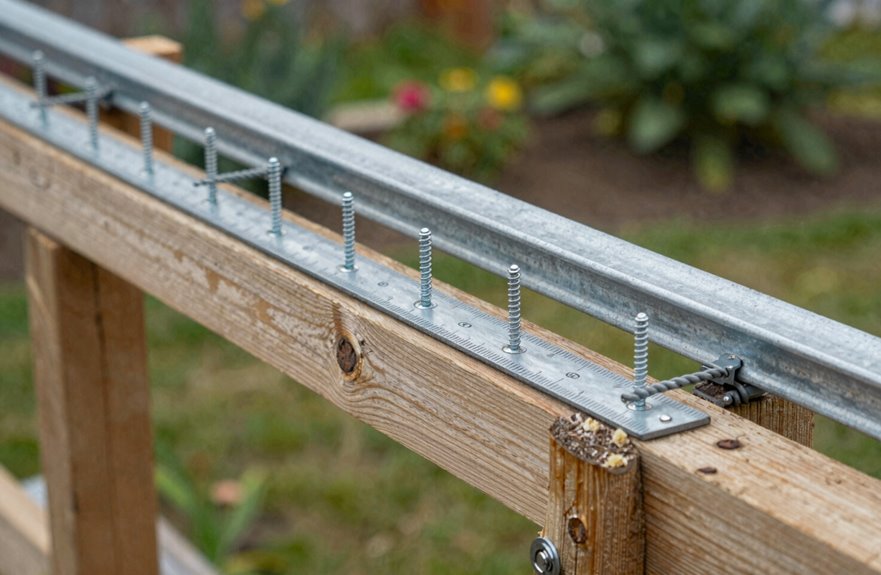
Now that my anchors are set, I’m ready to weave the living grid that will guide my climbers upward. I’m threading 1/16 inch galvanized wire through my eye hooks, spacing them 25 units apart to form that classic diamond pattern. I’ve drilled precise holes and set my anchors, and now I’m looping wire through each hook twice to ensure everything is snug. My trellis comes alive as I crimp aluminum ferrules and trim excess with wire cutters; clean joins are essential when building something together. I’m adding a turnbuckle to adjust tension as seasons shift, and I’ll enlist a friend to help me pull everything taut. This wire framework connects generations of gardeners who have trained vines skyward, one deliberate loop at a time.

【Package Content】50pcs 304 stainless steel screw eyes. Dimensions: 1 * 0.51 inches / 25.4 * 13 mm (length * width). Commonly used to hang photos, DIY earrings, clay resin pendants, fixed objects, Christmas tree decorations, wooden toy trains, handicrafts, etc.

Material: stainless steel,soaking in water will not rust.

【Package Content】30pcs 304 stainless steel screw eyes. Dimensions: 1.57 * 0.67 inches / 40 * 17 mm (length * width). Commonly used to hang photos, DIY earrings, clay resin pendants, fixed objects, Christmas tree decorations, wooden toy trains, handicrafts, etc.
Train Your Climbing Vines Up the Trellis
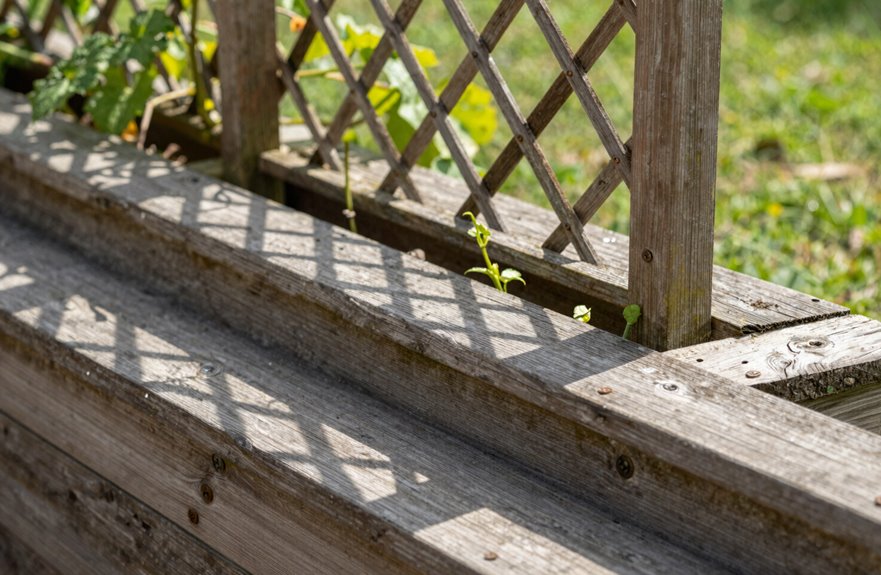
Where do I begin when my trellis stands empty and my climbers need direction? I start by inviting my climbing plants into their new home with patience and gentle hands.
I guide new growth upward using soft ties or plant clips, securing stems without damage. I train vines in small increments, spacing ties every 6 to 12 inches for even vertical movement. I position rapid climbers like clematis at jaw-level height first, establishing strong anchors on my supports. I use pruning to encourage lateral branching, tying new growth to adjacent wires for fuller coverage. I check ties regularly and adjust tension as stems thicken to protect vascular flow.
Together, we are creating a living, vertical structure; my trellis transforms from a bare frame to a thriving green space.

Install Concrete Anchors with Consistency: Designed to set wedge anchors and drop in anchors securely using an SDS Plus hammer drill.

Valuable Cement Anchors And Screws Kit:This is a great value pack,Includes 30PCS # 12-16 (1.38 "length) anchors, 30PCS # 10 (1.58" length) screws, 60PCS # 10-12 (1.06 "length) anchors, 60PCS # 8 (1.18" length) screws, and 2PCS drill bits suitable for anchors, box packaging

STRONG MATERIAL – All the blue concrete anchors and screws are made of selected materials with premium quality just to ensure the best performance. The Philips screws are made of high-strength carbon steel and finished with galvanizing technology, which is highly resistant to rust and corrosion. The concrete anchors are made of new PE material for higher strength and better resistance to rub and aging.