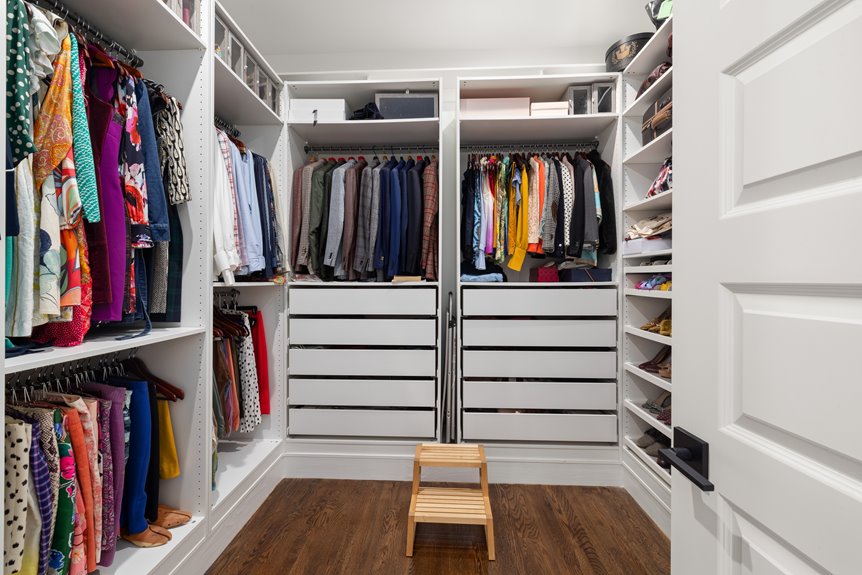
I start by measuring my closet and marking stud locations with masking tape so I know where to anchor everything. Then I select affordable laminate or MDF shelving and 1×2 lumber for cleats that will support the weight. I cut my shelves to fit the actual depth of my space, usually ripping plywood with a guide to prevent tear-out. Next, I install continuous cleats along all three walls, driving screws into studs and checking level frequently. I set my shelves onto those cleats, shimming if needed, and secure them from below for heavy loads. I finish by covering raw edges with wood banding and applying three coats of polyurethane. Following this method helps to prevent sagging over time.
Measure Your Closet and Mark Stud Locations
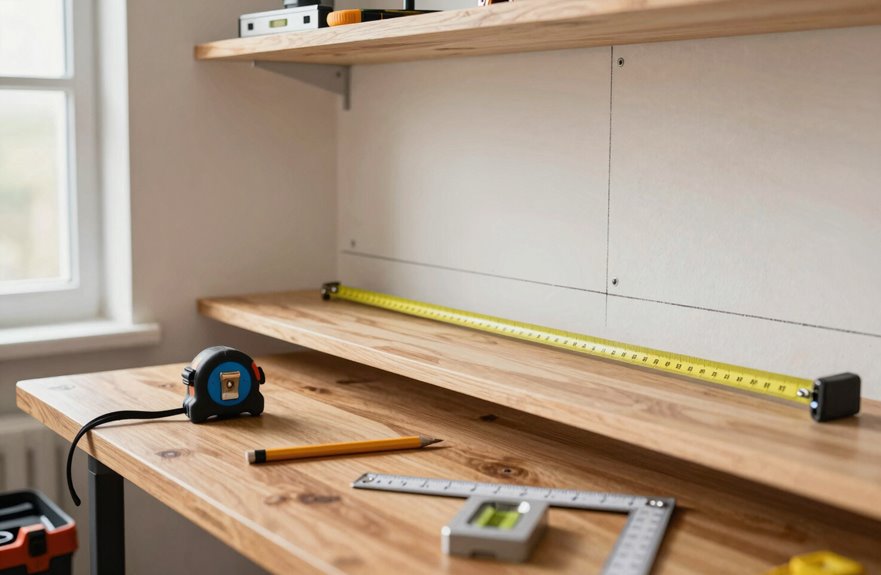
Before I start cutting lumber, I will map out the exact dimensions of my project. A shelf that looks good on paper means nothing if it won’t hold weight or fit the space. I will grab my stud finder and scan the closet walls to pinpoint the vertical studs, which are essential for the structure. My closet measurements—width, depth, and height—determine how long my shelves will be and where cleats will anchor. I am marking stud locations on masking tape to avoid any guesswork when drilling pilot holes. I will position back and side cleats at the same heights, checking each one with a level to ensure the shelves are flat. With shelf depth planned according to storage needs, every mark I make now will help streamline the installation process.
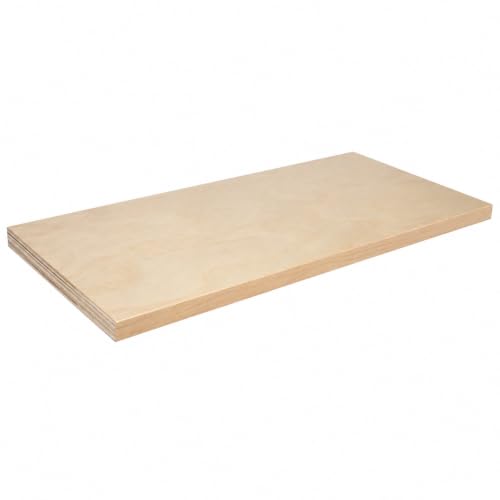
✔ REPLACE YOUR CABINET SHELVES – PERFECT FIT Custom cut to your exact width and depth for a seamless replacement inside your cabinets or pantry.

WOOD CLOSET SHELF: Add on shelf for SuiteSymphony custom closet system or use on its own
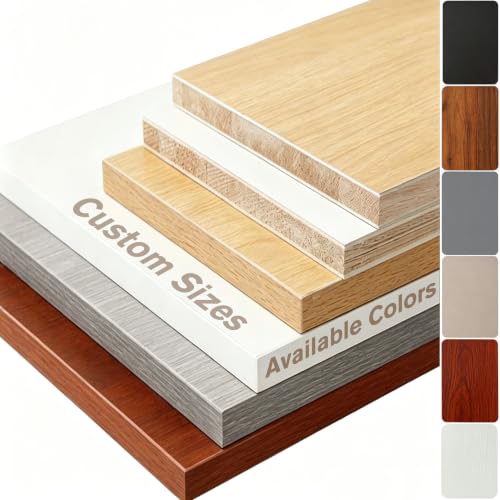
✅Pure Solid Wood Material, Eco-Friendly & Super Sturdy: Made of Genuine Solid Wood Without Particle Board or Plywood, This Shelf Is Healthy, Environmentally Friendly and More Durable Than Ordinary Composite Boards. The 1.2-Inch Thick Design Enhances Load-Bearing Capacity and Anti-Sagging Performance, Ideal for Heavy-Duty Storage in Homes and Commercial Scenarios.
Select Materials for Your Shelf Build
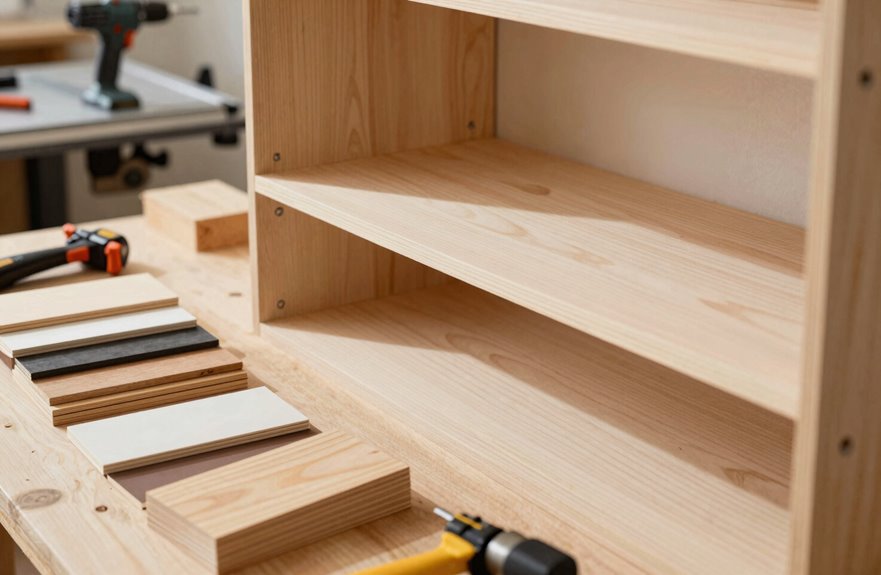
What materials will hold up to daily use without breaking my budget? I found my answer at Lowe’s: MDF shelves or laminate work well, and I chose laminate for its price and perfect 12-inch shelving width. You’ll also need 1x2s to frame your cleats.
Here’s my material breakdown:
| Material | Purpose | My Tip |
|---|---|---|
| Laminate or MDF shelves | Shelf surface | Match your shelving width plus 1/4″ for wall variances |
| 1×2 lumber | Cleats | Three per shelf: left, back, right walls |
| 2.5″ screws | Anchor cleats | Drive into studs for maximum strength |
| Wall anchors | Backup support | Use where studs aren’t available |
| Stud finder | Locate studs | Mark before drilling pilot holes |
I always keep my level handy; nothing ruins the vibe like crooked shelves. We’re building something solid together, one smart choice at a time.

HIGH QUALITY FLEXIBLE PVC TRIM – This trim is durable and long-lasting. Made to cover the edges of furniture, shelves, machines and general DIY projects, this edge trim can be applied with a roller or a wood block for a perfect bond to any type of surface

Package & Size: You will receive 1 self-adhesive hot melt edge banding. The size is 3/4 inch x 33ft(W*L), which is enough for daily use.

【BRAND GUARANTEE】- GSCIT Club is a company specialized in Edge banding.
Cut Closet Shelf Boards to Size
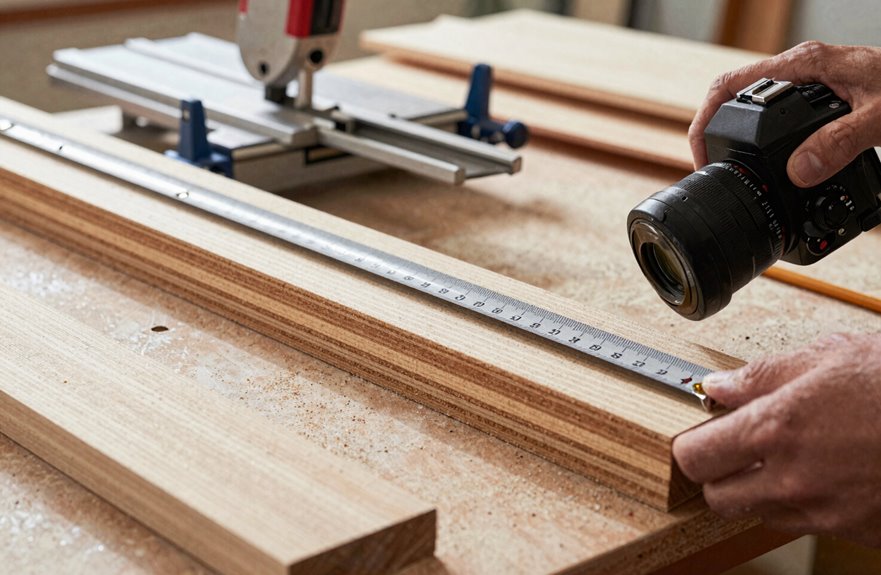
Where should you start once your materials are ready? I grab my radiata pine plywood and measure twice before cutting to size. For my top shelf spanning 44 inches, I’ll cut one piece at 44 by 13 inches deep, then two side shelves at 28 by 13 inches. Shelf depth is important; you have to account for your actual closet depth, which drops from 20 to 18 inches when fitting a 24-inch space.
I rip my plywood to width using either my table saw or circular saw with a straight guide for clean edges. I run masking tape along the plywood edge before cutting to stop tear-out. I plan two shelves per board, keeping every piece consistent so my dados align properly with yours.
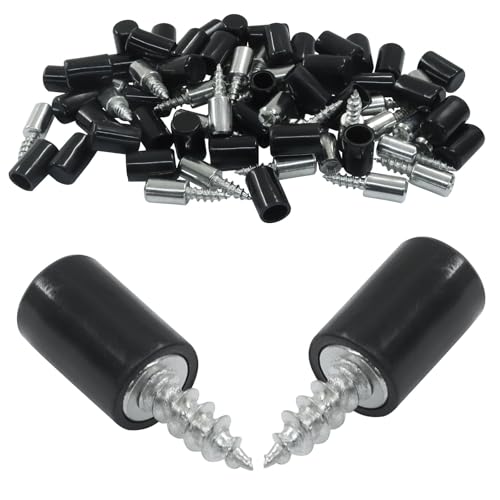
Premium Metal Build: Aracombie's shelf support pegs are crafted from premium iron plated nickel with a protective black rubber sleeve that combines durability with a stylish aesthetic. The sturdy one-piece design resists bending and maintains structural integrity over years of use.

EXACT BIN COMPATIBILITY - Keep your space tidy and stylish with cubbies specifically designed to accommodate any standard 10.5" W x 10.5" D x 11" H storage bin (not included)

Adds adjustable shelf space to any Rubbermaid Configurations kit. Uprights not included
Build and Level Wall-Mounted Cleats
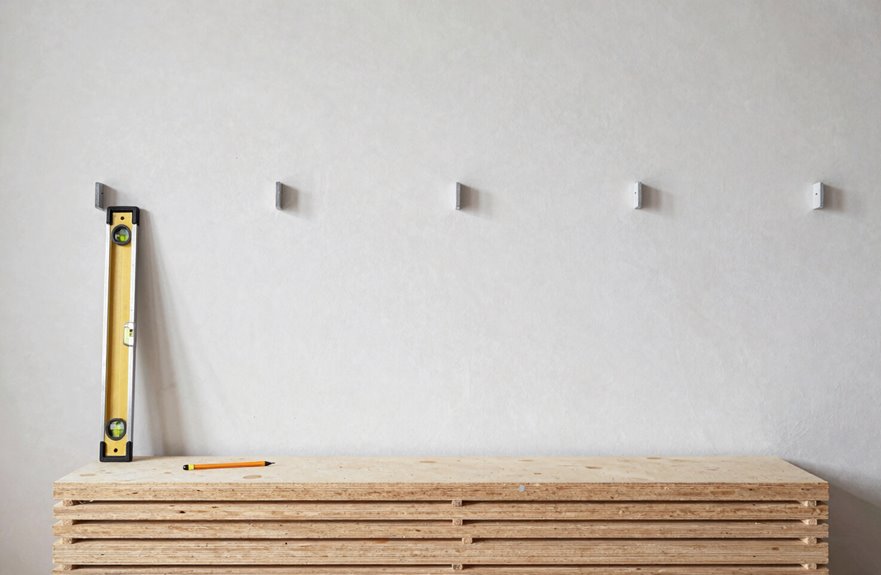
With my shelf boards cut and ready, I’m focusing on the framework that will hold everything in place.
With the boards ready, I’m turning my attention to building a sturdy framework that will support everything to come.
I’m building cleats along the left, back, and right walls to provide solid support for my shelves. Here’s how I’m ensuring this step is effective:
- I’m locating studs first, as mounting directly into them provides the strongest anchor for heavy loads.
- I’m cutting 1×2 lumber to run continuously along each wall, ensuring everything is level to prevent sagging over time.
- I’m driving 2-inch screws through the cleats into the studs, using anchors only where studs are not available.
- I’m double-checking level across all three walls before proceeding, as proper alignment now avoids issues later.
This foundation guarantees our shelves can support the necessary weight.

Adjustable for Flexible Closet Setup: our closet shelf rod brackets are adjustable for different closet layouts, rear cleat strips, uneven walls, new or replacement installations, helping align the shelf and rod position for a steadier setup in wardrobes, closets, laundry rooms, storage areas; About 12.375"L (include hook portion) x 10"H, fit for rods with up to 1.5" diameter, can hold up to 260 LBS per pair, suitable for wall cleats with thickness including and less than 3/4 inch

Package Content & Size: 2 pcs x Oval Closet Rod End Supports. Equipped with mounting screws. Fit for mounting 25mm/1 inch aluminum/ wood/ stainless steel oval rods.

Hafele TAG Synergy Collection Wardrobe Tube Support, 1 Pair for 1 5/16" Diameter Closet Rod
Set Shelves Onto Cleats and Secure
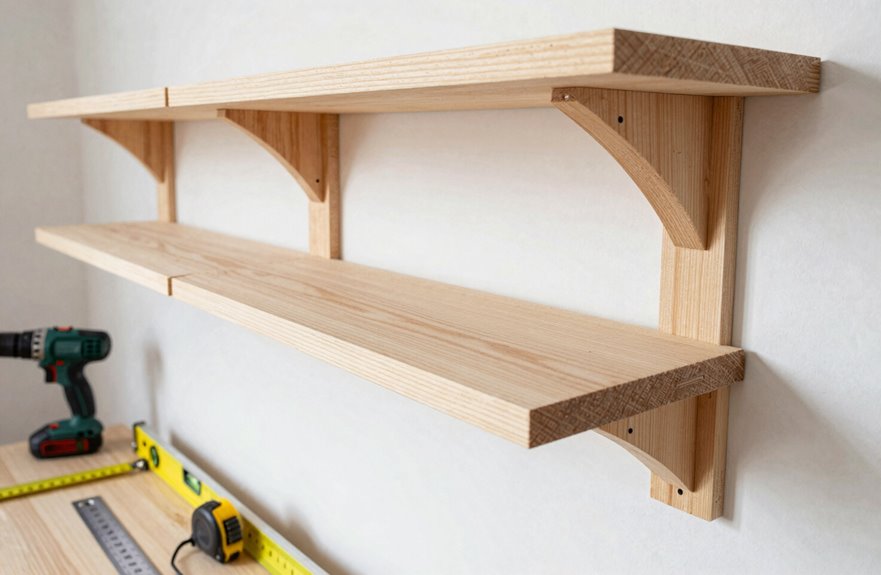
How do I get these shelves perfectly positioned? You’re almost there with your DIY closet, and this step is crucial.
I’ve cut my laminated shelves to width, allowing some wiggle room for imperfect walls. I lift each shelf onto the cleats secured into the studs, ensuring they rest fully on all three supports. I grab my level; this step is essential. If a shelf tilts, I shim underneath until it’s even. For heavy loads, I drive screws up through the cleats into the shelves for extra hold. This will create a solid structure that lasts. Step back when you’re finished. Check that those shelves sit level and are supported by the anchored cleats. This is your closet, built correctly.

INVISIBLE PROTECTION & VERSATILITY | Transparent wedges blend discreetly while guarding wood, tile, and ceramic floors against scratches. Absorb pipe vibrations and silence rattles – ideal for plumbing fixes and tilting toilets.

Multi Purpose Furniture Plastic Shims Adjustable size: 3.86 x 0.31 inch/ 10 x 0.8 cm, White, (12 Pcs) .

MULTI-PURPOSE LEVELING SHIMS: These clear plastic shims work as furniture wedges for leveling tables, desks, bed frames, and toilets. A wobble stopper that ends rocking and wobbling on almost any floor for a steady, level surface.
Cover Exposed Edges and Apply Finish
Because raw plywood edges can disrupt the clean look you’ve achieved, I am covering them with solid wood edge banding before applying any finish. I square everything first, then cut with a Japanese pull saw for precision. I tape exposed edges with masking tape during cuts to prevent tear-out and maintain cleanliness.
- Apply solid wood edge banding with glue and clamps for durable edge finishing.
- Protect adjacent surfaces with masking tape during assembly.
- Smooth everything using random orbital sanding, hand-sanding corners that the sander cannot reach.
- Brush on water-based polyurethane in three coats, sanding between coats with fine grit.
This process results in shelves that look built-in and professional. You are creating something that enhances your home, not just something installed in it.

WOOD CLOSET SHELF: Add on shelf for SuiteSymphony custom closet system or use on its own

Made to Order in Custom Sizes – Choose your exact dimensions using the customization options to receive shelves tailored for a precise fit in cabinets, closets, bookshelves, or any storage space.

REINFORCED PACKAGING, ARRIVES IN PERFECT SHAPE: Corners are the one spot a melamine shelf board can chip in transit, so every custom cut board now ships with foam guards on all four corners plus cardboard protection down the side edges. If your board still arrives damaged, just message us and we send a replacement free. No return shipping and no hassle. Cut and finished in the USA, and a real person answers when you write in
Load Shelves and Add Organizing Accessories
The finish has cured, and I’m ready to put these shelves to work. I install three cleats on the left, back, and right walls, driving them into studs with anchors where needed. I check each cleat with a level, ensuring everything is aligned properly. I cut my 12-inch-deep laminate shelves to width, accounting for slight wall variances, then rest them atop the cleats. A few screws add extra hold if I want to be cautious.
Next, the organization accessories enhance this space. For pantry storage, I add a bottom pulldown drawer for bags and snacks, along with clear bins for smaller items. Dedicated containers for nuts and cereals keep everything accessible. These closet shelves are not just built; they contribute to a more organized and welcoming environment.
HIGH QUALITY FLEXIBLE PVC TRIM – This trim is durable and long-lasting. Made to cover the edges of furniture, shelves, machines and general DIY projects, this edge trim can be applied with a roller or a wood block for a perfect bond to any type of surface

【Birch Edge Banding Set】Includes one 50 ft x 3/4 inch roll of edge band with 0.6 mm thickness; perfect for restoring or enhancing cabinetry, furniture, shelving, and crafts

【Precision & Smooth Trimming】 NECAMOCU upgraded edge banding cutter features thicker blade with larger cutting edges and more robust screws. These improvements ensure long-lasting durability and a smoother cutting experience, making your woodworking tasks significantly easier.