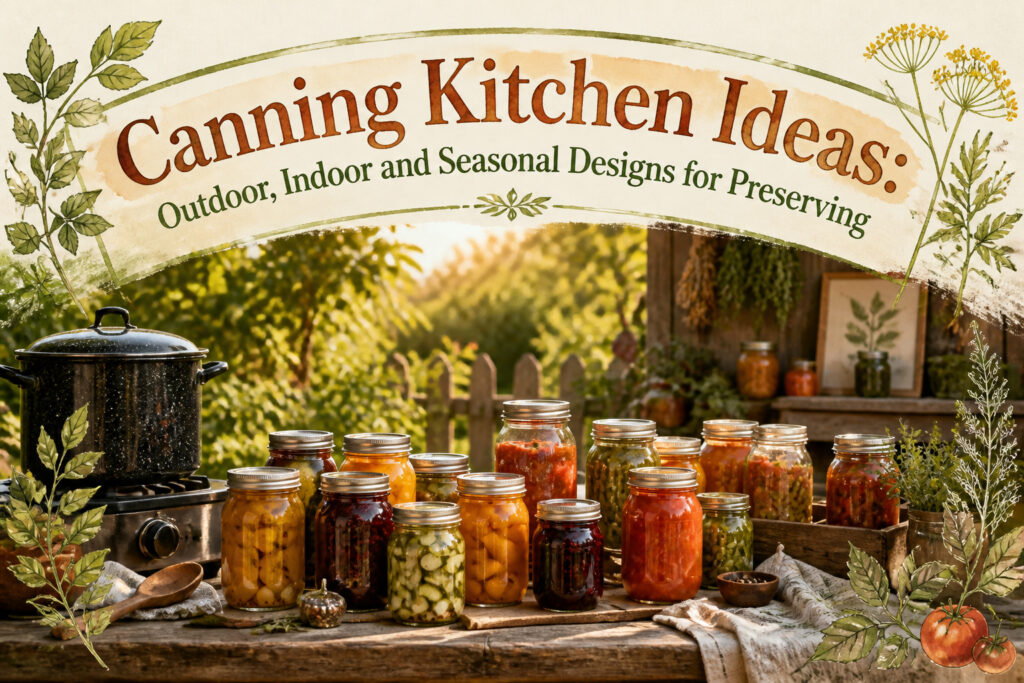
A canning kitchen is any dedicated space, indoors or out, built around the heat output and counter length that preserving demands. The catch is that most home kitchens were designed for weeknight meals, not for a 21-quart pot boiling for forty-five minutes while jars cool undisturbed nearby. A 22,000 BTU burner changes the rhythm entirely: water heats while you prep, not after.
Outdoor Canning Kitchen
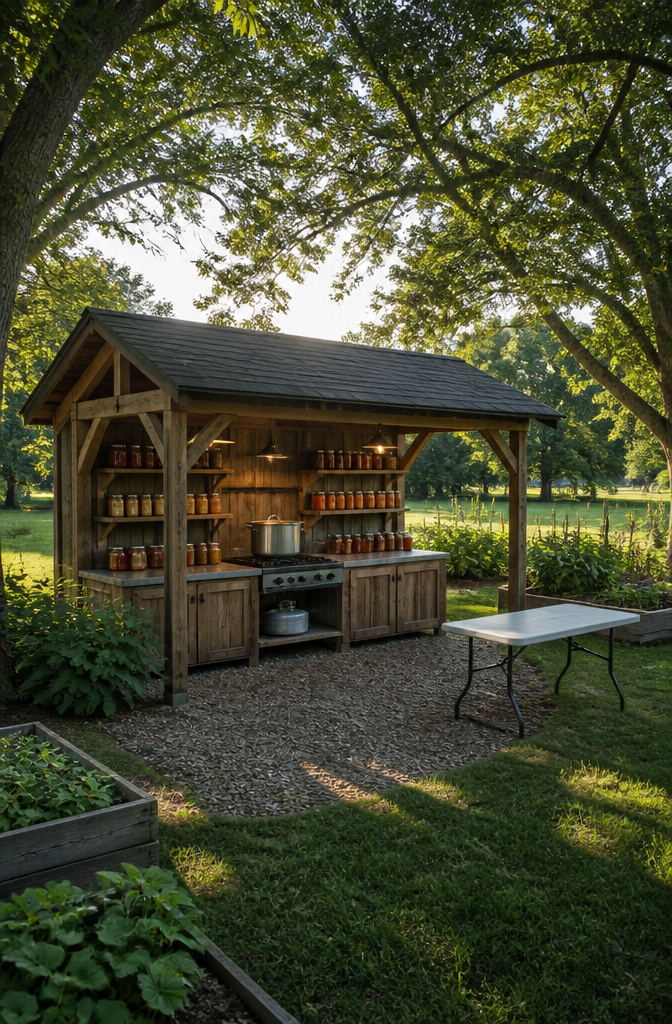
The 12-by-16-foot structure I keep coming back to is just enough room for a long counter, the canner, and space to stage jars without tripping over the hose. A 22,000 BTU burner handles the big pot without the endless wait you get from underpowered camp stoves. Not everyone has the yard or the budget for a shed, though. Folding tables and a propane camp stove set up in thirty minutes and break down just as fast. The trick is thinking through the sequence: raw tomatoes on one table, the stove in the middle, filled jars ready for the canner on the third, and a cooling station downwind where hot jars can sit overnight. Shade matters more than scenery. A covered porch beats open lawn, because August sun on a pressure canner is its own kind of heat.
The idea itself is older than air conditioning. Summer kitchens, small buildings off the main house, kept the stove’s heat out of living spaces during preserving season. The practice faded when central cooling arrived, but the logic still holds if your kitchen turns into a sauna by the second batch. For group canning, garden-side makes more sense; the tomatoes are already there, and the mess stays where the hose reaches. Solo sessions, I tend to set closer to the door, because carrying a loaded canner across a yard is where the accidents happen.
Indoor Canning Kitchen Design
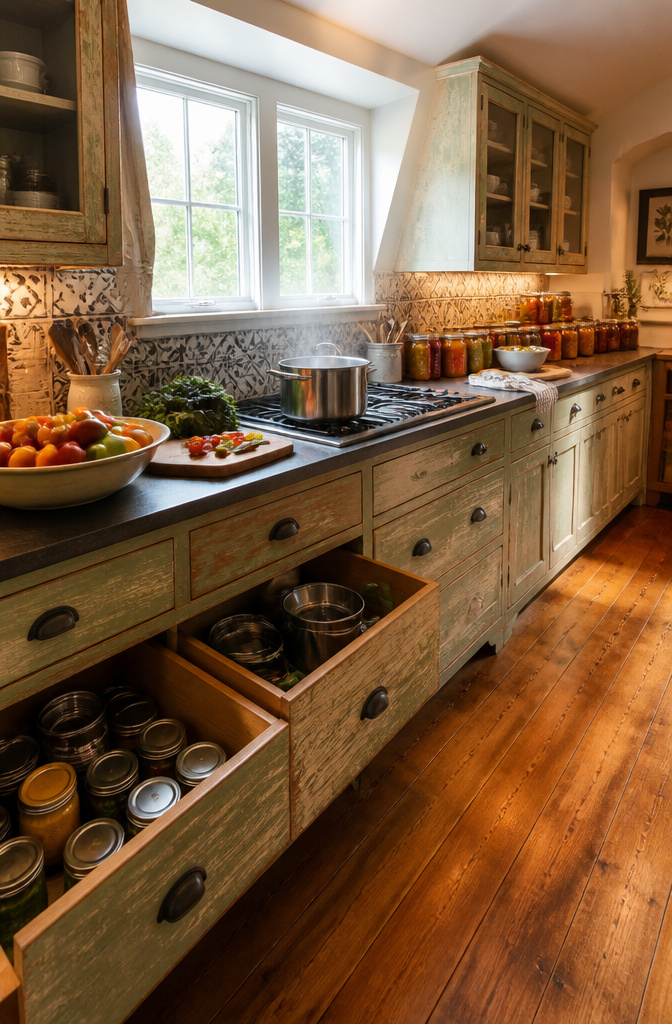
A canning kitchen squeezed into an existing room lives or dies on whether you can keep four separate jobs from colliding. The minimum workable stretch is six feet of continuous counter: one zone for raw produce and empty jars, one for prep and cutting, one for filling hot jars, and one where finished jars sit undisturbed for twenty-four hours while they seal. In my old galley kitchen, 24 inches of counter depth was just enough to set a canner lid aside without it hanging over the edge, but anything narrower turns into a balancing act with boiling water.
Aisles matter as much as surfaces. Thirty-two inches between island and cabinet wall left me pinned in place whenever the dishwasher hung open; 36 inches is the practical floor for two people passing with a loaded jar lifter. Five feet feels generous if your room allows it, but the hard limit is that three-foot span. Anything tighter and you are dancing around the canner instead of working.
Heat and steam indoors are the real adversary. A 72-inch dormer window set directly above the cooktop will pull most of the vapor out before it reaches your cabinets, provided you open it before the canner comes to pressure. Without that direct vent path, you are relying on a range hood rated for moisture, and most standard hoods struggle to keep up with forty-five minutes of rolling boil. I ran a fan in the nearest window and still watched wallpaper peel above the stove within two seasons.
Seasonal Canning Kitchen
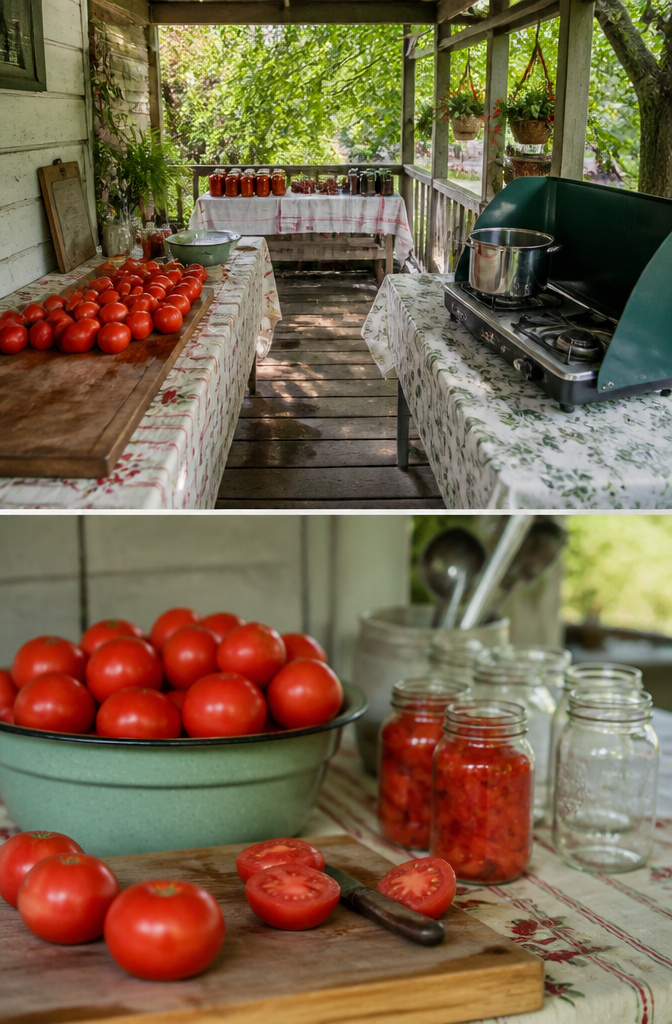
A seasonal canning kitchen is the middle path between a permanent outdoor build and working inside your regular kitchen. It makes sense when you process enough in August and September to justify dedicated space, but not enough to give up that square footage year-round.
The setup differs from both extremes. Unlike a roofed outdoor kitchen with a 12 x 16 cedar frame and fixed propane lines, this space gets packed away. Unlike indoor canning, the mess and heat leave with the season. I set mine on a covered porch near the house for solo sessions, or garden-side when friends come and the tomato volume doubles. Two folding tables handle the workflow: one for prep and jar filling, one for the propane camp stove and canner. A third table, shaded if possible, becomes the cooling station where jars sit for 24 hours on towels before they move to storage.
The practical limit is what you can lift and store. A single-burner camp stove runs the canner; a double-burner handles two pots of simmering tomatoes at different stages. Everything breaks down to fit a garage corner or shed shelf by October. The real test is whether your porch or patio can handle the weight and heat for those weeks without damage, because a folding table scorched by a canner is cheaper to replace than deck boards.
Canning Equipment and Tools
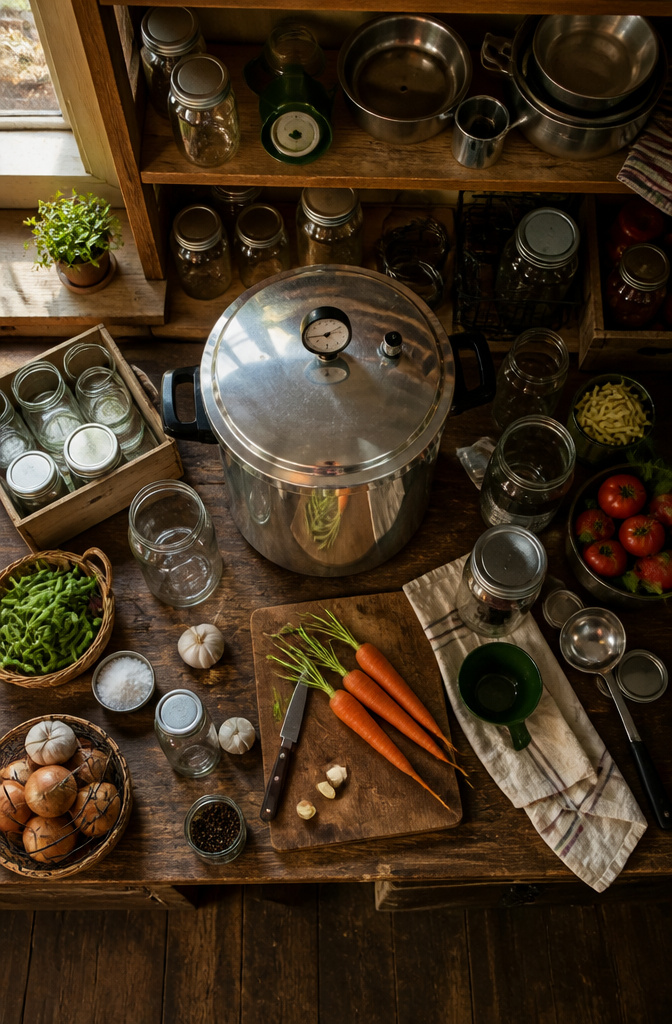
A 40-quart pressure canner holds up to 80 pints, which sounds like overkill until you are halfway through a bushel of tomatoes and realize you would rather process once than three times. The weight and diameter of that canner decide your stove situation more than any other piece of equipment in the room.
High-output gas or propane is what you want. Electric glass tops trap heat under the canner for long periods, and the trapped heat makes the glass risky. I have heard of people who have canned on them without cracking the surface, but "has not broken yet" is a poor standard for a kitchen decision. Induction is out entirely: the canner material is not compatible. A standard 30-inch gas range works, and a pro-style range with multiple burners lets you run sauce pots alongside the canner during marathon sessions. For outdoor setups, propane burners like the Camp Chef two-burner are common, though some pressure canners should not sit on direct flame, so the manual matters here.
Keeping jars hot before filling is the step beginners skip and then wonder why jars crack. The dishwasher method is the easiest: run the rinse cycle, leave the door closed, and pull jars out as you need them. You can also set them in the canner while the water heats, which doubles as a temperature check. Either way, cold jars into hot liquid is a reliable way to lose half a morning’s work.
Storage Solutions for Canned Goods
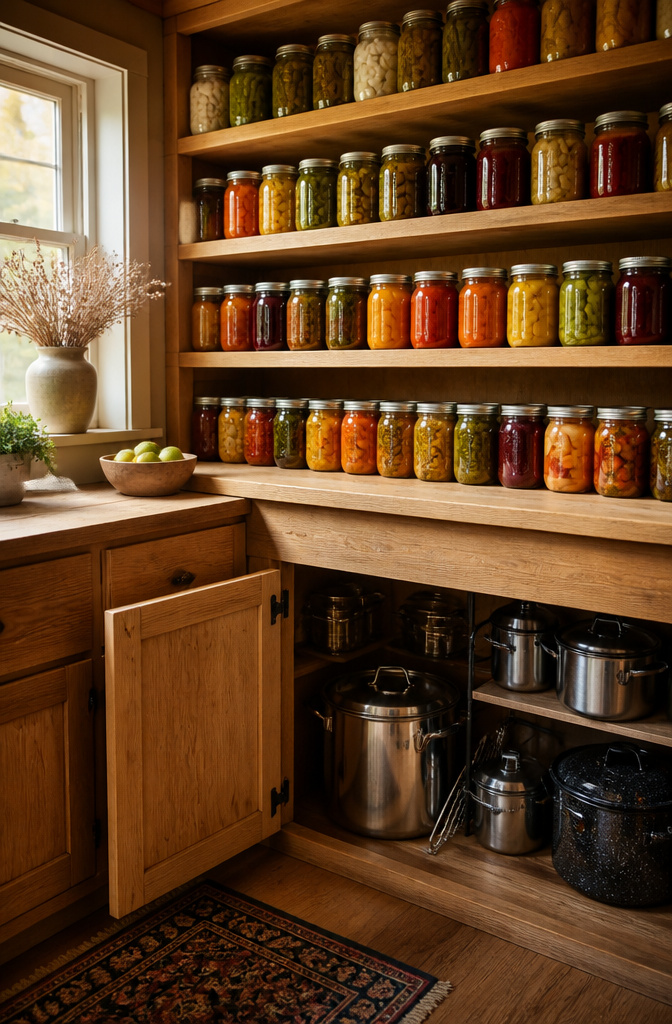
Solid shelves beat wire every time for home-canned goods. The weight of filled jars adds up fast, and a sagging shelf risks broken glass and lost seals. Thicker shelving, spaced for different jar heights, keeps everything visible without stacking. Stacking is the mistake that costs you a season’s work; jars on top of jars can unseat lids and ruin the vacuum seal you processed for.
Shallow shelves that hold only one or two jars deep work best for small-batch canners. You see the label on the lid at a glance. For larger batches of the same item, deeper shelves make sense, though you are trading visibility for capacity.
The real storage headache is not the jars. Water bath and pressure canners are bulky, heavier than any stock pot, and most standard drawers will not close around them. A deep two-drawer base cabinet, a rollout shelf in a full-height cabinet, or a dedicated pantry shelf keeps them out of the way but reachable. Utensils and small gear fit an upper drawer with a divider; lids and rings store neatly in a shallow drawer or a simple basket on a shelf.
Keep the pantry close to the kitchen. I stored jars in a basement for years. The temperature was ideal, but the trip up and down stairs for every meal wore the convenience away. A pantry just off the kitchen, even a small one, beats ideal conditions you will actually avoid using.
Ventilation and Heat Management
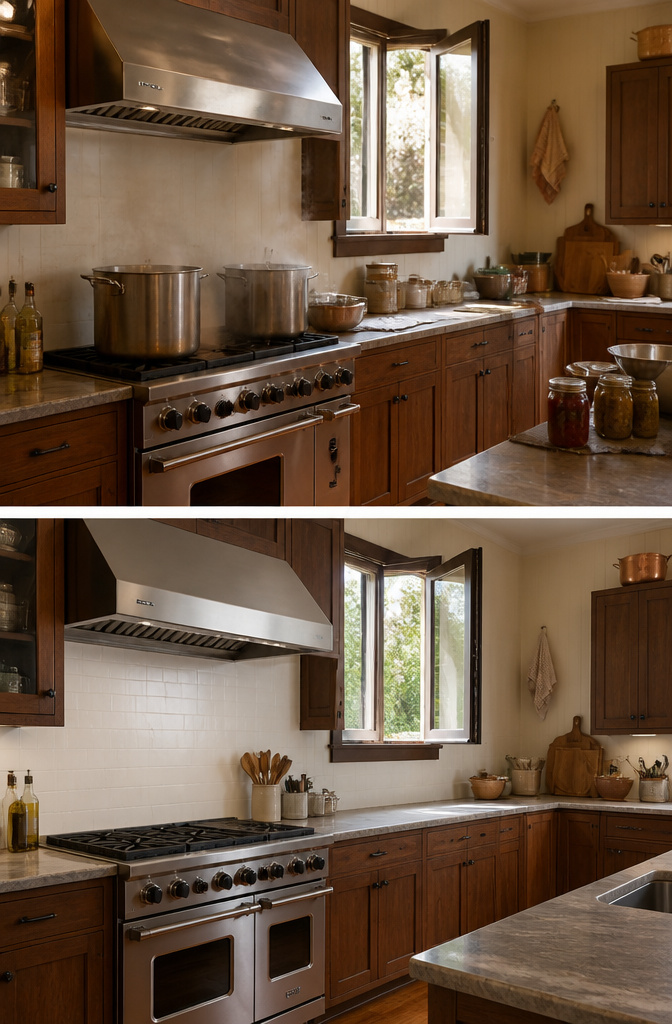
A boiling water bath canner throws off more steam than most kitchen vents are built to handle. The standard overhead hood in a rental-grade kitchen was designed for weeknight pasta, not three hours of rolling boil with a 21-quart pot. If you are canning inside, the vent needs to pull hard enough that your glasses do not fog standing at the stove. That usually means a hood rated well above the cubic feet per minute the builder originally installed, or a window you can crack and a box fan pointed to exhaust.
Outdoor setups solve the steam problem by default, but they trade it for a different one. A propane burner in an enclosed garage or under a low porch roof still builds heat and can trap combustion gases. The safe play is open air on three sides, or a back deck with the full width of the overhead door raised if you are working in a garage. I have read enough accounts from people who set up under a covered porch and found the ceiling dripping by hour two; the steam has to go somewhere, and "out" beats "up into the rafters."
The real comfort win is keeping the work zone tolerable enough that you do not rush the processing time. August tomatoes already test patience. A canner who is wiping sweat and squinting through steam is a canner who might short the boil or skip the headspace check. Ventilation is not a luxury detail in these plans. It is what lets you finish the batch without shutting down early because the room became unbearable.
Counter Space and Layout
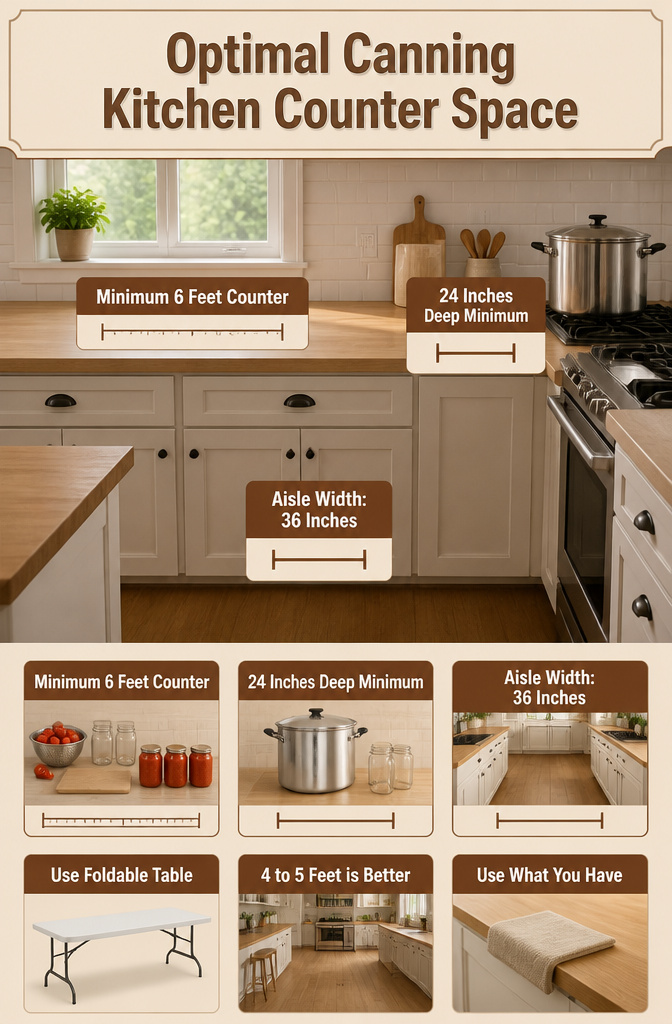
Six feet of uninterrupted counter is the minimum that makes canning feel controlled rather than frantic. That length gives room for produce, empty jars, a cutting board, and the filled jars waiting for the canner, all without stacking things on top of each other. Depth matters too; 24 inches front to back is the workable minimum, because a water-bath canner needs space beside it for hot jars to land without your elbow brushing the stove.
Aisle width is where most kitchens fail. Thirty-two inches between island and cabinet is tight enough that two people cannot pass, and opening a dishwasher blocks the lane entirely. 36 inches is the floor for a canning workflow, and 4 to 5 feet is better if the kitchen sees multiple cooks or if you are hauling a crate of tomatoes through.
Most renters and first-home owners are not renovating for a hobby that runs six weekends a year. The folding table trick is the honest workaround: a 6-foot table pressed into service during canning season, set up where it does not fight the rest of the kitchen. Wash produce at the kitchen sink, carry it out, fill and process at the table, then let jars cool there overnight. The table stores flat the rest of the year.
Counter height for canning is oddly undocumented; sources talk about layout and aisle width but stay quiet on whether 36-inch standard height beats a lower surface for hours of prep. My own reading turned up no tested recommendation, so the practical move is to use what you have and pad the edge if your shoulders complain.
Water Access and Cleanup
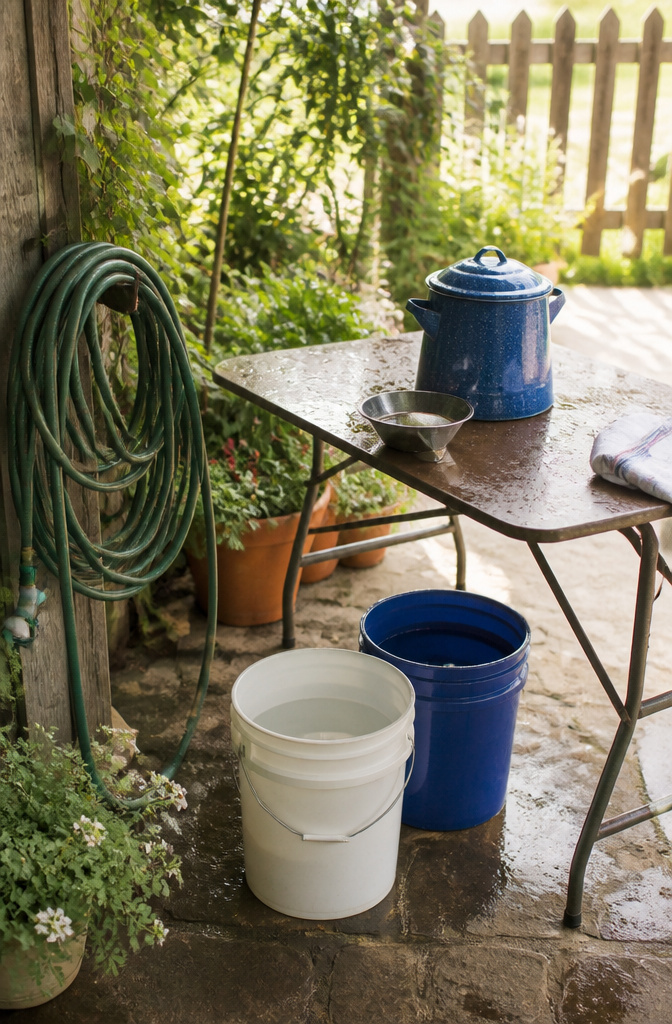
A utility sink in an outdoor canning setup is one of those things that sounds essential until you price out plumbing a new drain line through the yard. Most renters and anyone on a weekend budget will never see one. The practical replacement is a garden hose with a spray nozzle, which handles rinsing produce, washing out kettles, and spraying down the table when the jars are done. One caution the sources keep coming back to: hose water carries the taste and whatever else sits in garden-hose vinyl, so water meant for the actual preserving step, the liquid inside the jar, still needs to come from the kitchen tap.
For washing equipment and scrubbing down surfaces, the hose works fine. Enamelware kettles and bowls rinse clean with soap and a hard spray, and the whole porch setup hoses off in minutes instead of leaving a sticky film on your indoor kitchen floor. A spray nozzle with a shut-off valve at the grip saves water and keeps one hand free for holding a sloshing kettle.
If you are working on a patio or balcony with no hose bib at all, a pair of five-gallon buckets, one for rinse and one for wash, gets the job done. It is slower and you will carry more weight, but it costs nothing to try and tells you whether an outdoor canning habit is worth the sink investment later.
Safety for Outdoor and Temporary Setups
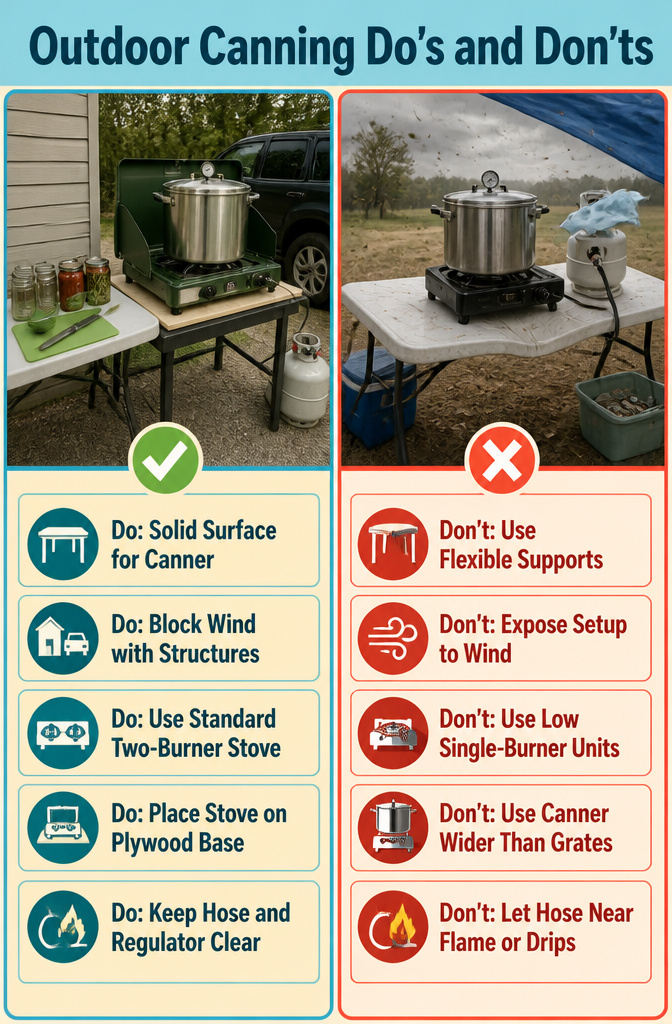
A folding table with a little give in the middle is fine for prep work, but set the canner on something that does not flex. A full water-bath canner runs heavy, and a camp stove on a sagging surface is a tipping risk waiting to happen. The legs of the stove matter too: the cheaper single-burner units sit low and narrow, and a bump from a hip in tight quarters can shift the whole works.
Wind is the other factor that turns an outdoor setup from inconvenient to hazardous. A flame that blows sideways does not heat the pot evenly, and a gust strong enough to flutter a tarp can lift a light towel right into the burner. Position the stove where a building wall or a parked vehicle blocks the prevailing breeze, not out in the open where the air moves freely.
For temporary arrangements, the standard two-burner propane camp stove handles most canning loads, though a single-burner unit dedicated to the canner keeps the big pot from hogging space. The catch is stability: camp stoves have small footprints, and a canner wider than the burner grates sits precariously. A sheet of half-inch plywood under the stove, larger than the canner base by a few inches all around, buys a wider footprint without building anything permanent. Check that the hose and regulator sit clear of the flame and off to the side where drips from the pot will not hit them.
What Worked and What Did Not
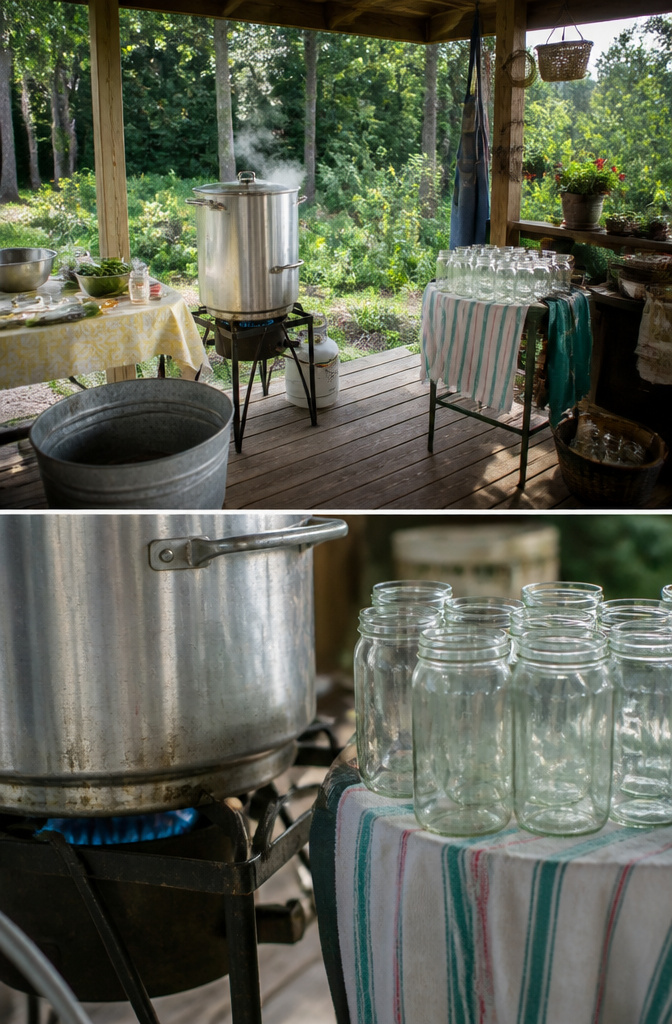
Setting up an outdoor canning station on the back deck sounds idyllic until the wind picks up mid-batch and the flame sputters. A propane turkey fryer burner handles a water bath canner fine for raw-pack pickles, but full canning loads demand a high-output stove with real BTUs behind it. I have watched friends lose pressure in a canner because the outdoor burner could not hold steady heat against a breeze.
The temporary setup saves money and keeps tomato mess out of the kitchen, no question. Most outdoor canning kitchens today are exactly that: folding tables, a borrowed burner, maybe a garden hose for cleanup. The tradeoff is weather. A covered porch helps; an open-air roof kit at 12 by 16 feet is a leap that took one gardener several summers of gradual additions to justify.
Indoors, two standard 30-inch ranges side by side beat a single 60-inch pro range for cost and repairability. One cracked cooktop from a sliding cast iron lid, replaced under warranty by the owner, proves the point: only one unit went down, not the whole line. For renters, that logic matters more than showroom appeal.
Stove Output and Heat Source
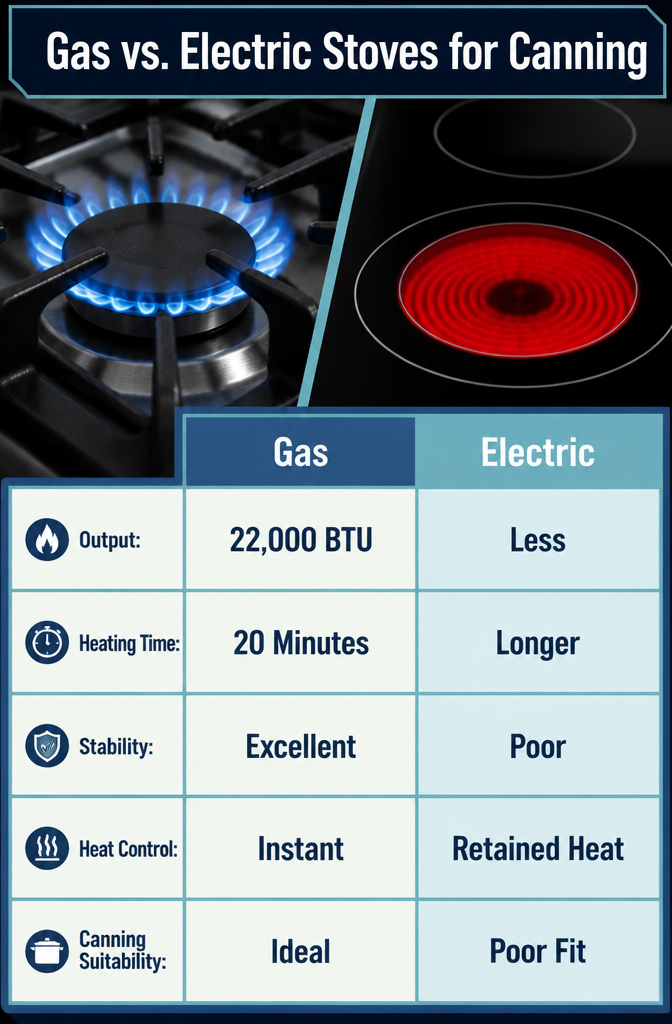
A high-output gas or propane burner running around 22,000 BTU will bring a water-bath canner to boil in about twenty minutes, which changes the rhythm of a canning day entirely. The water can be heating while you prep the fruit, instead of the other way around.
Gas wins for canning because the heat cuts off the moment you turn the knob. Electric glass cooktops are a poor fit: the retained heat keeps climbing after you dial it down, and the long, heavy heating cycle risks cracking the surface. Induction is out entirely for traditional canning; the cookware simply does not work with the burners.
Renters stuck with whatever stove came with the unit have two workable paths. A portable propane burner on the patio or driveway moves the heat and the steam outside, and stores in a closet the rest of the year. If outdoor space is not an option, an enameled cast iron Dutch oven on the existing stove helps distribute heat more evenly for smaller jam batches, though it will not solve the raw output problem for a full water-bath load.
Frequently Asked Questions
What is the best way to set up an outdoor canning kitchen?
Use folding tables and a propane camp stove arranged in a workflow line: raw produce on one table, the stove in the middle, filled jars on a third, and a shaded cooling station downwind where jars can sit for 24 hours. A covered porch beats open lawn because August sun on a pressure canner adds its own heat. The whole setup breaks down in thirty minutes if you need to store it.
How do I keep my jars hot before filling them?
Run the dishwasher on rinse cycle and leave the door closed, pulling jars out as you need them. You can also set jars in the canner while the water heats, which doubles as a temperature check. Cold jars into hot liquid will crack them and waste your batch.
What type of stove is best for canning?
High-output gas or propane is the only practical choice. Electric glass tops trap heat under the canner and risk cracking; induction is out entirely because the canner material will not work with it. A 22,000 BTU burner brings a water-bath canner to boil in about twenty minutes, which lets you prep produce while the water heats rather than waiting.